Compass Rose
Continued
P. Michael Henderson
August 24, 2008
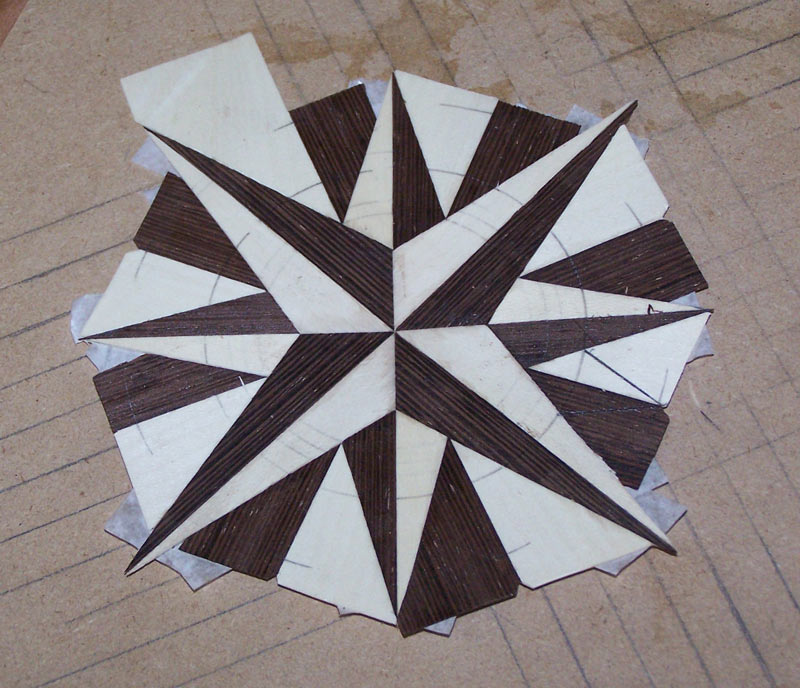
Continue cutting the lines around the rose. You'll see the basic outline of the rose begin to appear from the square veneer blank you have.
Once you get all the cuts made, you'll have the base of the compass rose. Note the difference between the picture above and below. In the picture below, I've reduced the inner circle to 3/4" inch radius. In the picture above, the inner circle is 1".
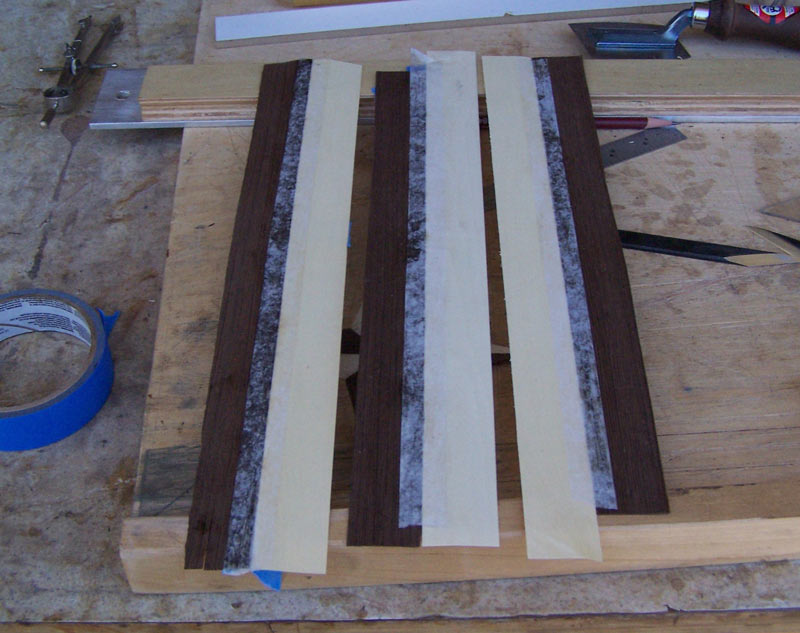
Next, we have to lay in the sub points on the rose. We'll start with the NE, SE, SW, and NW points. To prepare for that, cut some light and dark strips about 1.25" wide. Keep the same sides towards the glue face and tape a light and dark strip together with blue tape. You may have to sand the edges which will be joined to make sure they fit together tightly.

Use veneer tape and tape them together. Once the veneer tape is good and dry, remove the blue tape.
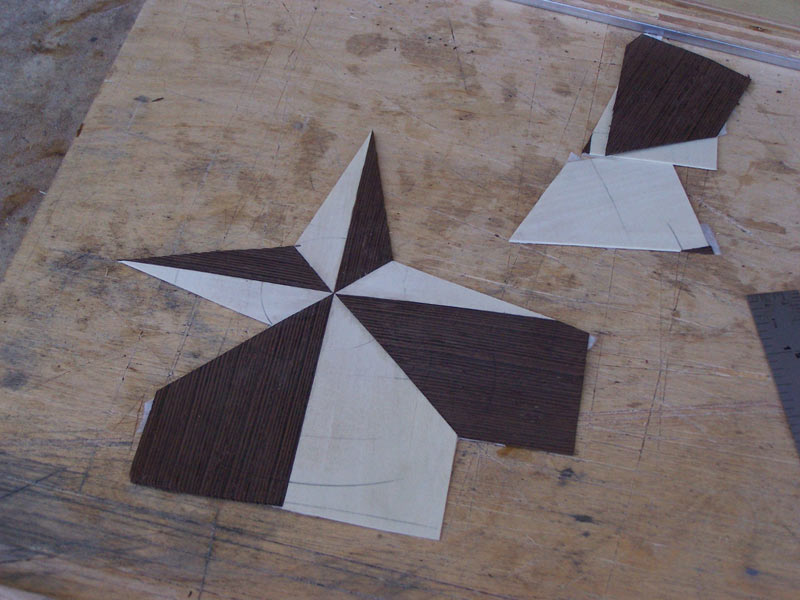
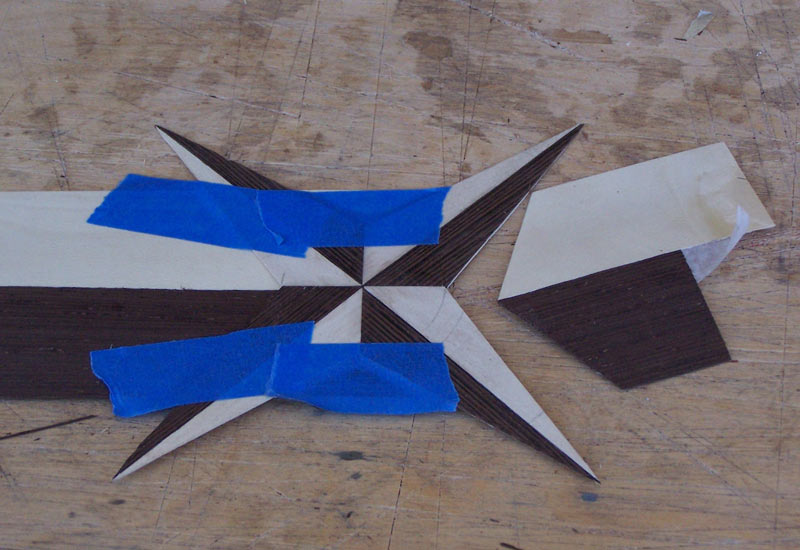
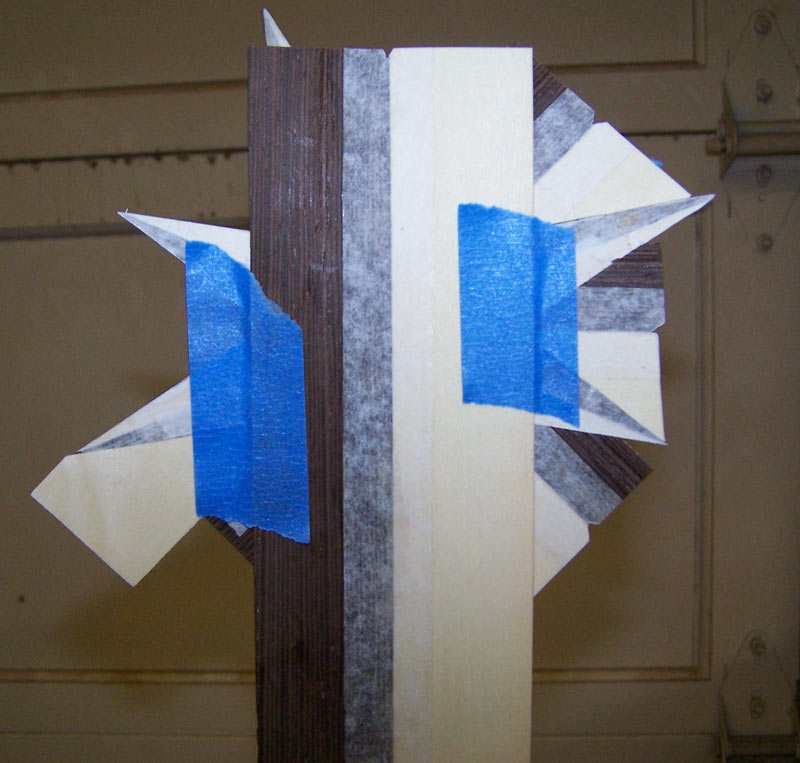
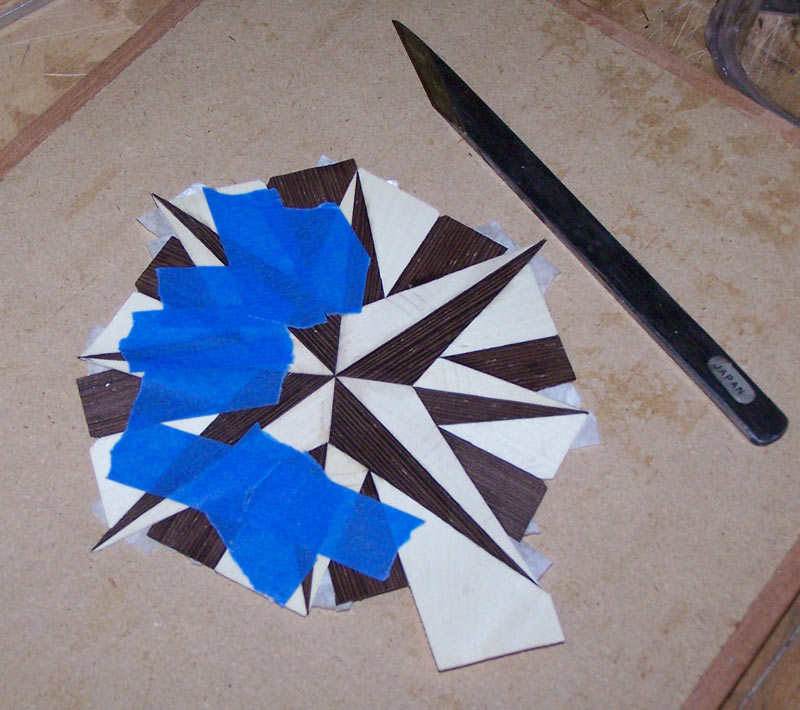
The next step is to tape one of these strips "behind" the base rose with the junction between the light and dark strip aligned with the bottom of the "V" cuts in the base rose. The picture shows this better.
Use the edge of the base rose and cut the strips. You're only going to cut one of the "V's". The strips on the other "V" are not aligned properly - the colors line up instead of being in opposition.
Remove the strips from the base rose and then fit the piece you cut into the "V" on the base rose. You may want to sand the edges of the cut piece to make sure the cuts are smooth and fit well against the base rose.
Now it's just "by the numbers". You need to do this three more times. When you get to the third one, you won't be able to align to the "V" on the opposite side so align to the line between the two strips. The next picture shows this.
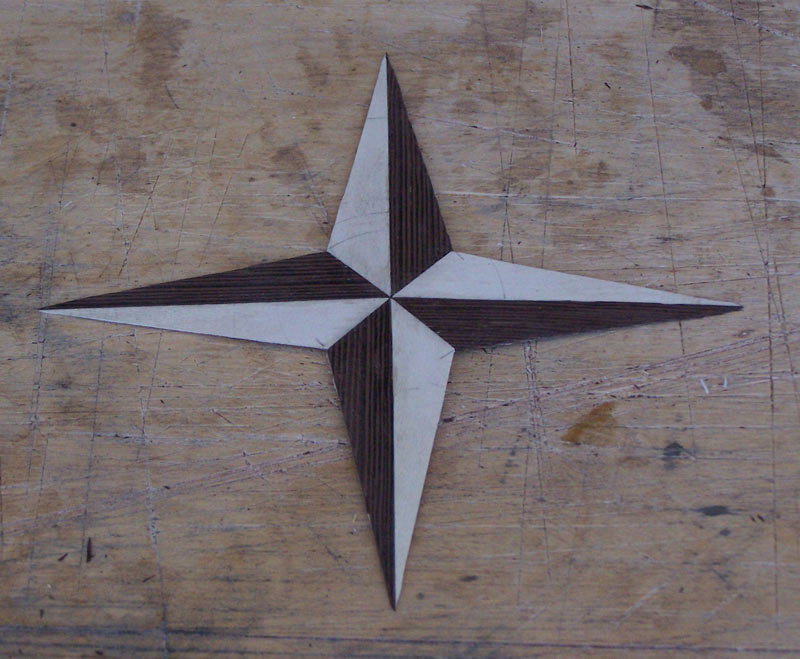
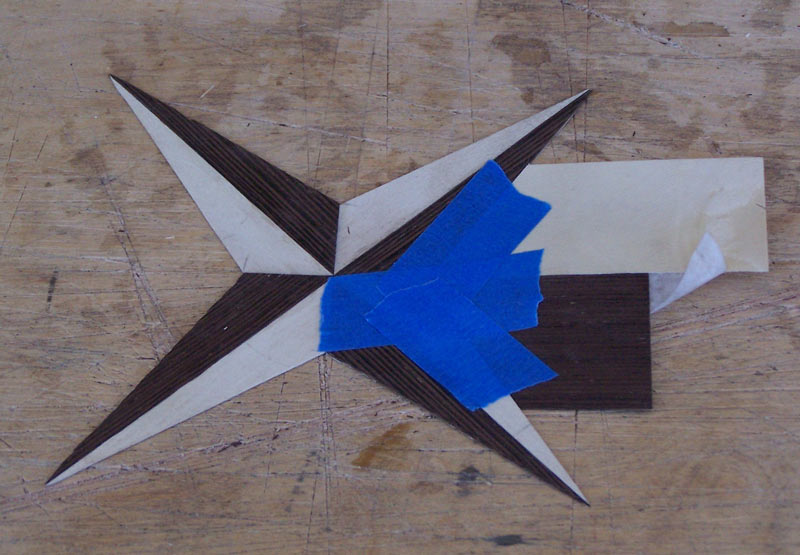
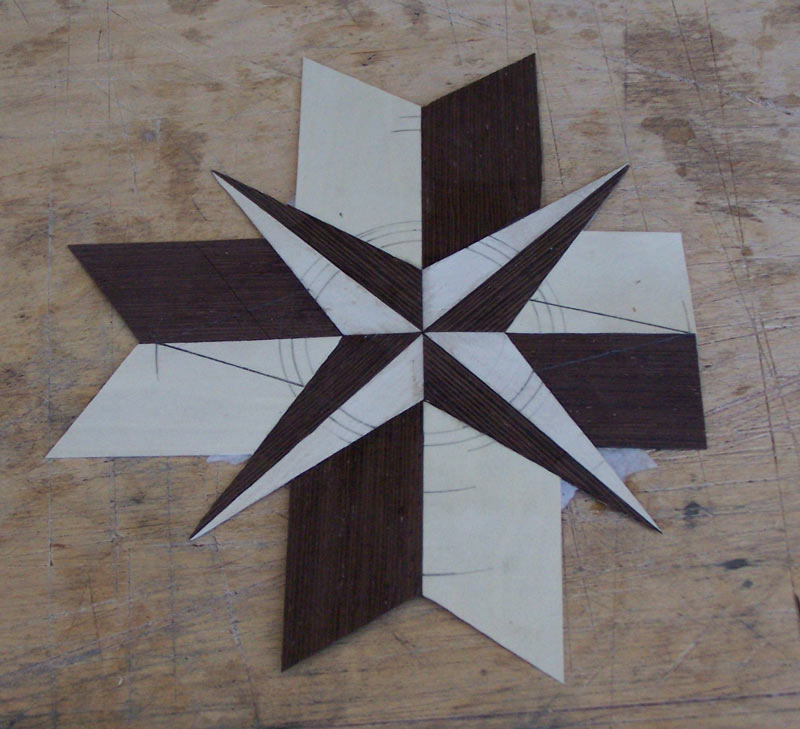
When you get all four pieces cut and fitted, your veneer will look like the following.
Turn the veneer over and put veneer tape on all the new seams.

We come to decision time again. We need to decide how far the points will stick out and how wide the base of the triangle of the sub points will be. I used 5" (end to end) for the outside - 2.5" radius. For the inside, I laid in three circles, 1 1/8", 1 1/4" and 1 3/8". After drawing the points to each of these circles, I chose the 1 1/8" circle.
Cut each of the points, just like you did for the primary points.
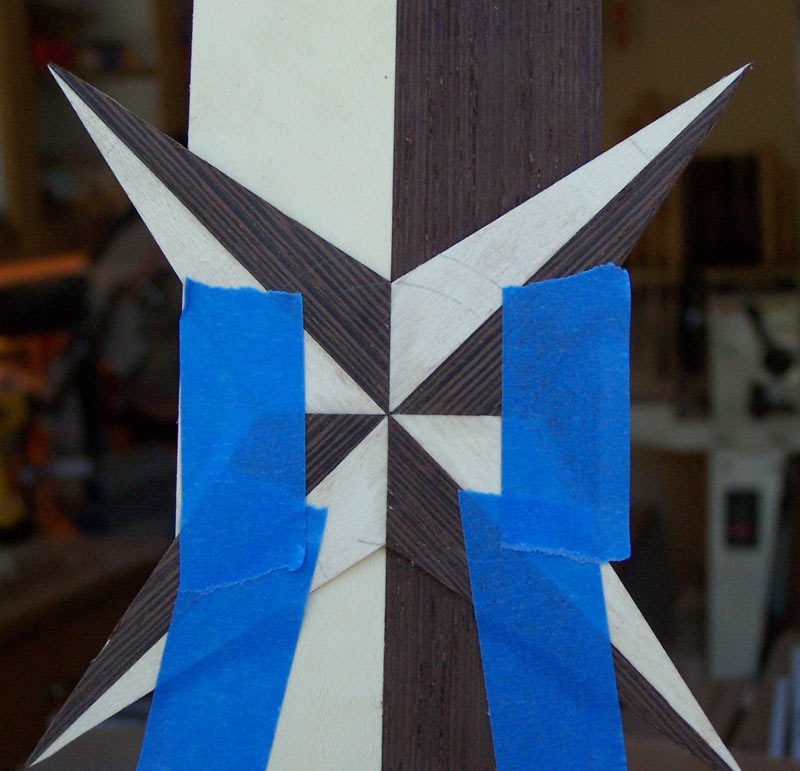
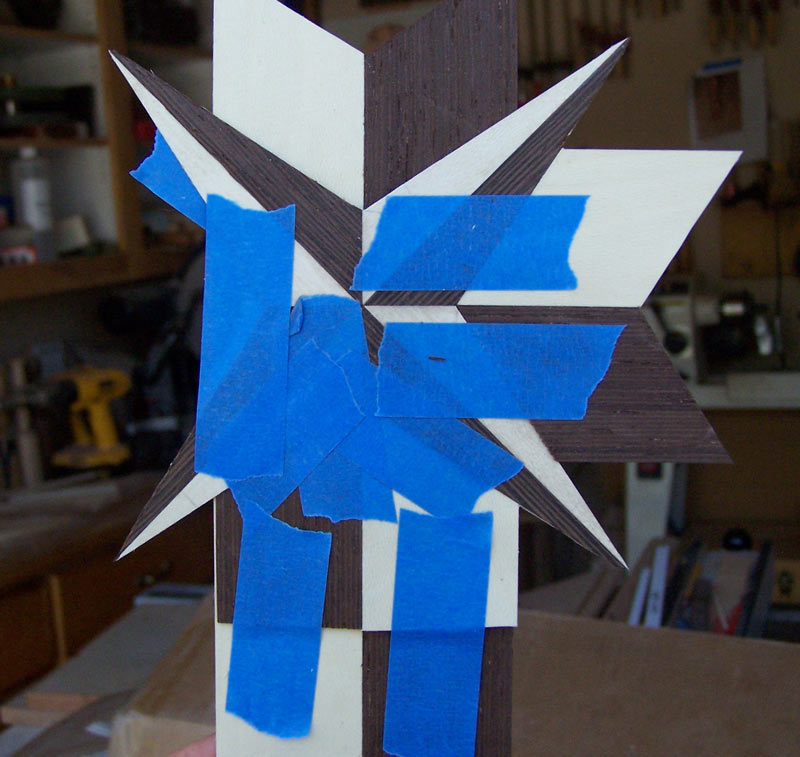
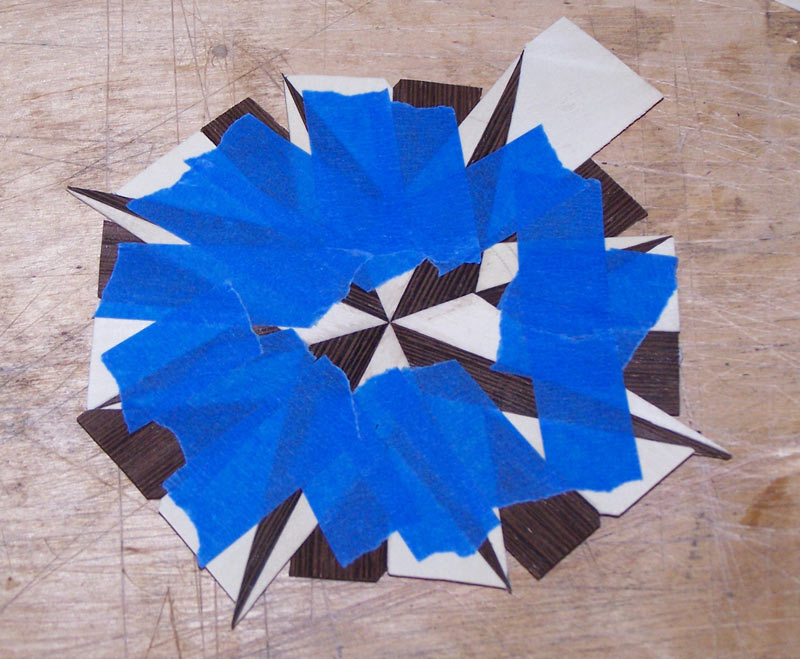
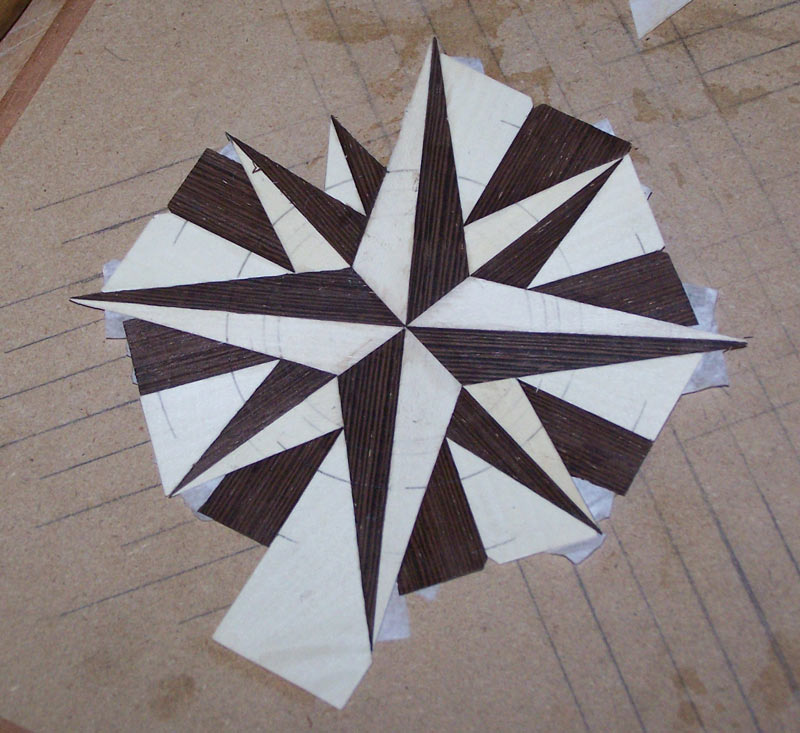
All that's left is the final points - only this time there's eight of them. Line up the center of the two strips so that the line goes through the center of the base rose. You can do this by aligning it with the "V's" on each side.
These are a bit easier to put in since the line between the two strips doesn't line up with any other line - it only lines up with the bottom of the "V". So if you're off a bit, no one will ever notice.
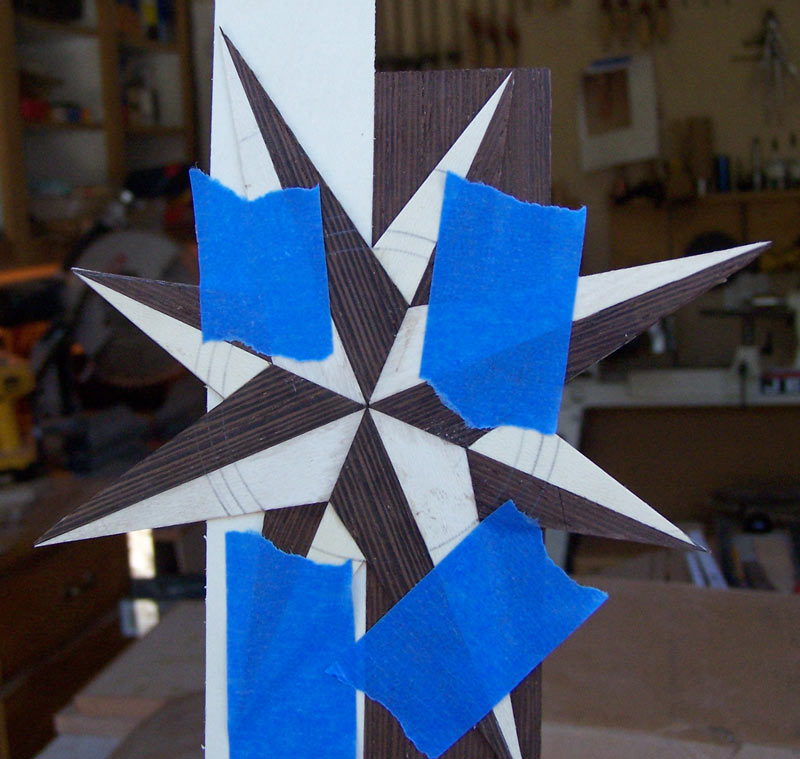
And just an additional note - you should put a couple of pieces of tape on the back to hold things in place while you cut the piece.
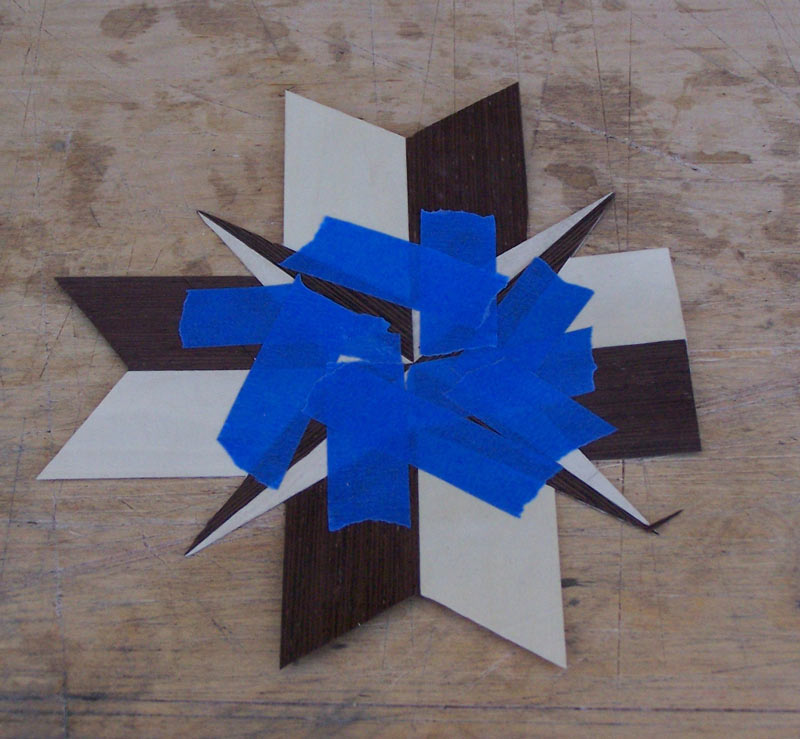
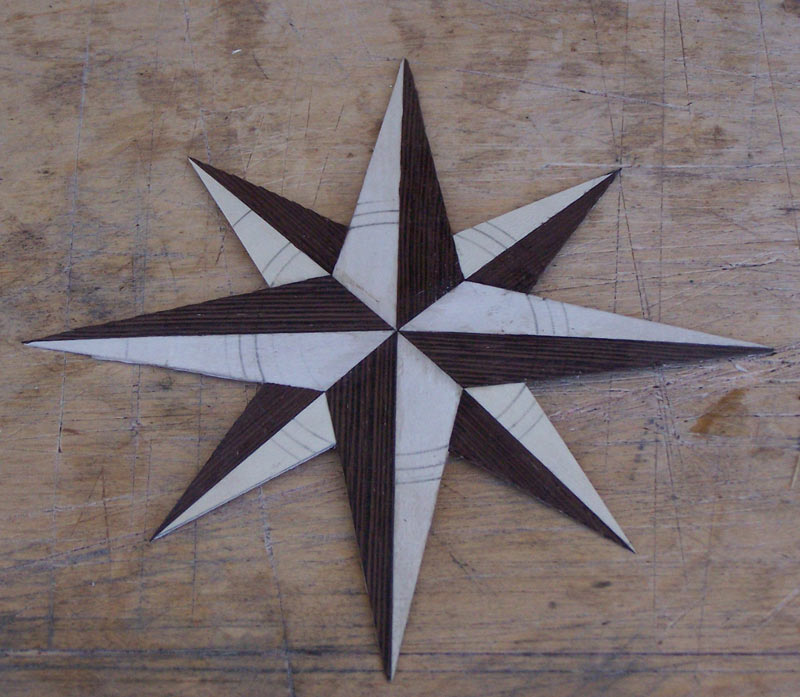
Once you cut all eight pieces, the veneer will look something like the following.
Turn the veneer over and put veneer tape on the new seams.
When the veneer tape is dry, turn the veneer over and remove the blue tape.
We again have to figure out what the dimensions of these points will be. I used 2 1/4" as a radius for these points, and about 1.5" for the inner circle.
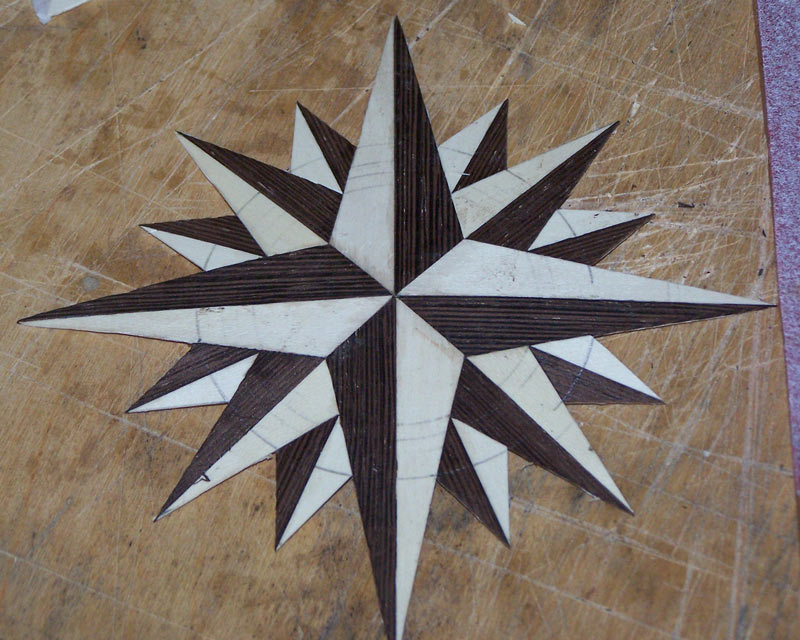
Start cutting the final points.
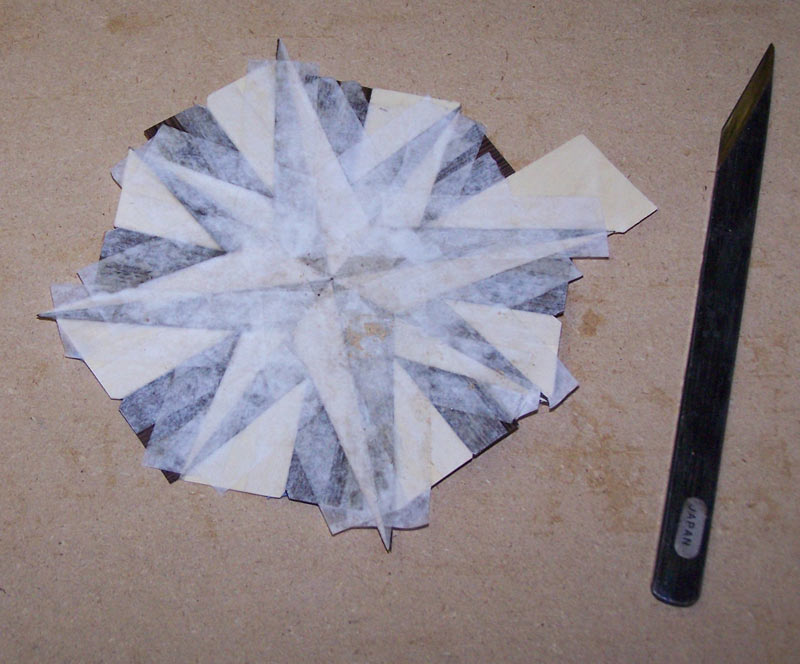
After you cut all the points, the rose is complete. The picture below shows the glue face of the rose. All you have to do now is lay it into the field veneer. I'll add a description of how to do this later. Please check back.
The next web page shows you how to inset the compass rose into the field veneer. Click here.