Compass Rose
Continued
P. Michael Henderson
August 24, 2008
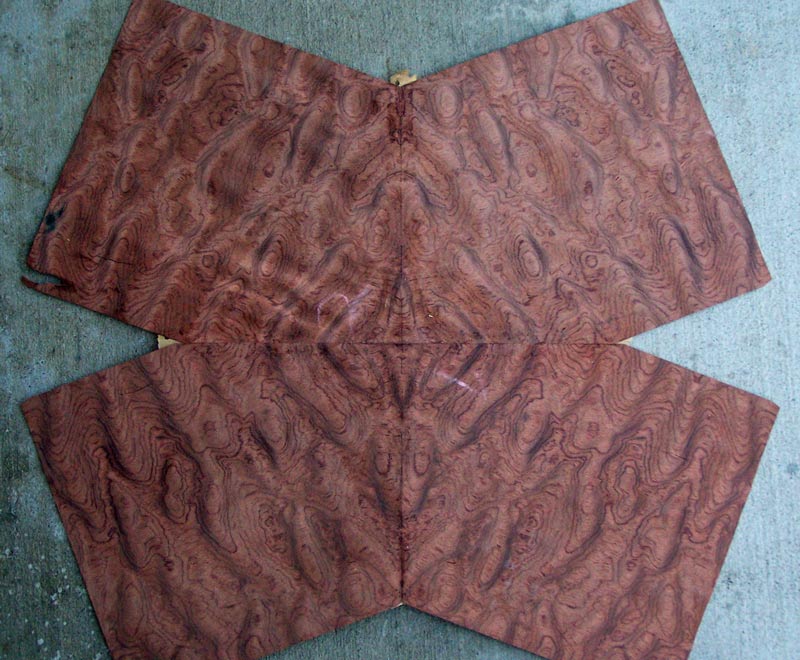
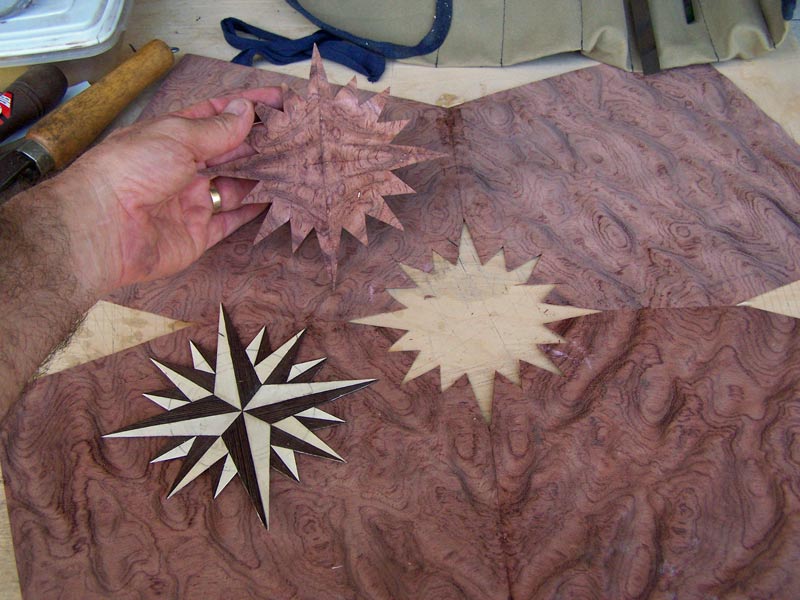
I'm using waterfall bubinga here, laid in a four way match. I like bubinga for decorative elements like the compass rose because it contains figure that you can use somewhat like a frame for the compass rose. If you look at the bubinga, you'll see the figure forms somewhat of a circle, or ellipse, around the center.
If this is your first time insetting a decorative element, I would not recommend you use bubinga. Bubinga is a "difficult veneer" - it splits easily and it warps like a potato chip when water hits it. Since you have to use wet veneer tape on it, you have to deal with the movement.
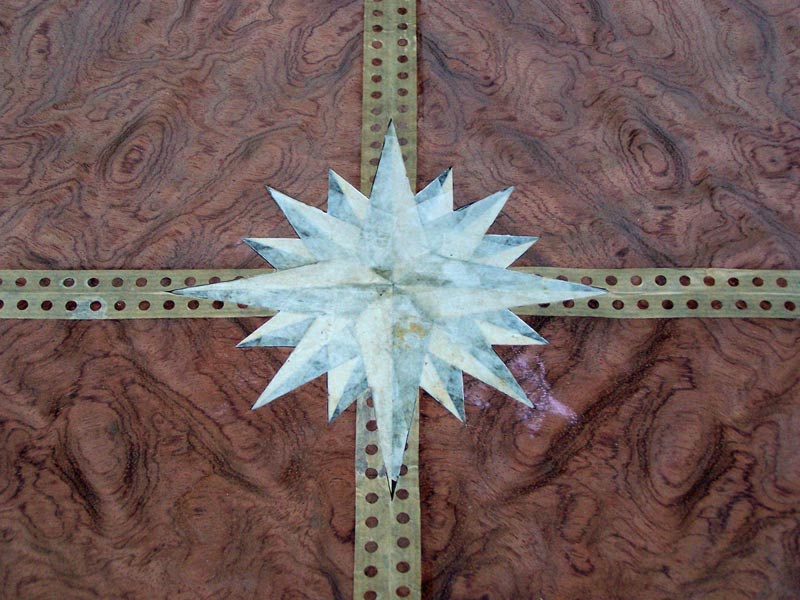
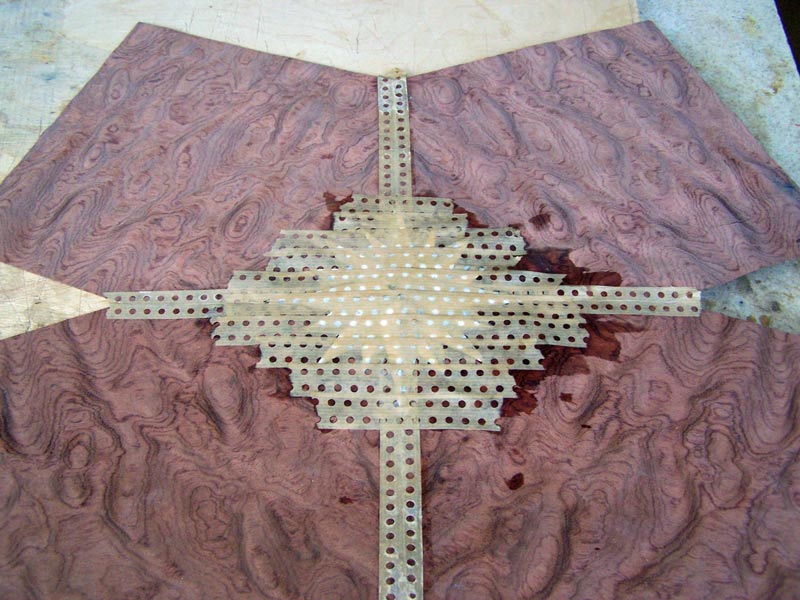
We begin by taping the compass rose onto the bubinga. Since I did a four way match, I'm going to use the seams to align the rose.
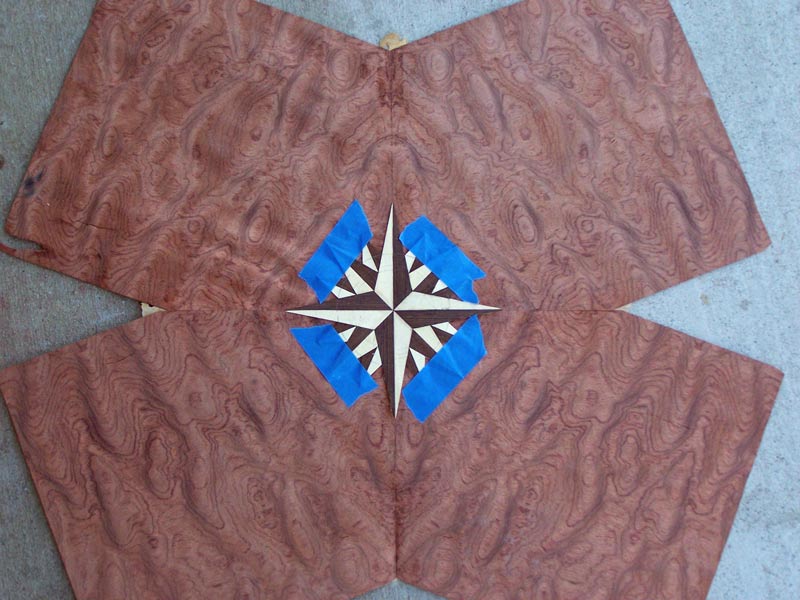
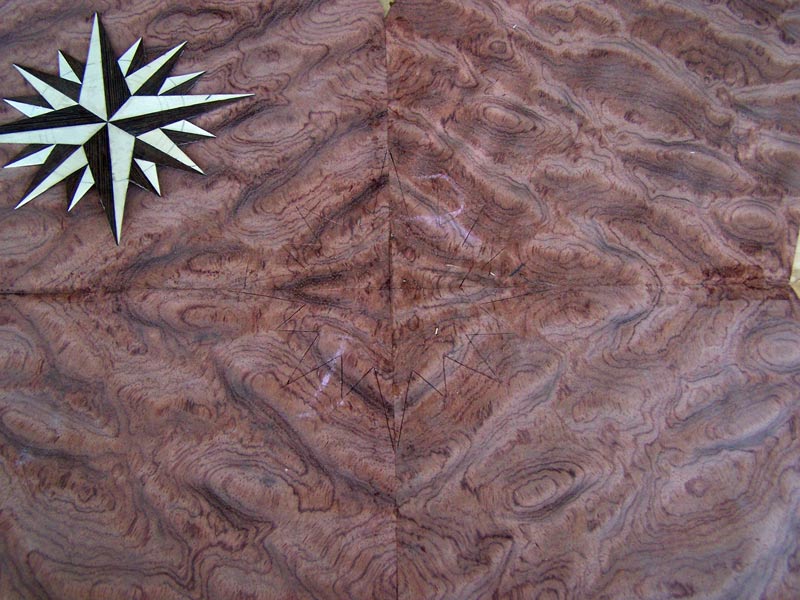
Mark the position of the rose on the field. The rose looks symmetrical but it is not - there's no way you could have cut everything on the rose that precisely - so after you cut the field, the rose will only go in one way.
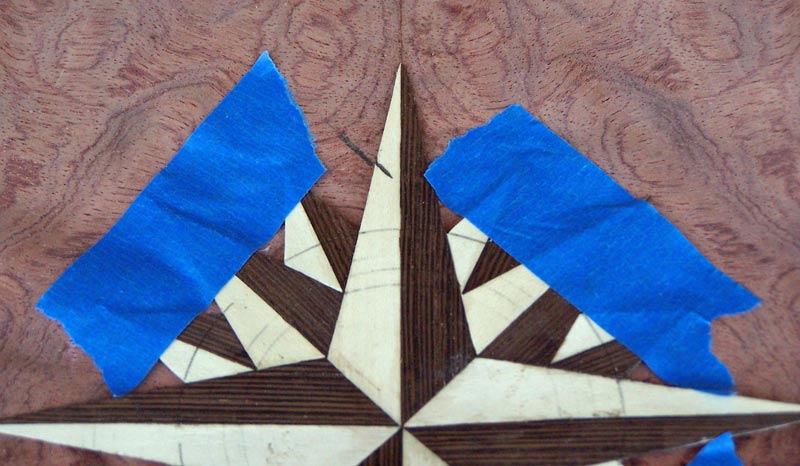
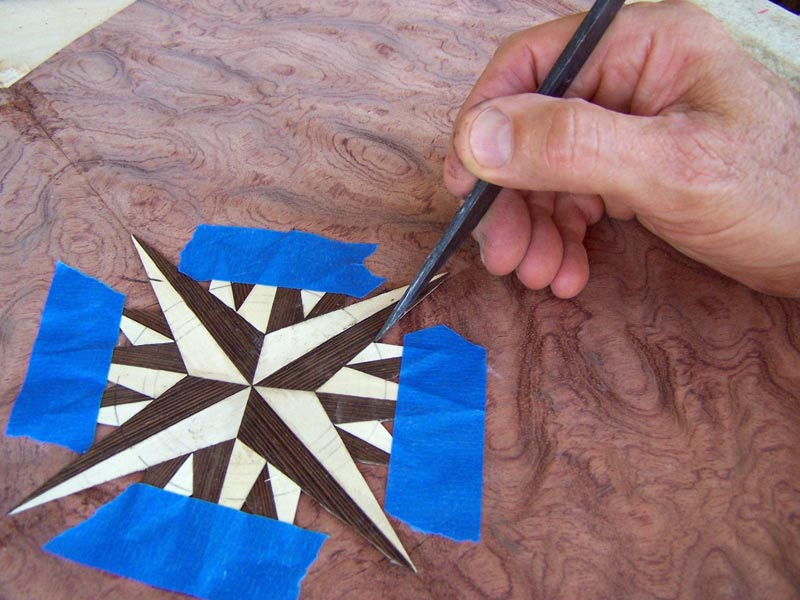
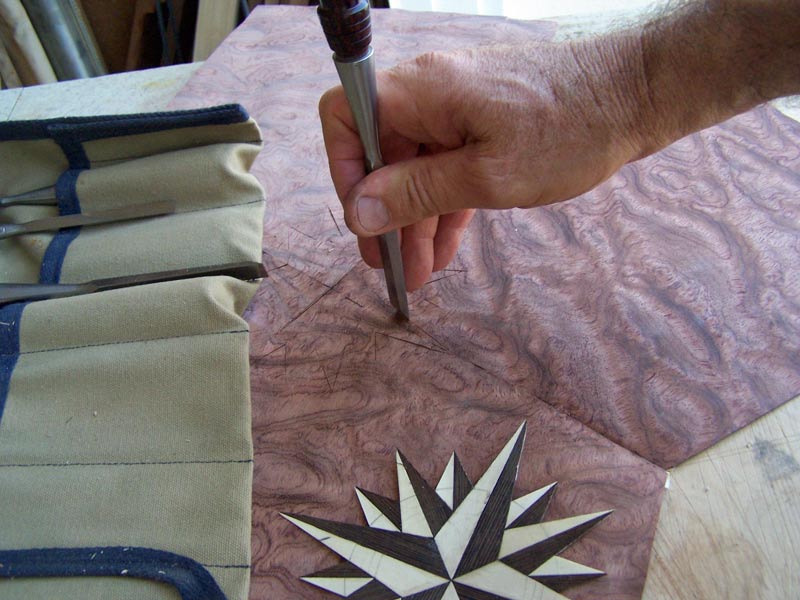
Using the edges of the rose, cut the field veneer. This type of cutting is the reason I like Japanese marking tools. I can hold them like a pencil, they're rigid, and I can sharpen them. They come in left and right versions and you should put the flat side against the edges of the rose. So you'll change tools each time you cut the other side of a point.
You don't have to cut the "points" (inside or outside) completely - you'll be able to finish cutting them later. The danger of trying to cut the outside points completely is that you'll slip and cut too far.
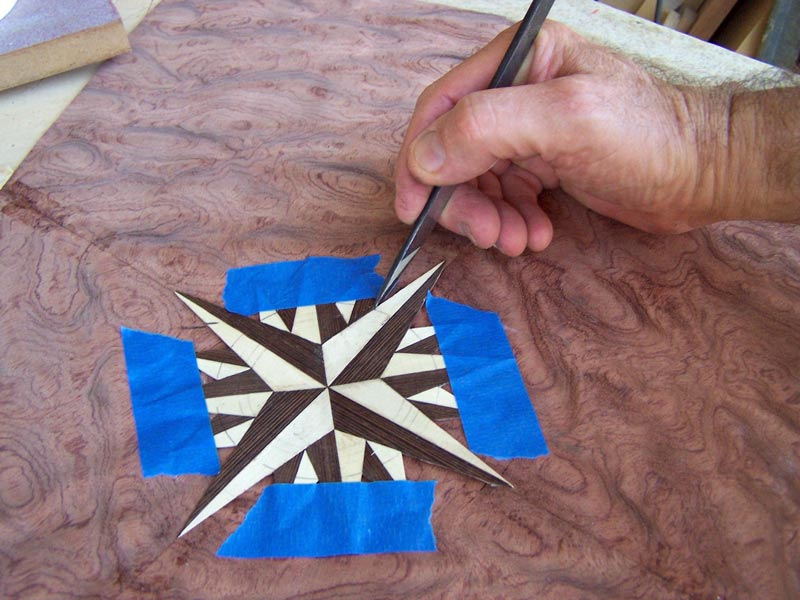
Remove the blue tape when you come to a section that's taped down.
When you finish cutting that section, tape the rose down again.
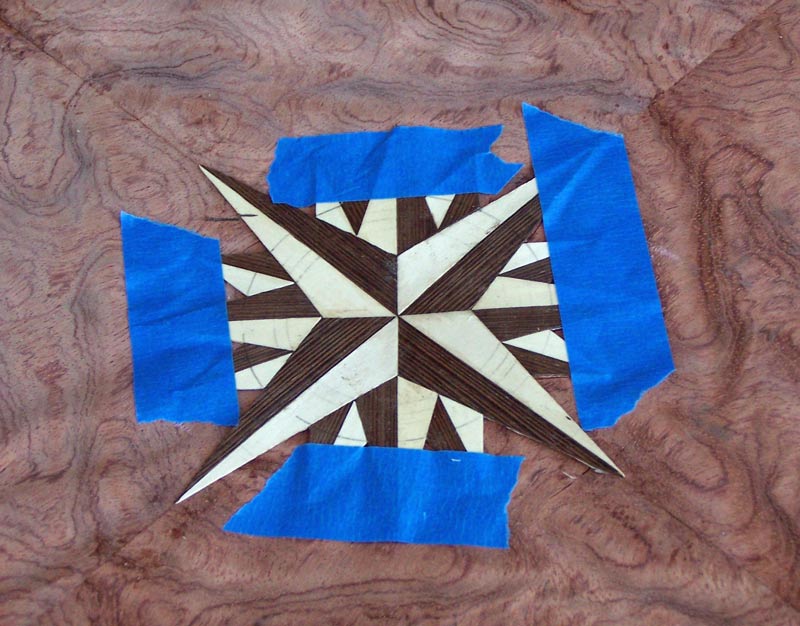
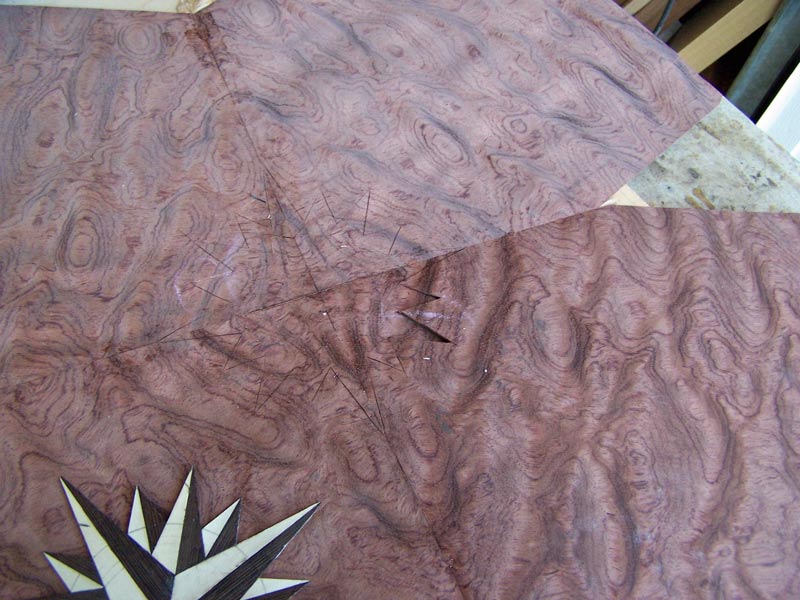
When you've cut all around the rose, remove the rose. You can see the cuts in the field veneer.
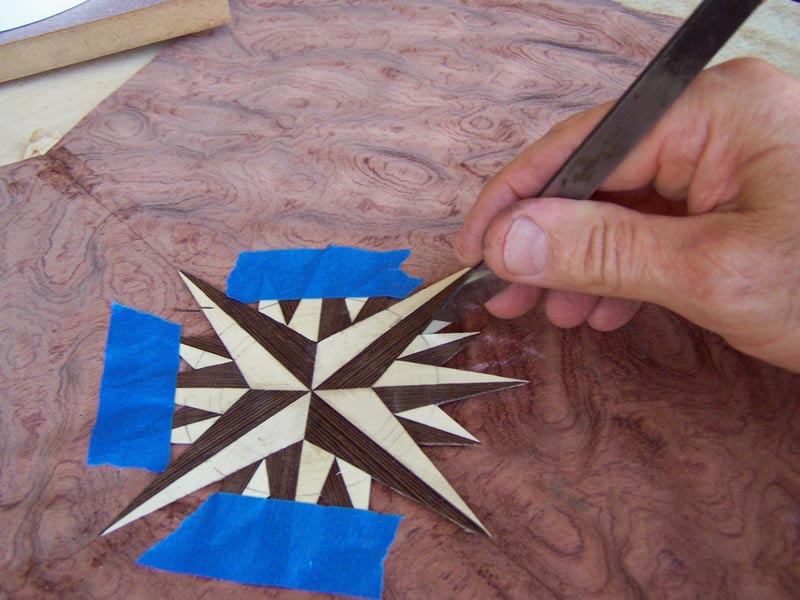
You can now finish the cuts. You can use your knife or a sharp chisel.
You can see the waste piece is starting to come loose from the field.
Remove the waste piece from the field.
Place the rose into the cutout, being careful to align the mark you made earlier. It should fit well if you were careful in your cutting. Tape it in place with blue tape. I also use a veneer roller to put pressure on the rose to force it into the cutouts, when the fit is tight - it's an excellent tool for doing this kind of veneer work. But don't ask me where to purchase it. I bought it from an old veneer worker who was shutting down his business, and he used it for a lot of years. I don't even know what the proper name for it is so I can't even google for it.

Turn the veneer over so the show face is up.
Use veneer tape to hold the rose in place.
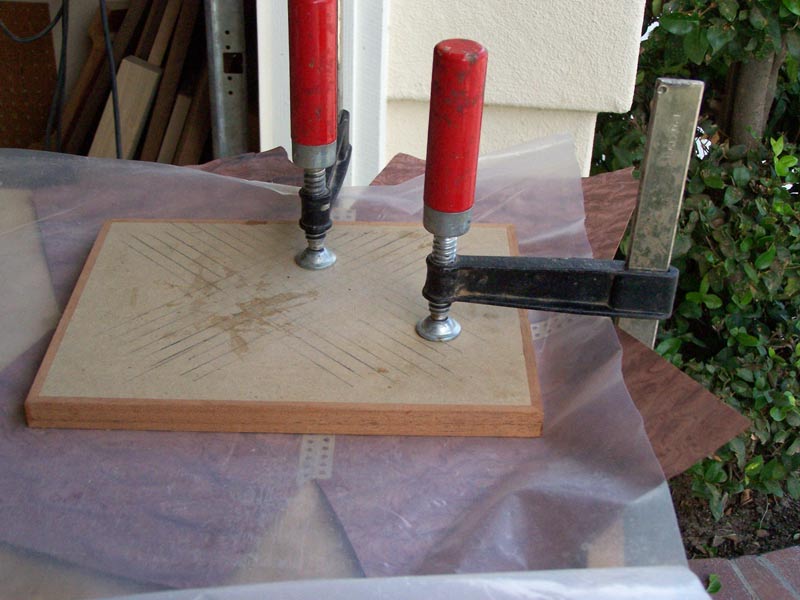
With bubinga, I like to press the veneer as it dries to keep it flat. You may not have to do that with a better behaved veneer.
When everything is dry, remove the blue tape from the glue side and continue whatever work you have to do before laying the veneer.
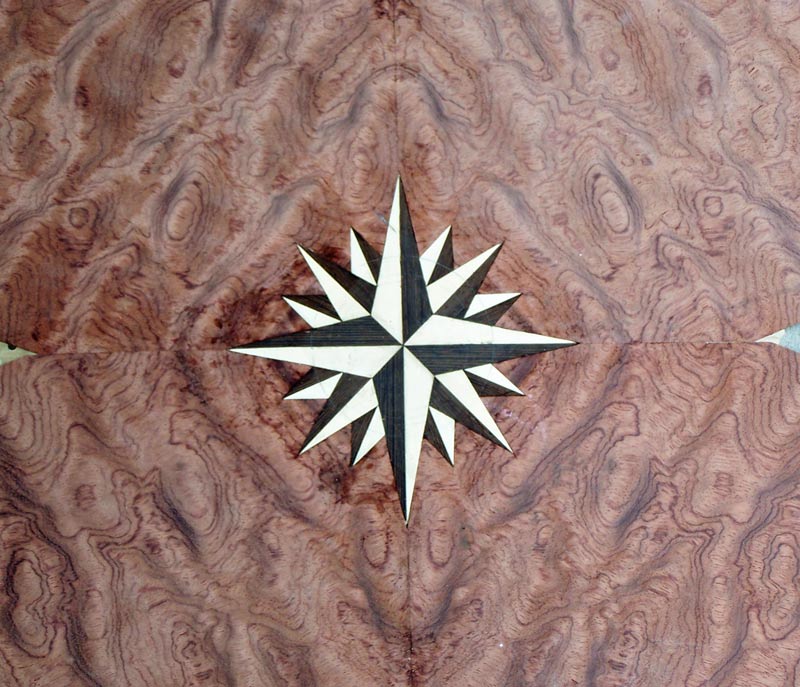
If you have some small gaps between the rose and the field, you can cut small slivers of field veneer and insert it in the gaps. You'll be surprised that the patches don't show. People's eyes are drawn to the rose and they just don't see those small patches. And on an irregular veneer like this bubinga, they're even less noticeable.
Thank you for reading my tutorial. I hope it was of value to you. If it was, please send me an e-mail with the subject line of "Compass Rose 2" so I know people are reading this.
Any questions, please e-mail me at mike@mikes-woodwork.com
And you can see some of my woodwork here.