Salt and Pepper Shakers
P. Michael Henderson
March 7, 2026
This is a fairly simple project but one that I couldn't tackle earlier. My hesitation was that I didn't believe I could drill holes in the shape of an "S" and a "P" accurately enough to make them look good. However, now that I have a CNC machine I can use that to drill the holes accurately.
I'm going to make two shakers, one for salt and one for pepper. While a salt or pepper shaker looks simple, there are some issues.
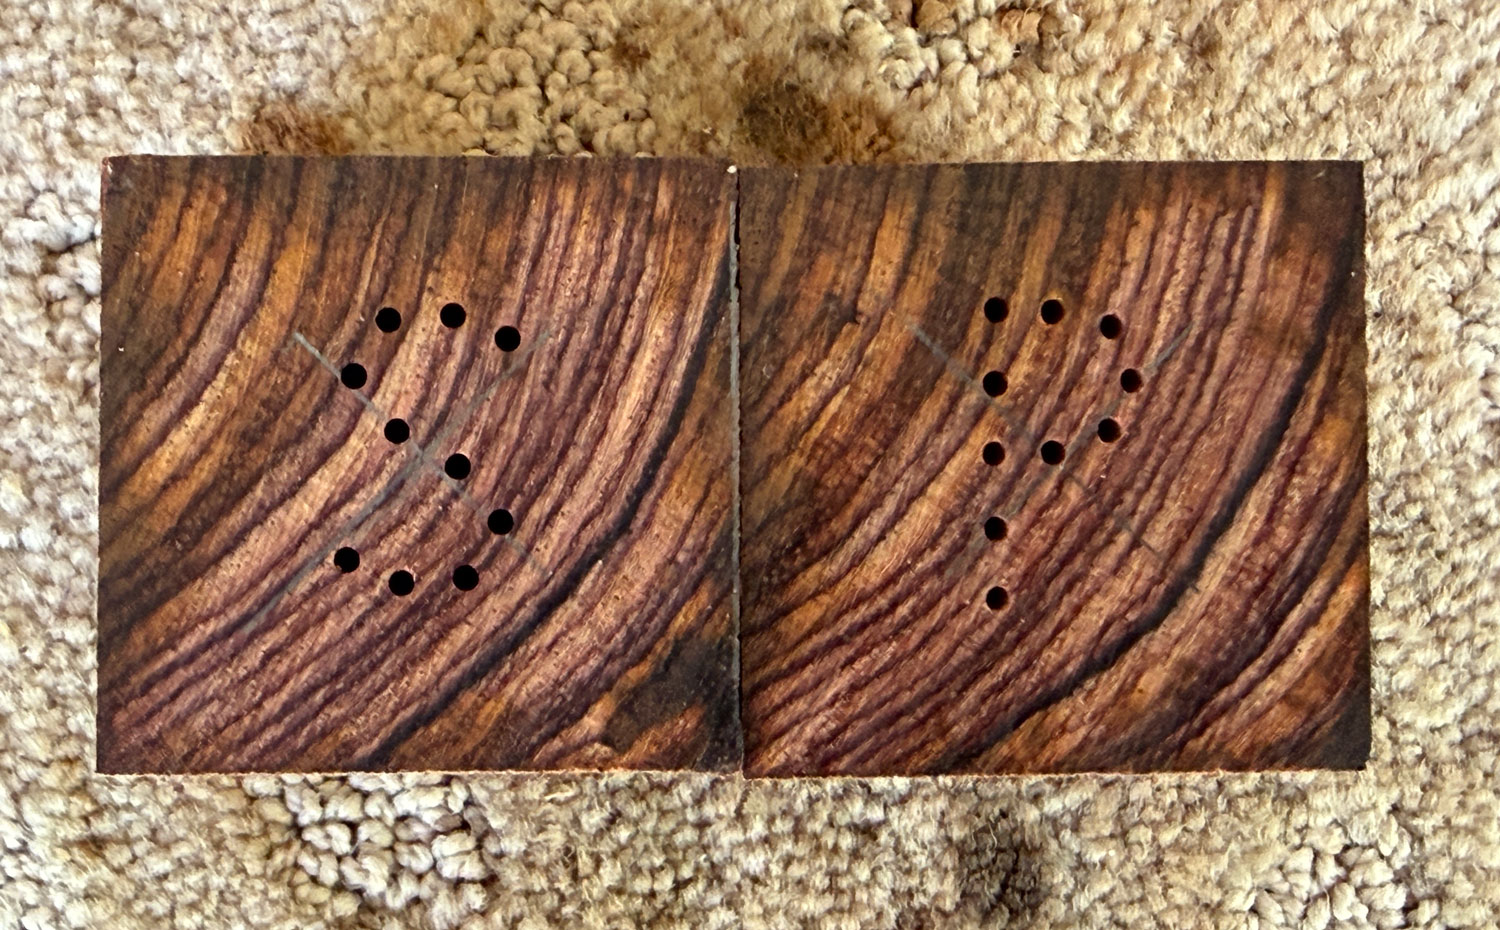
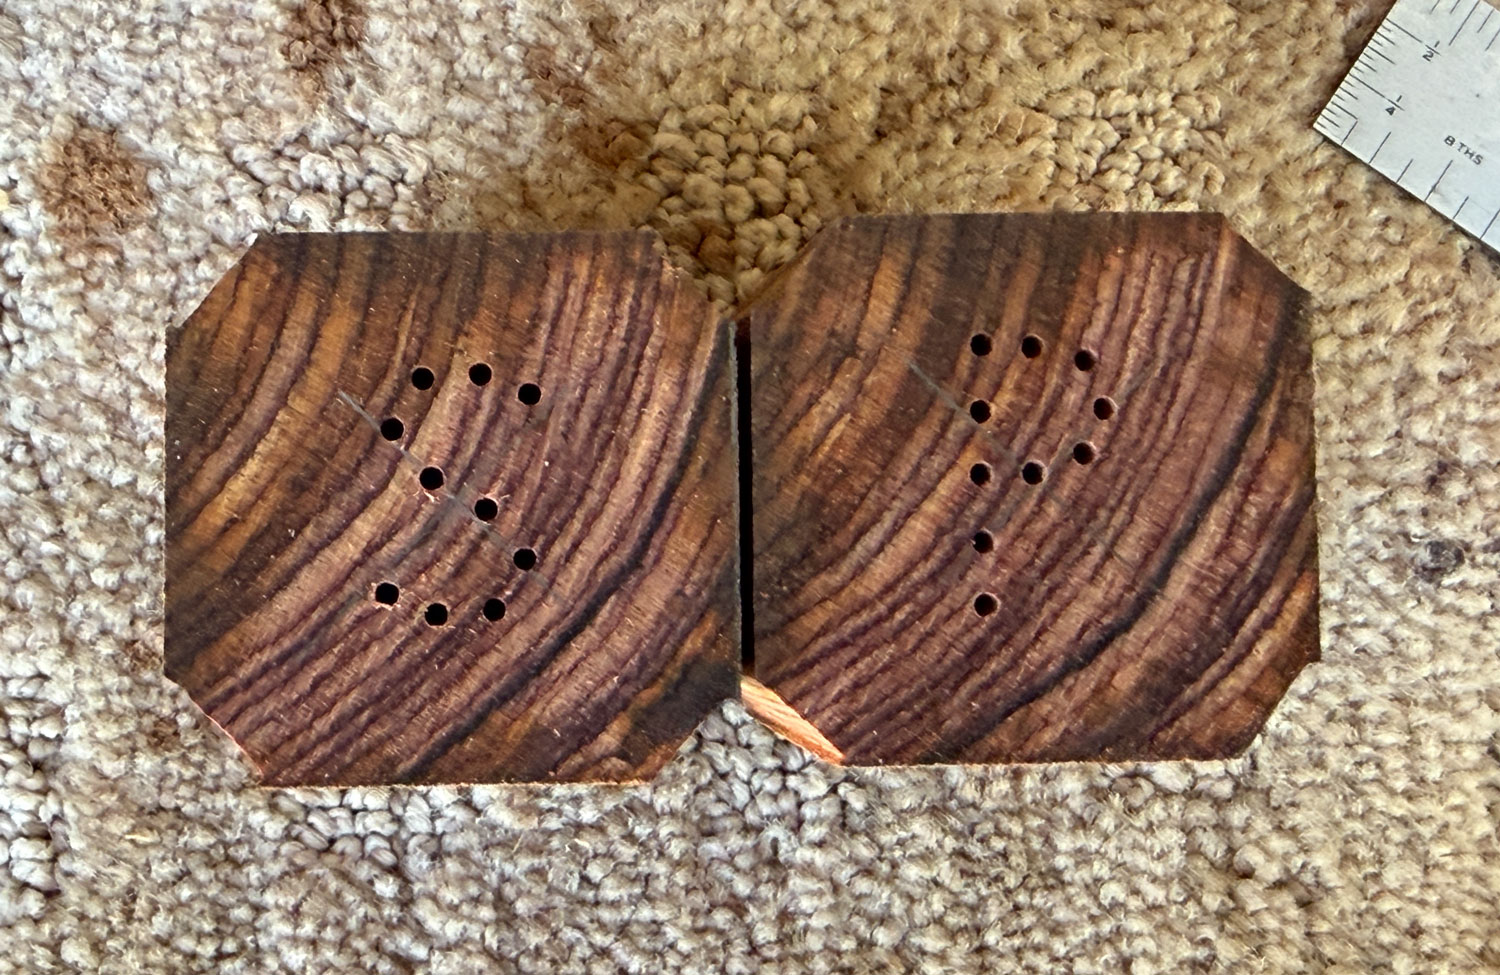
1. How big should the holes be? I did several trial shakers starting with 2mm holes, which proved to be too big. I wound up using a 1.5mm drill which worked well, as far as size.
2. How many holes should I use to make the "S" and "P"? I wound up using 10. When I used less than 10 the letters "S" and "P" were not clear. It took 10 holes to shape the letters well.
3. How tall should the letters "S" and "P' be? This took some prototyping. What looked best was letters about 3/4 inch high.
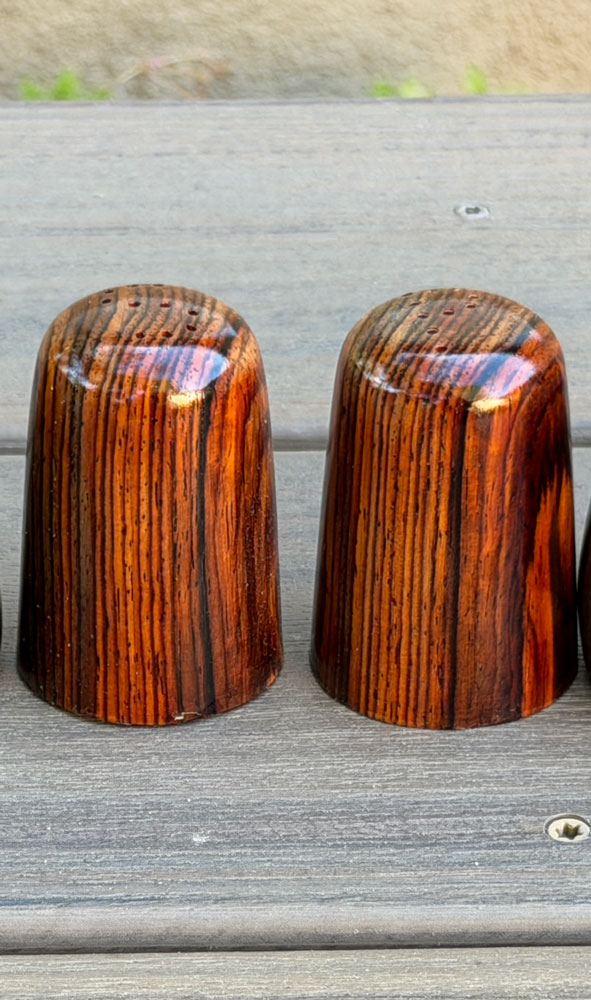
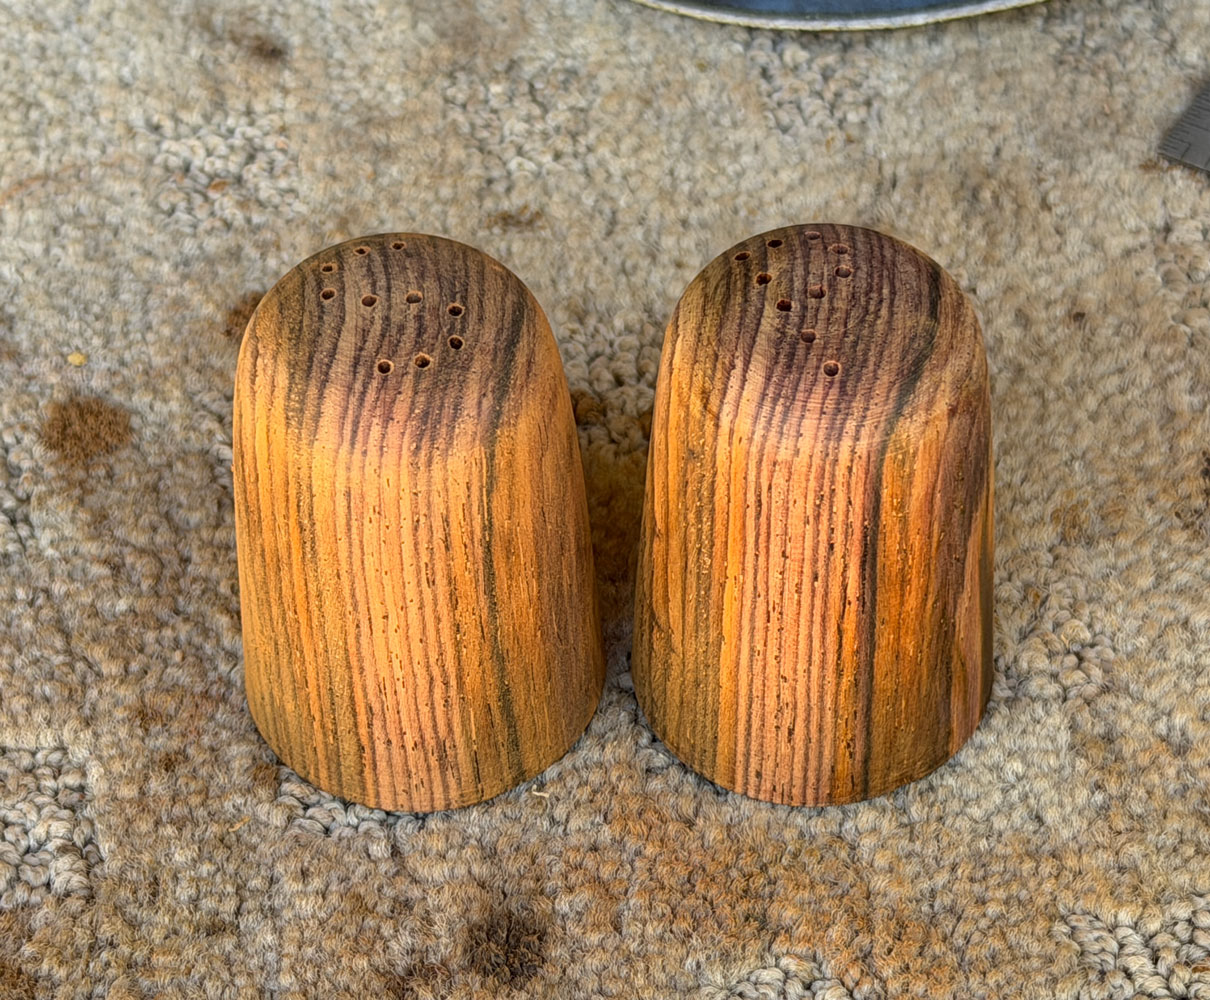
Beyond that, I used a 1 inch hole for the storage of the salt or pepper, and I shaped the shaker somewhat like a thimble. Here's how they came out.
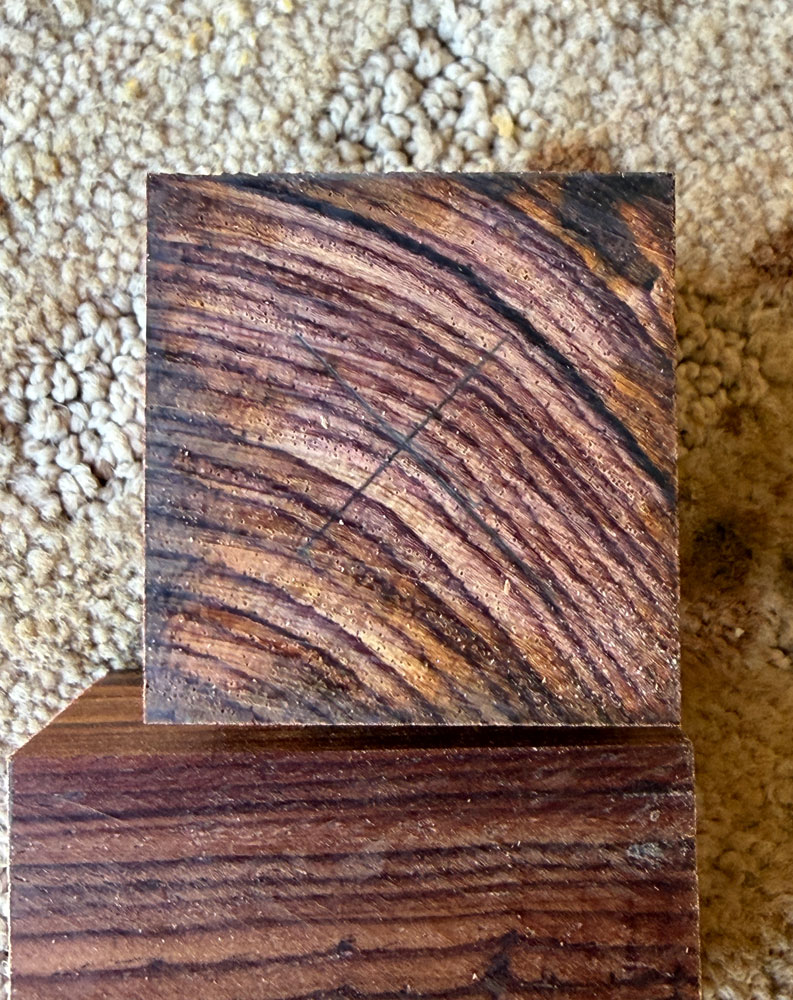
Now, I'll talk about how I made these. I started with two pieces of cocobolo, about 1.5 inches square and 2.25 inches long.

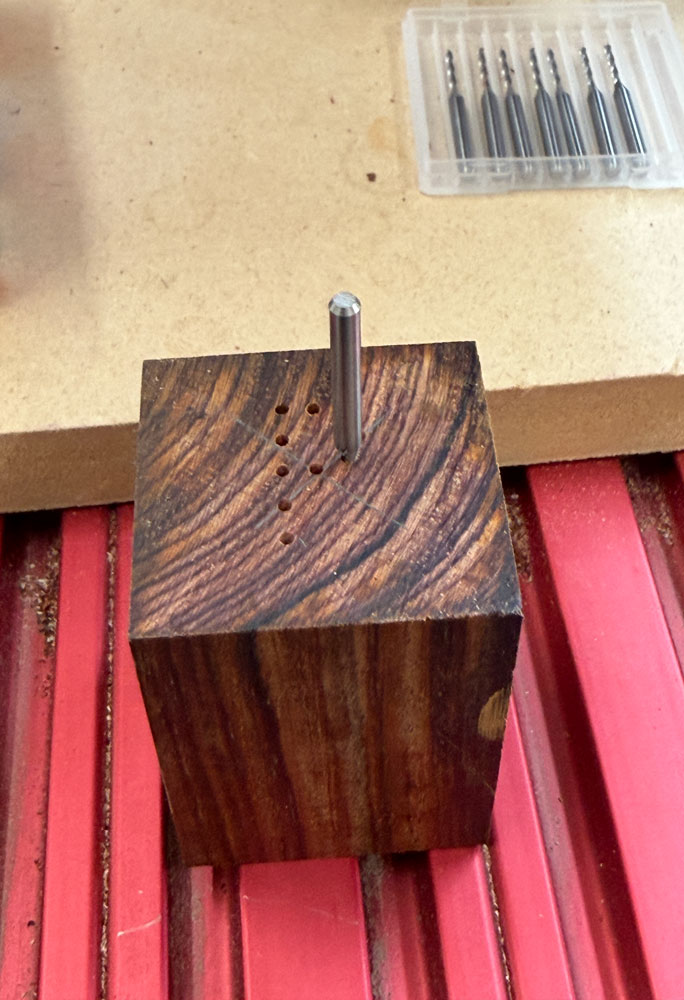
I marked the center of both ends of the blanks.
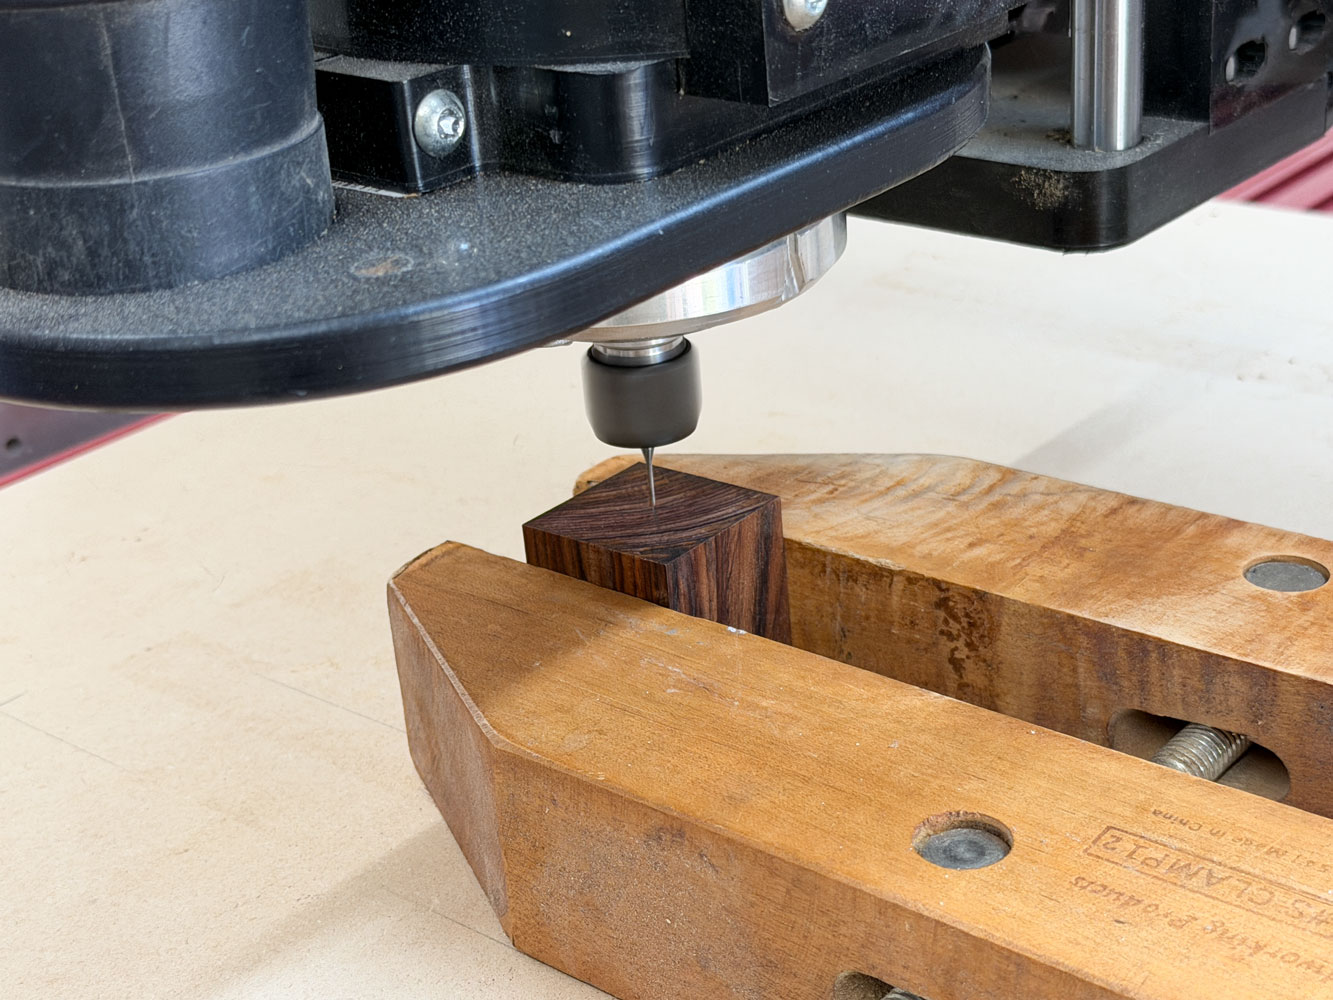
I took the blanks to my CNC and clamped them in a wooden clamp. The clamp is fastened to the spoil board with double sided tape.
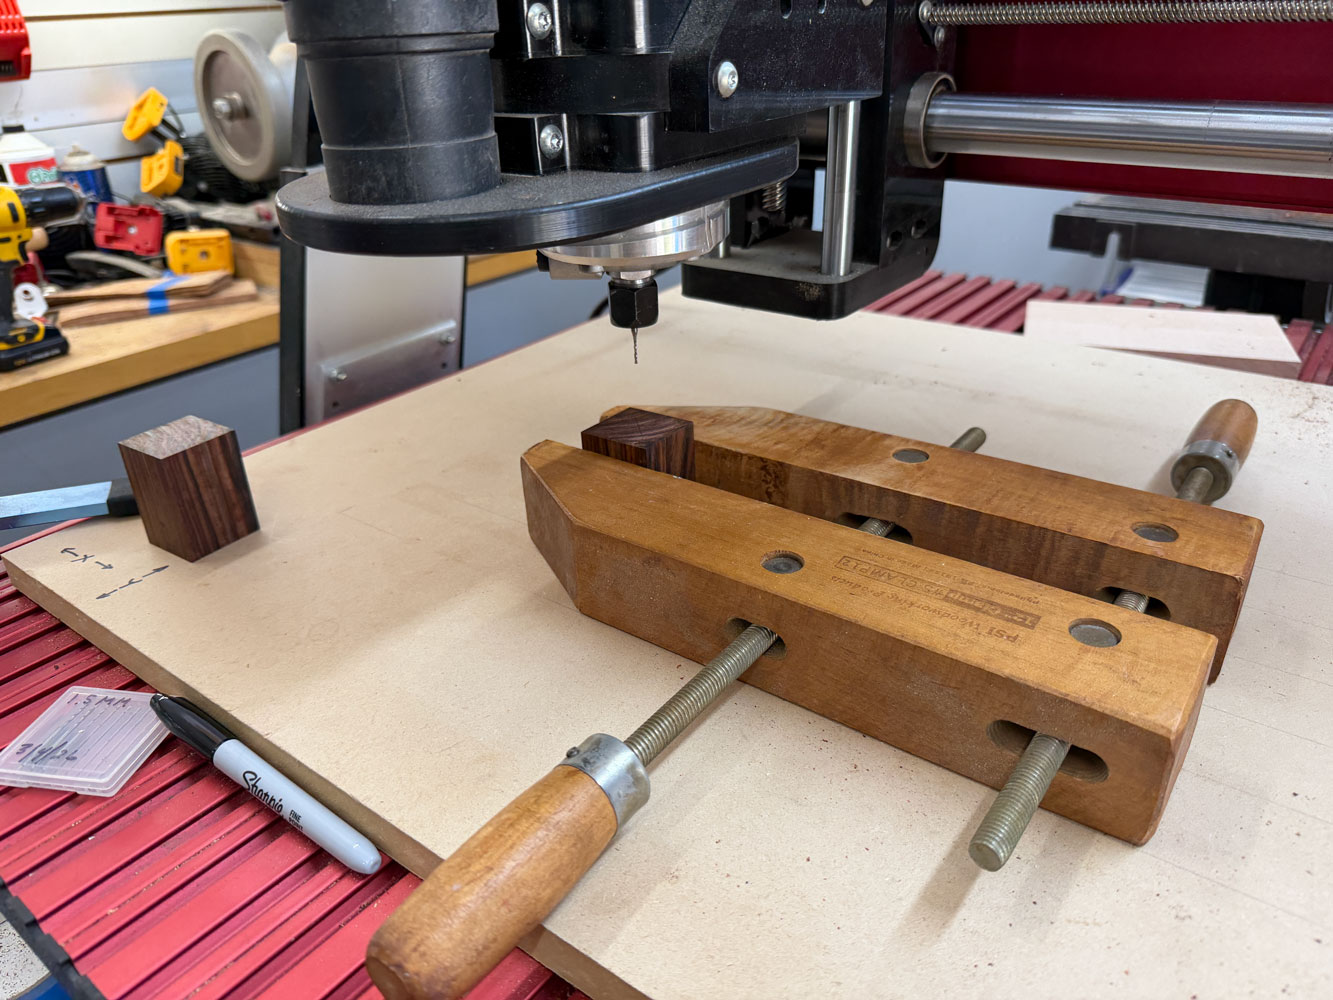
Here's the CNC drilling the holes. The bit will drill 12mm deep, a bit over .47 inches.
Here's the "S" and "P" after drilling.
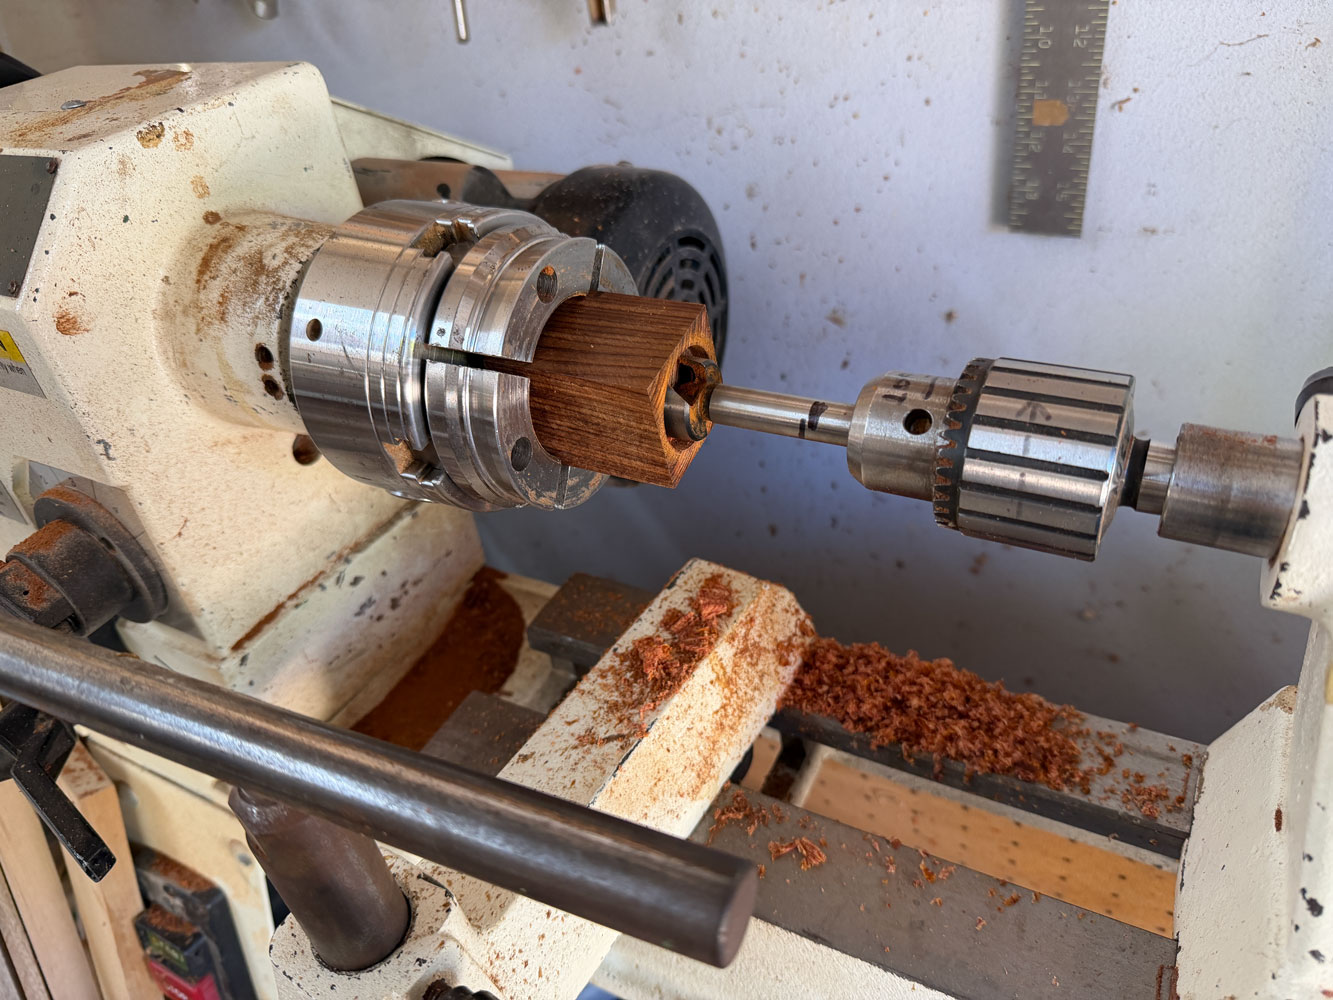
Now I'll go to the lathe. I'm not an expert turner but I manage. The first thing I'm going to do is drill out the center. I clamp the blank in a chuck, with the bottom pointing toward the tail stock. It's a bit difficult to see, but there are two black marks on the jaws. I mark the work piece with a corresponding mark so that if I have to take the work piece out of the jaws, I can put it back in the same way.
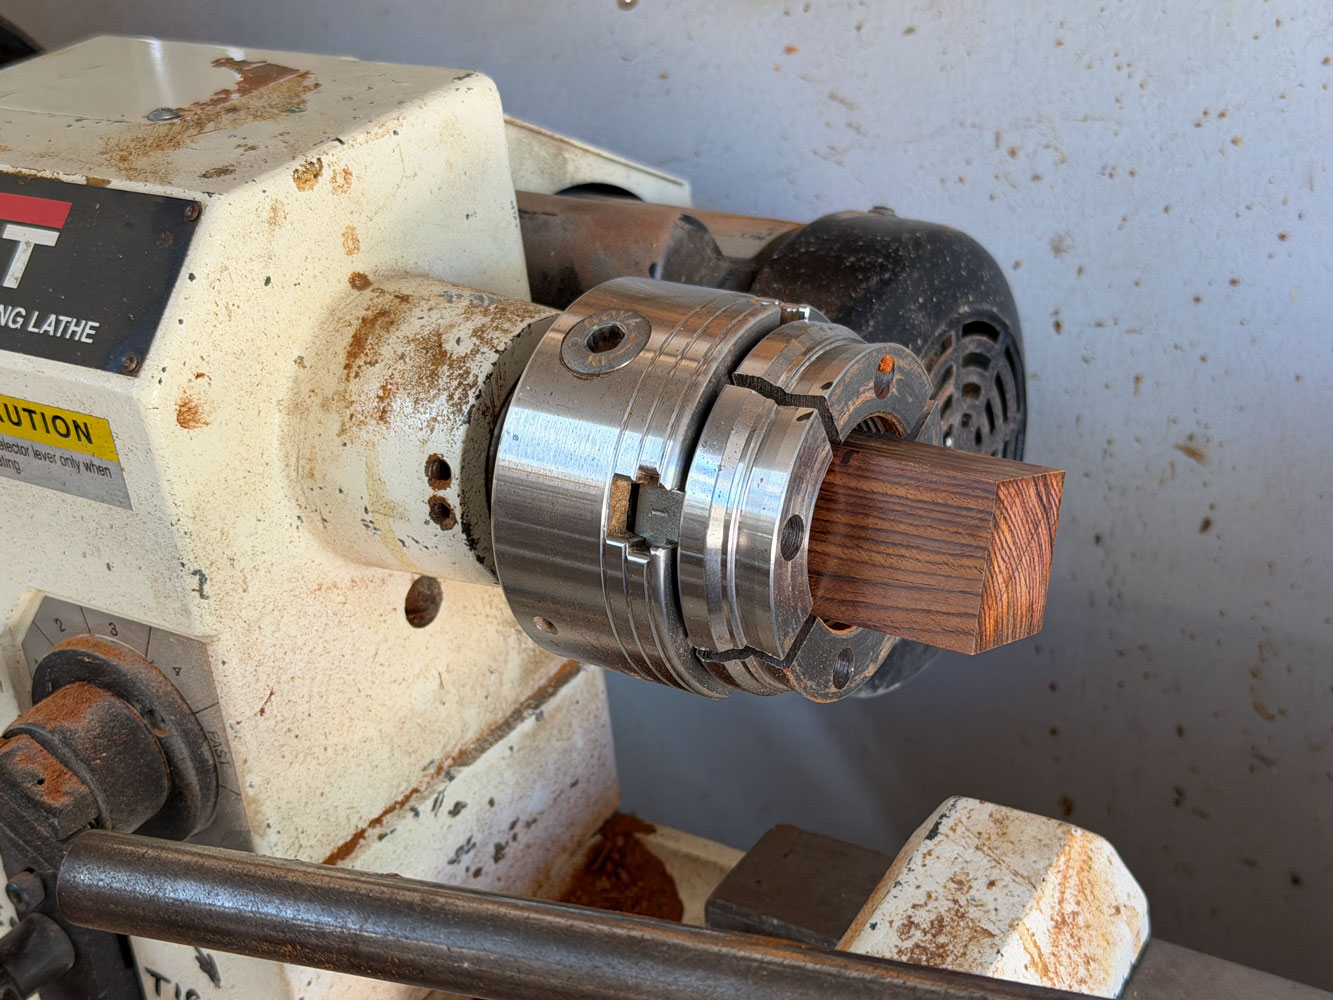
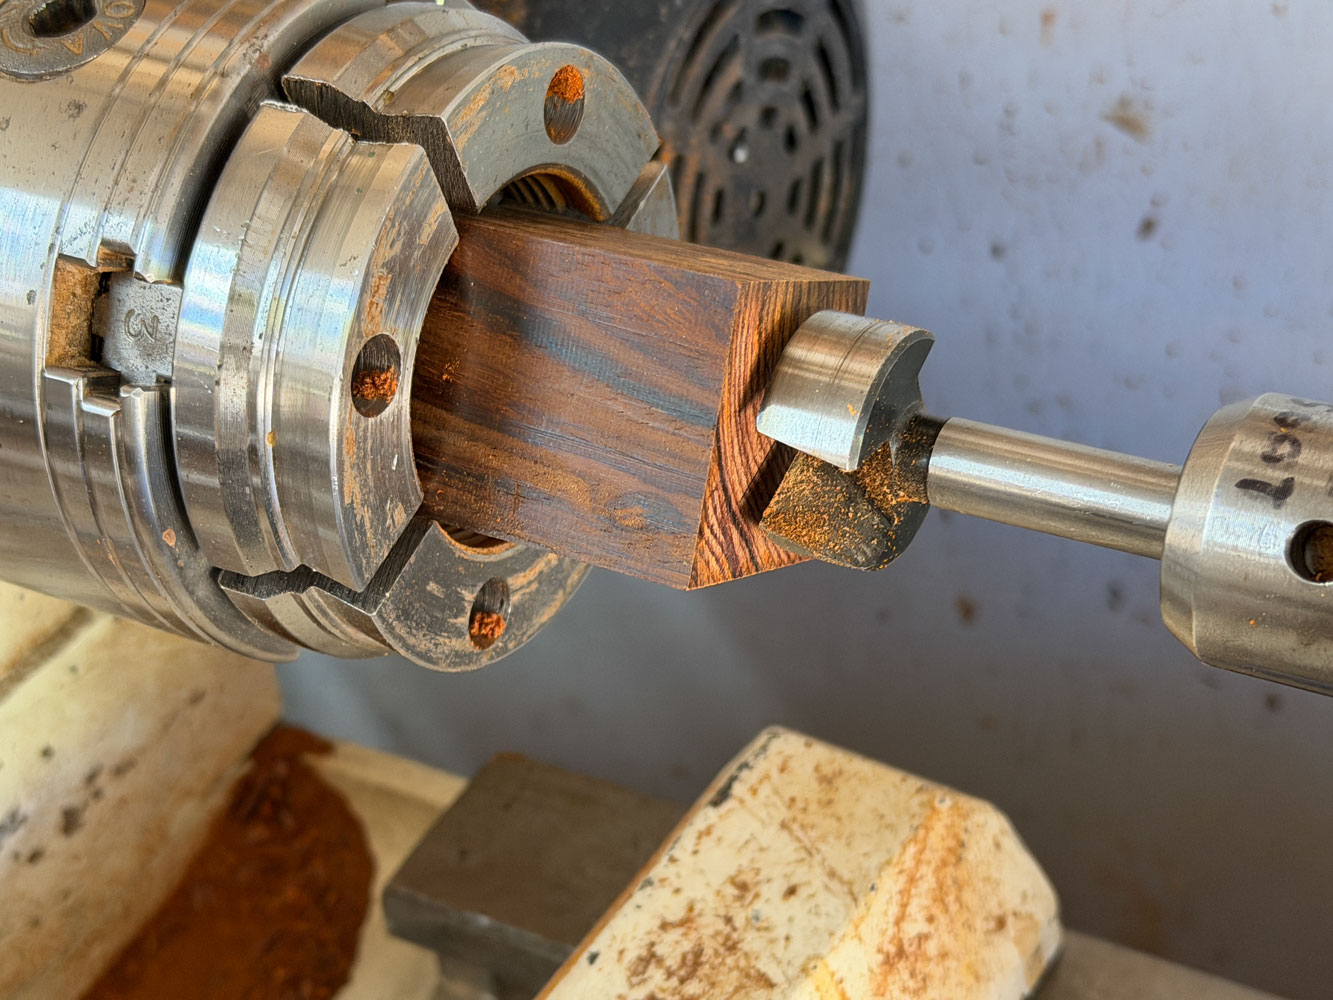
I start with a 1.25 inch Forstner bit.
And drill a hole about 1/4 inch deep. This is necessary because I'll use a cork to seal the storage hole, and the cork needs to extend a bit beyond the storage hole. Unfortunately, I didn't take a picture of the hole after drilling. But see the picture I provide later.
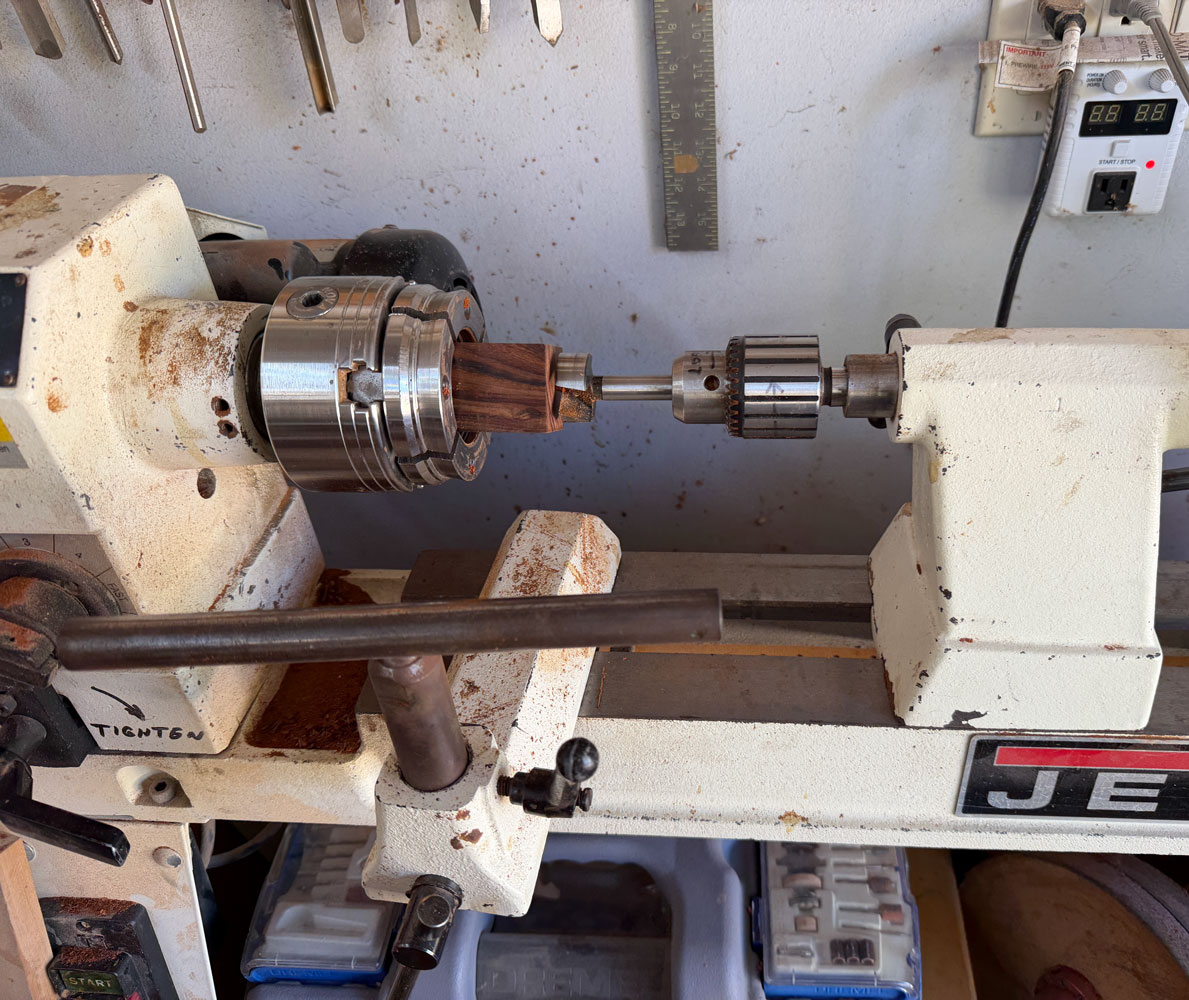
Then I switch to a 1 inch Forstner bit and will drill almost all the way through the blank. The blank is 2.25 inches long, and the drill bit drilled into the top about .47 inches so I want to go a bit over 1 3/4 inches into the blank. I've put a mark on the shaft of the Forstner bit at 1 3/4 inches from the cutting face.
[Note: It's difficult to get a cork stopper for a 1 inch hole. But I found that corks for sparkling wines are large enough. I cut the cork on my bandsaw and taper it using my belt sander. Amazon sells used Champagne corks for a decent price.]
[Second note: I found some #11 size corks on Amazon to fit a 1 inch hole. They're composite corks so no gaps or other imperfections but expensive.]
I only have a certain amount of travel on the tail stock so once I run out of travel, I had to crank the drill bit back and then move the tail stock forward. Then, I could finish drilling the one inch hole.
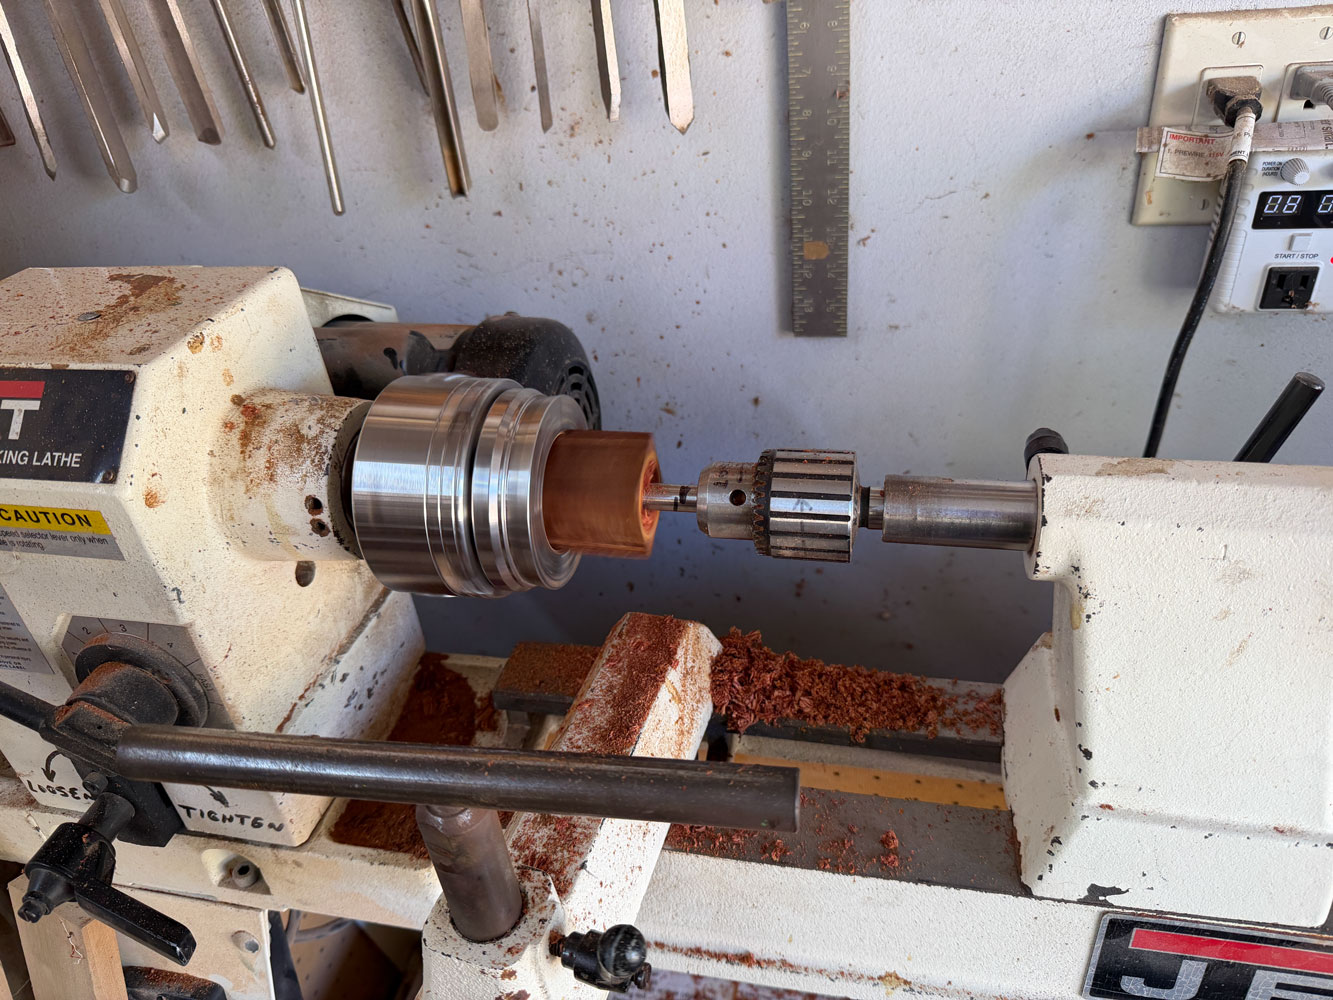
I backed the bit out and checked to see if I could see the holes for the "S" or "P". The holes will be filled with sawdust from the drilling so I take the blank back to the CNC and use one of the drill bits by hand to clean out the holes.
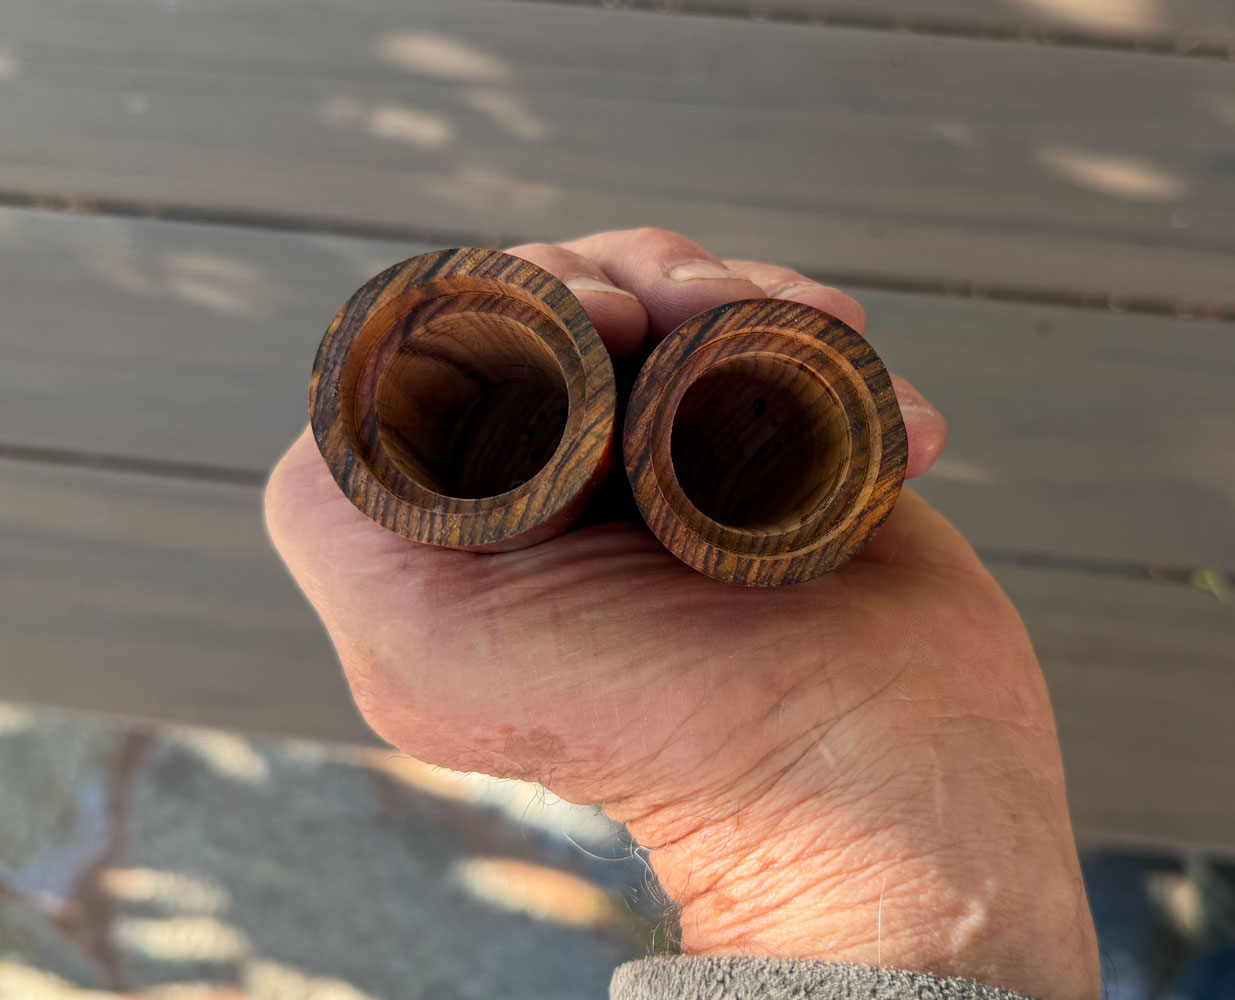
Here's a picture of the inside of the shakers after drilling (taken after I finished the shakers).
Before I go back to the lathe to turn the blank round I go to my bandsaw and cut the four corners back. This speeds up getting the blank round, and avoids some of the hammering as you initially cut into the blank.

Here they are with the corners trimmed.
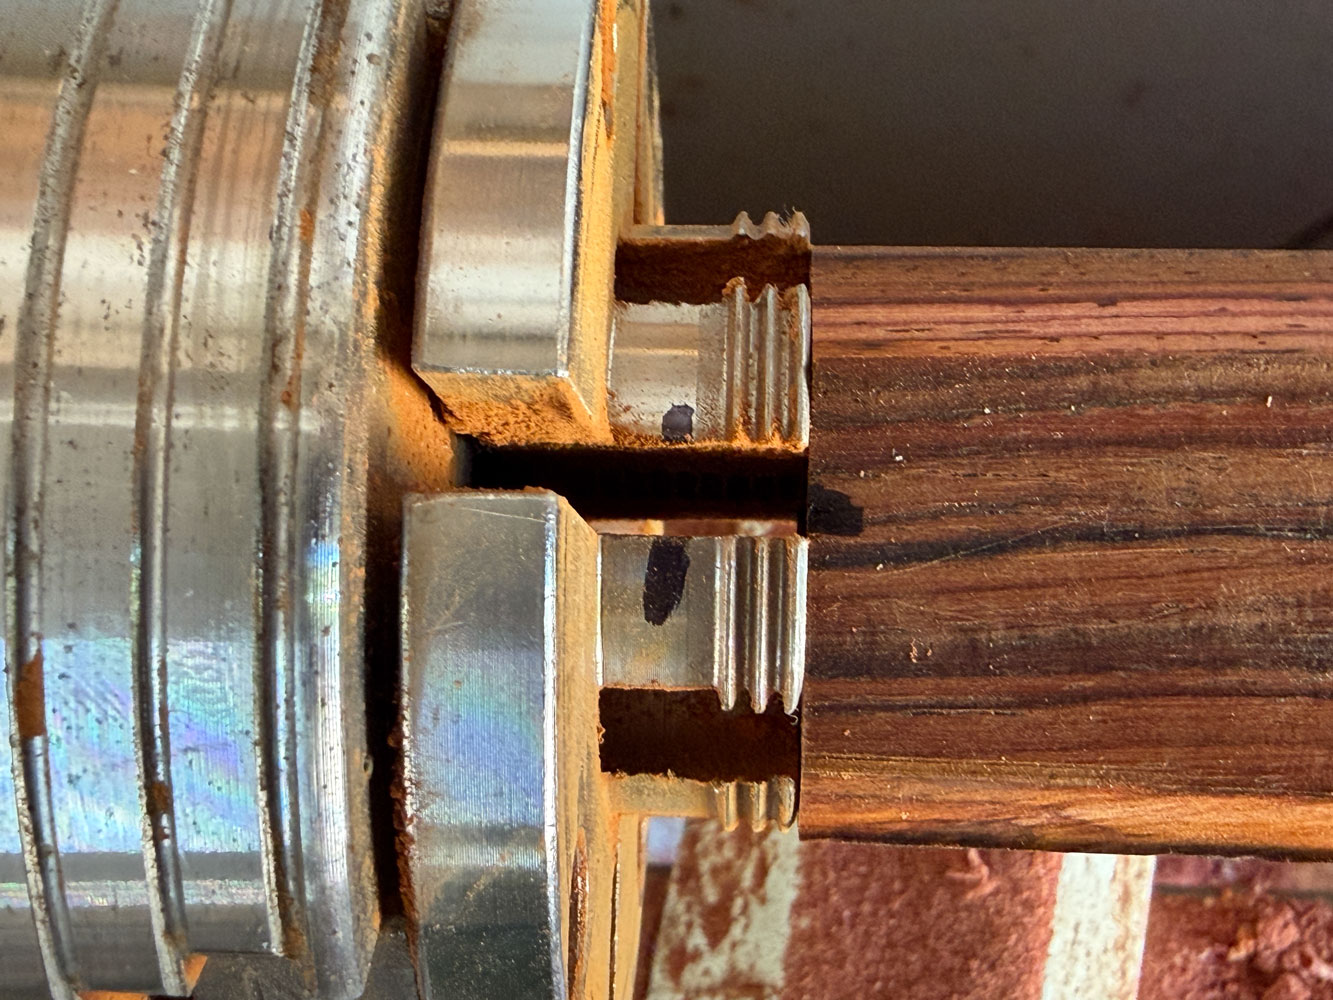
I use some different jaws to hold the blank. The jaws go into the 1 inch hole and expand outward.
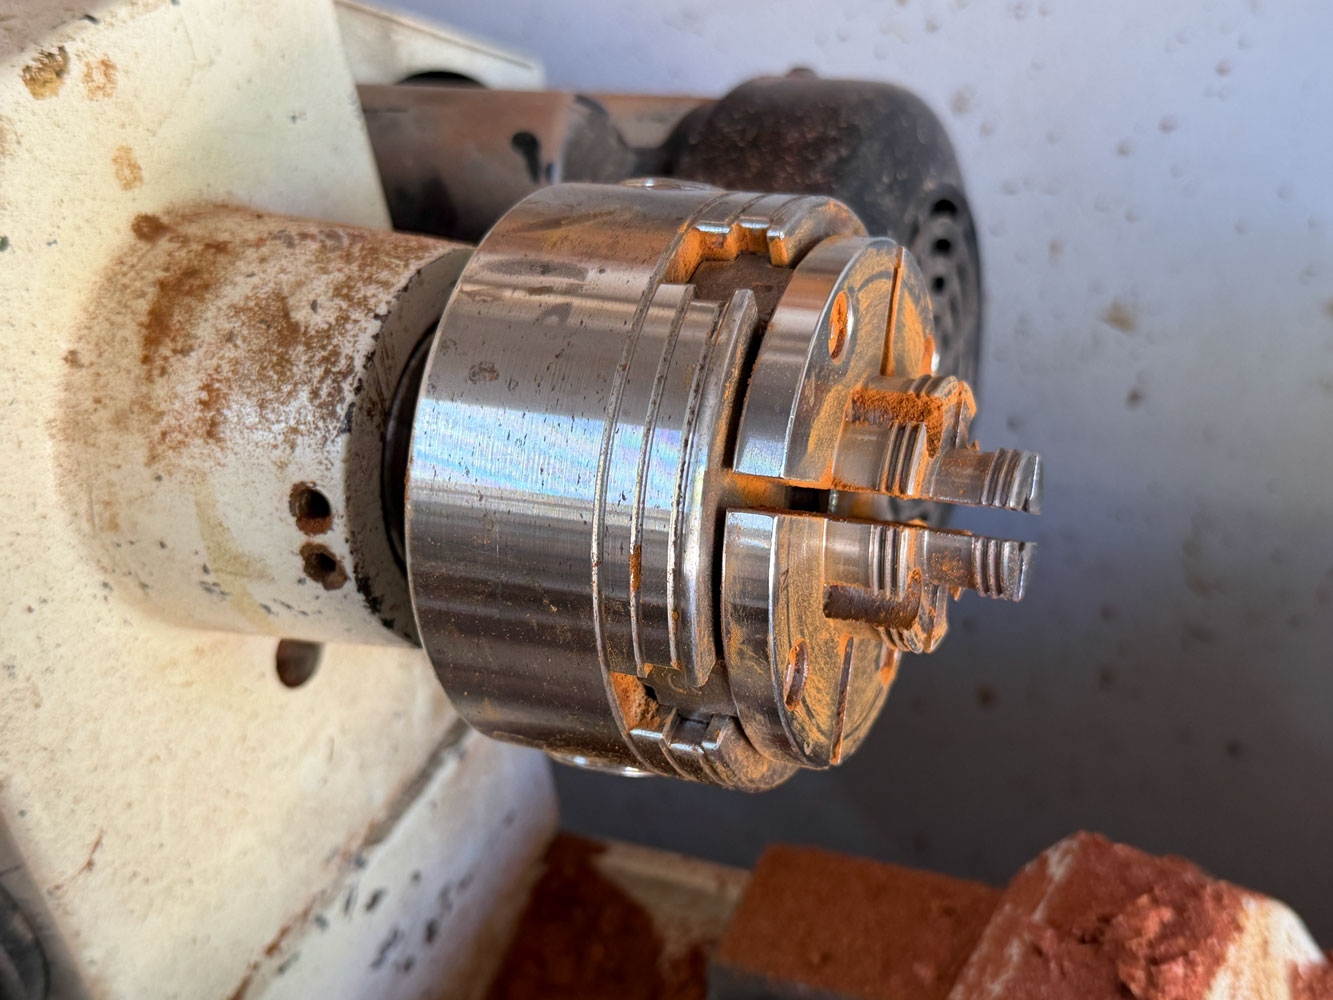
I put a mark on the jaws and on the blank. If you have to take the blank off of the chuck jaws you want to put it back in exactly the same place. While the chuck and jaws are precision made, and you cut the blank as accurately as you could, it will wobble a bit if not put back exactly the same way as you had it. Make sure your mark extends to the bottom of the blank or you'll remove it when you work the outside of the blank.
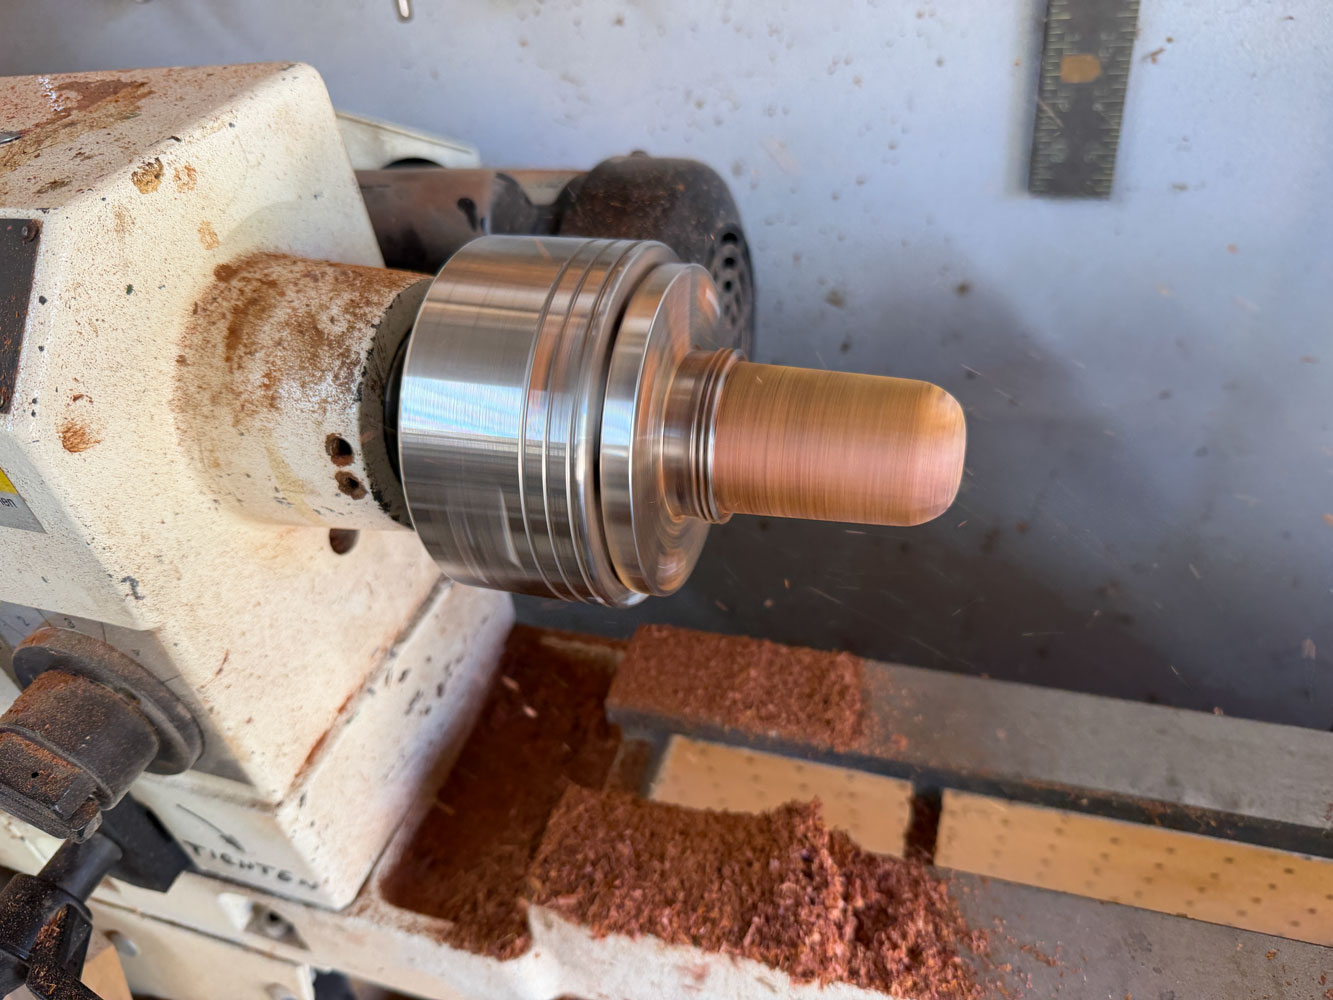
Here it is in process. I worked it a bit more to make it more thimble shaped.
Here are the two shakers, shaped and sanded.
I applied shellac to the shakers.
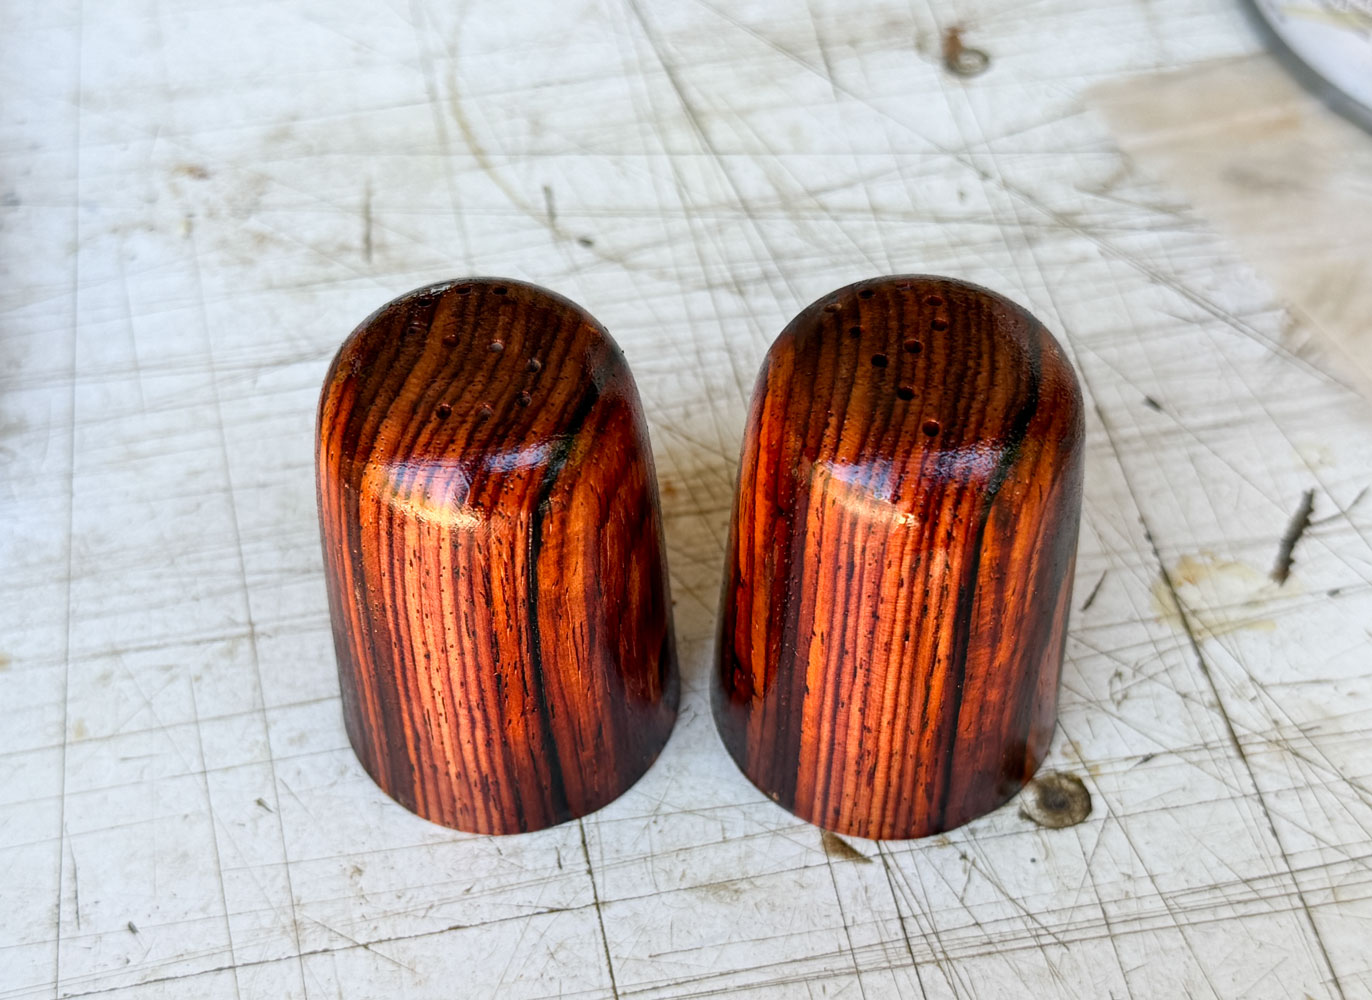
Then I used a couple of polishing wheels to polish the shakers. I buffed them with Tripoli compound and then applied carnauba wax with a wheel.
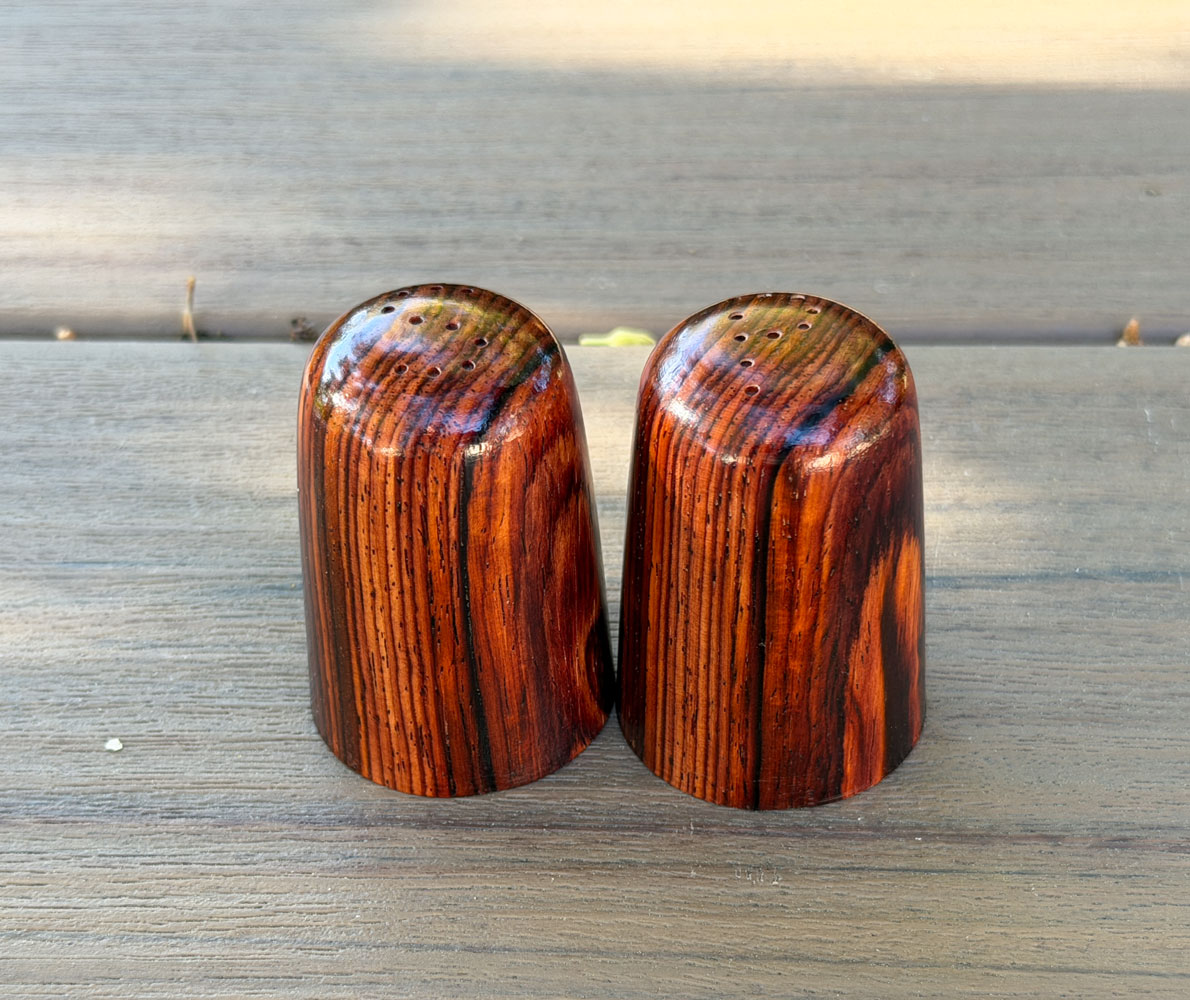
But wax doesn't hold up, so I sanded them down again and applied Target Coatings EM-6000. Looks better and will last longer.
To finish the project, I made corks for the bottoms from a Champagne cork. I cut it and then shaped it to fit into the 1 inch hole.
[3/28/2026 - Getting corks for the bottom have been a problem. Corks for sparkling wine seem to be large enough. Amazon sells 100 of them for a decent price.]
[4/1/2026 - I learned that corks have a size "standard". A #11 cork is about 1 1/16 inch across the top and works great. These from Amazon worked well for me but they're expensive. They're composite corks so no defects.]
You can go back to my main page by clicking here.