Making a Small Brass Hammer
P. Michael Henderson
November 8, 2008
Some
tasks in
a shop call for a small brass hammer - such as adjusting a wooden plane, tapping
on a chisel, or just for making adjustments to joinery.
While these hammers can be purchased, I decided to make my own.
For the
head, I purchased some 7/8” brass round stock from Online Metals.
A foot of the round stock is about $21 [Note: the price of brass
fluctuates quite a bit so today's price may be lower or higher]
and you can make a number of
hammers from that one foot. You
won’t need that many hammers yourself so see if some of your friends will take
some of the brass stock, or make some extra hammers as gifts for your
woodworking friends.
A good
size for a small hammer head is about 2.5”.
If the head is all brass, it will weigh about 7.25 oz.
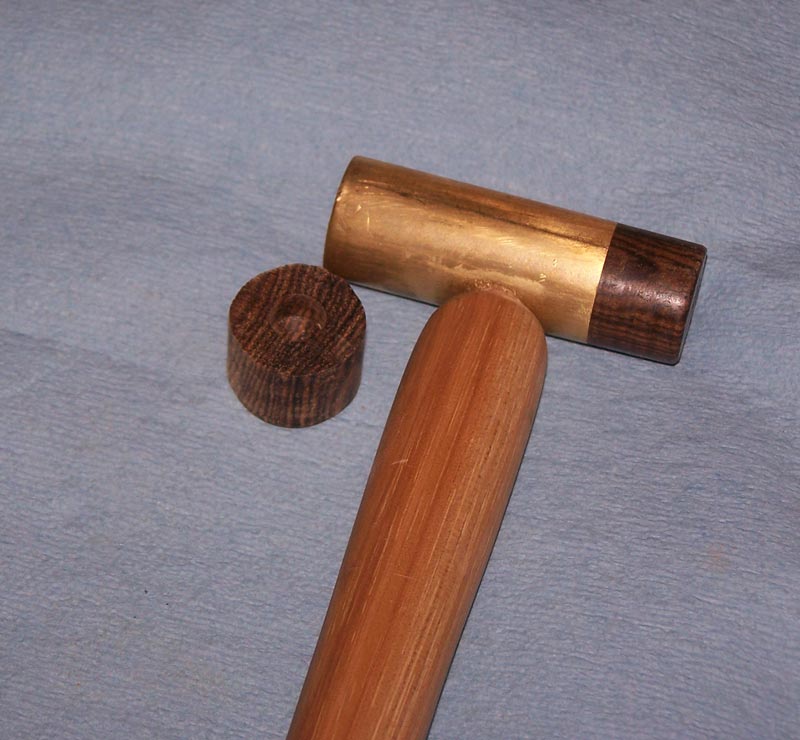
I also made a hammer with 2” of brass and 1/2” of wood on one end.
That head would weigh a bit over 6 oz., depending upon the wood used.
You can
cut the bar stock with your miter saw.
Just cut slowly and clamp the rod well when making the cut.
A carbide blade cuts brass very well and it doesn’t damage the saw blade.
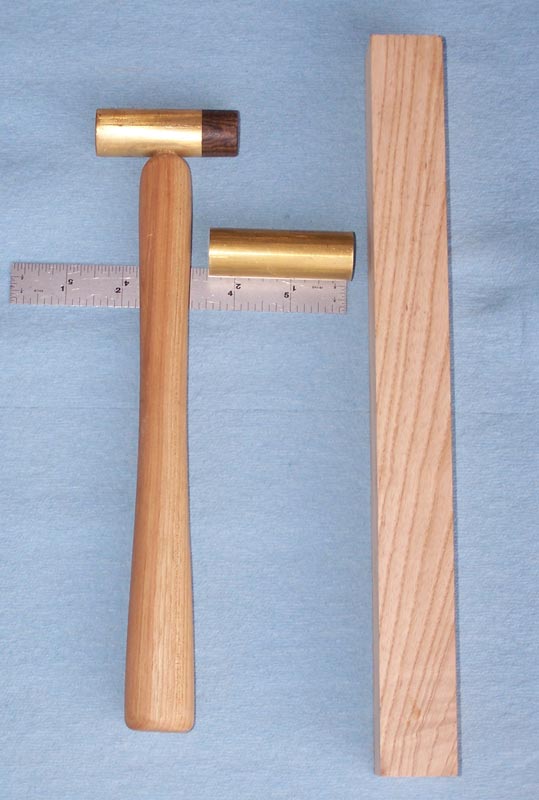
The
picture below shows a hammer I made earlier, with one face of wood and the other
of brass. Also shown in the picture
are the components of the hammer I’m going to make in this tutorial.
I’m using a 2.5” piece of brass stock and I’m going to dome one end while
leaving the other end flat.

I’ll
begin by creating the dome on the brass stock.
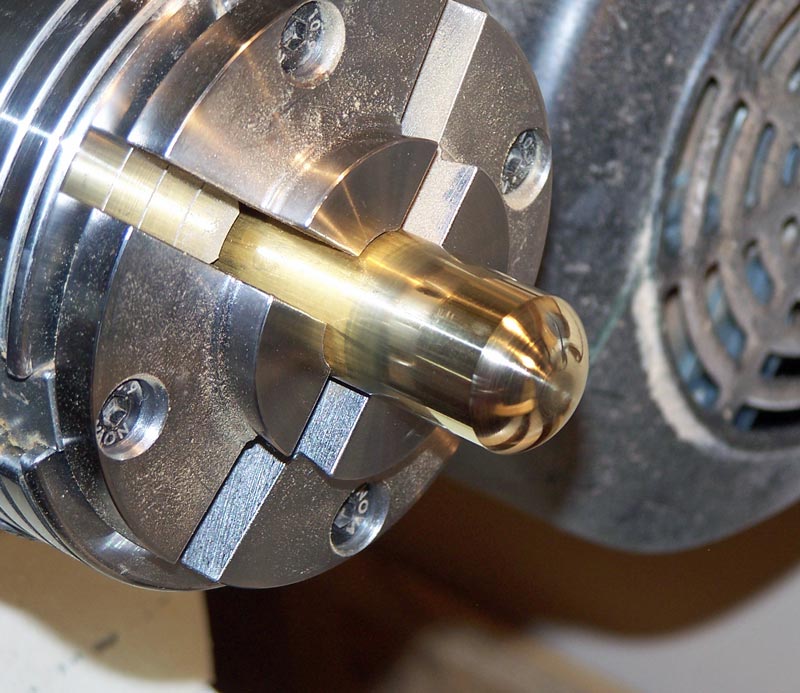
To do that, I mount the brass rod in my lathe using a chuck.
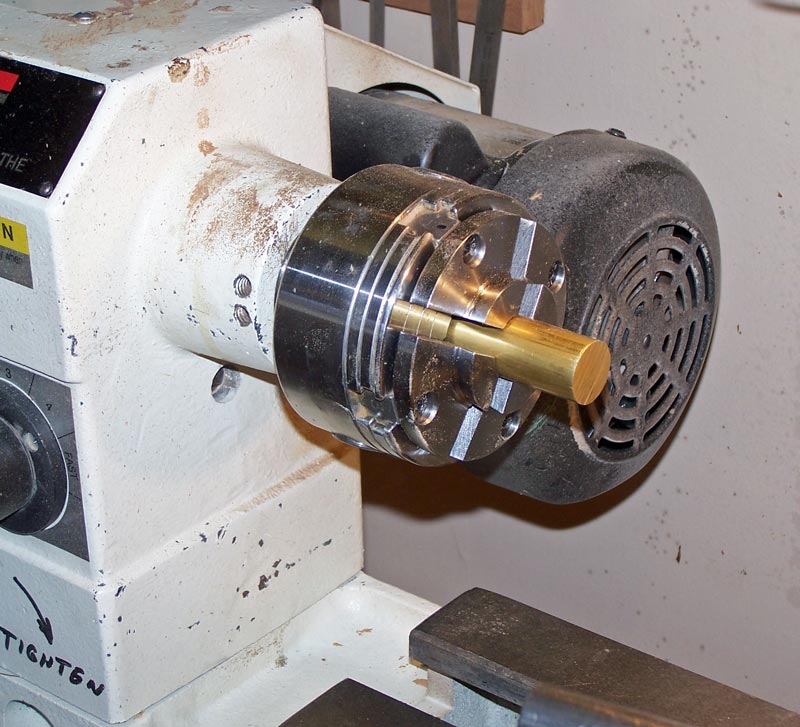
Then,
using a double cut file, and with the lathe running, I begin to work the brass
into a dome.
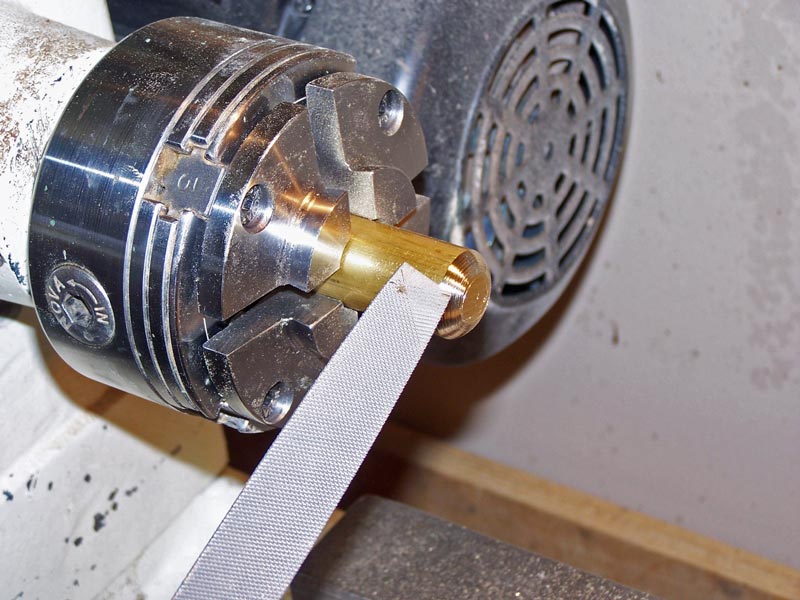
Eventually, I get the end of the rod to the shape I want.
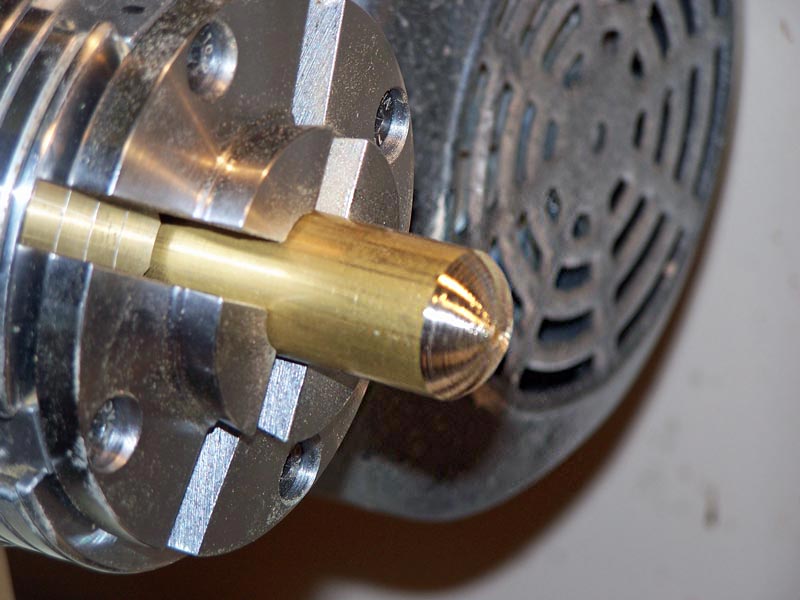
I used sandpaper, working to finer grits, and then polished the end with brass polish.
I turned
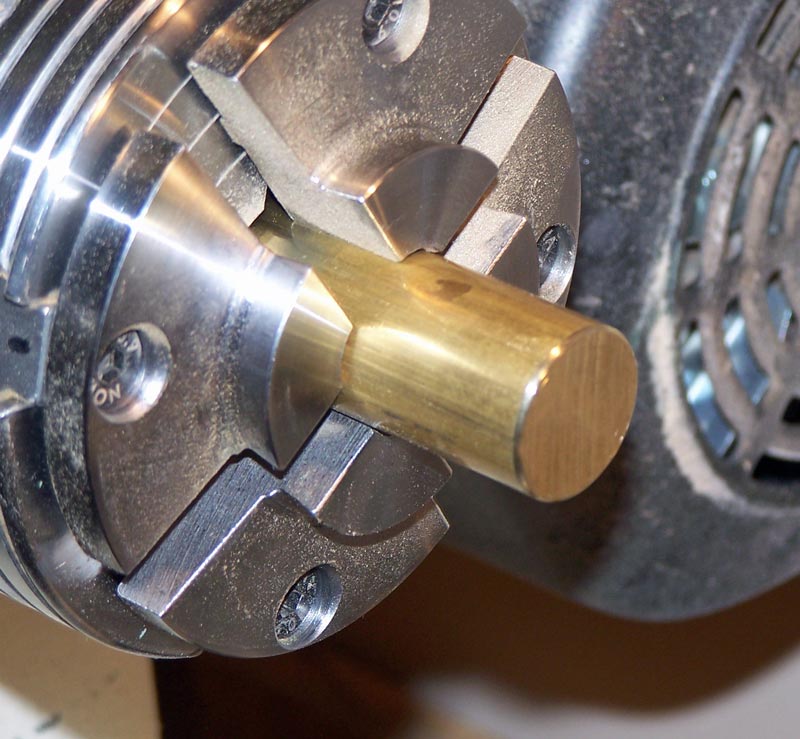
the rod end-for-end in the chuck and took the sharp edge off the flat side.
Then,
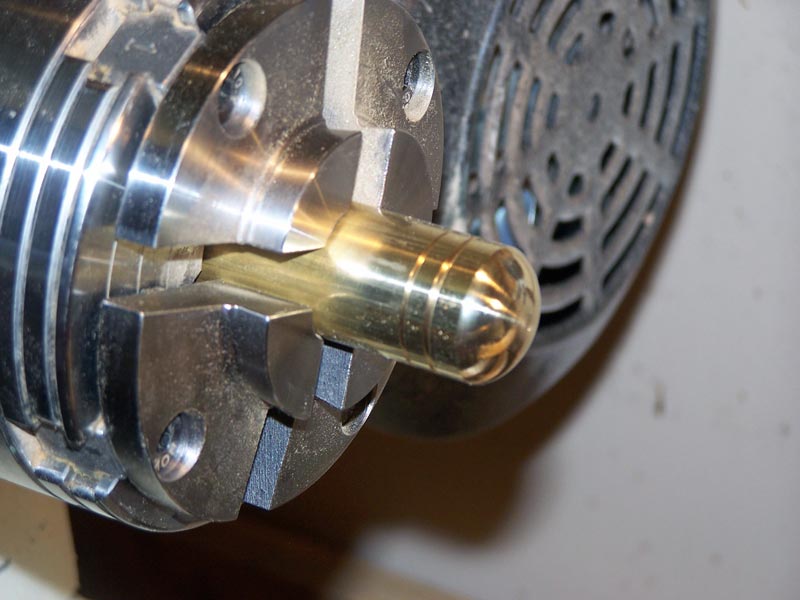
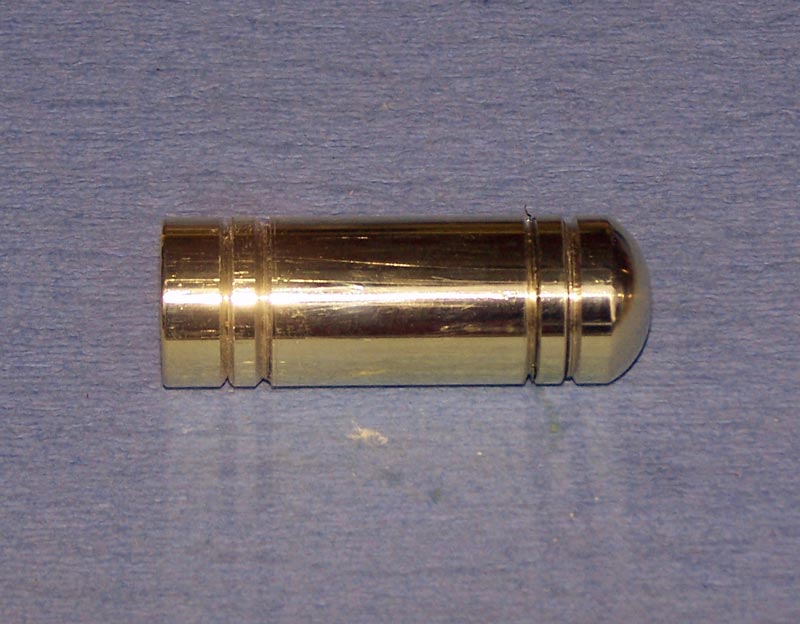
just for decoration, I cut a couple of grooves on each end of the hammer head.
I cut these with my V-shaped parting tool, held sideways.
This is
what it comes out looking like:
Next, we
need to make a jig to drill a hole for the handle.
Since the hammer head is 2.5” long, I took some scrap 8/4 stock and cut
it to 2.5” wide.
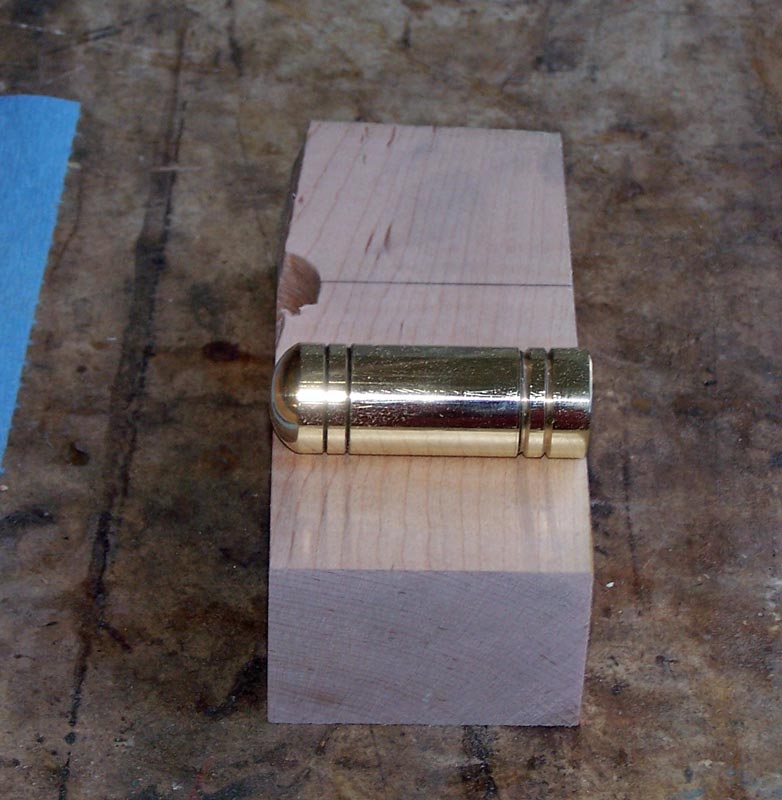
Next, I
marked a line across and down one side, using a combination square.
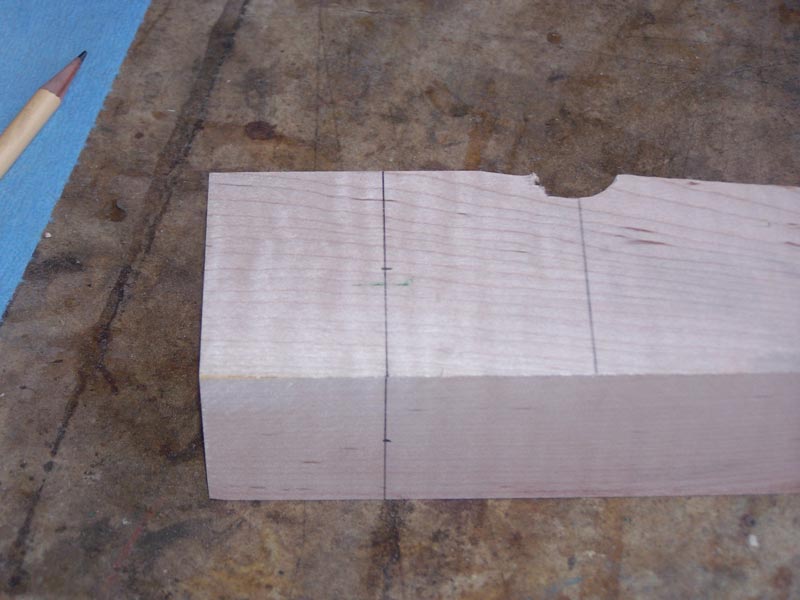
On the
side, I made a mark half way along the line.
I will drill a 7/8” hole and insert the hammer head into it to hold it
while I drill downward to make the hole for the handle.
Since one side of my hammer head is domed, I don’t want to drill exactly
half way – I want the hole closer to the flat face of the head.
If I put the handle exactly in the center, it will look like the flat
face side is longer because of the dome on the other side.
So my mark on the top of the wood is not in the middle, but just a bit to
one side.
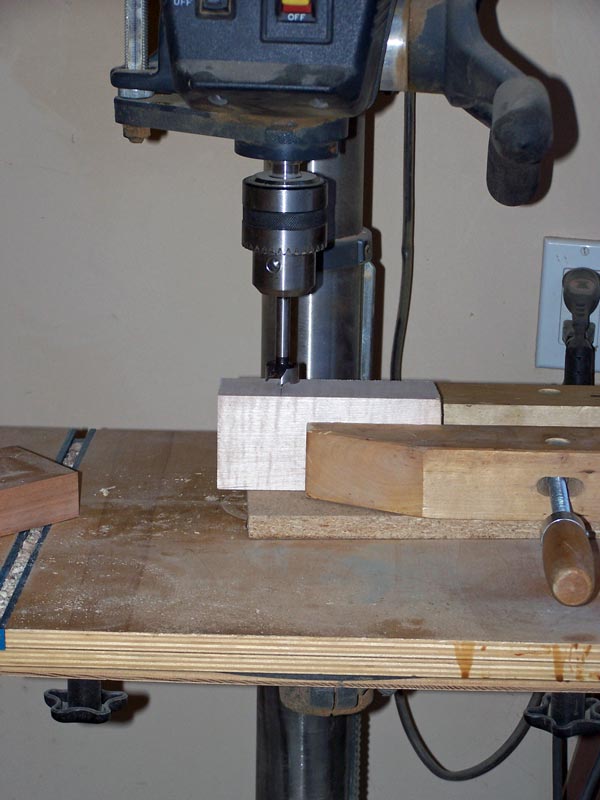
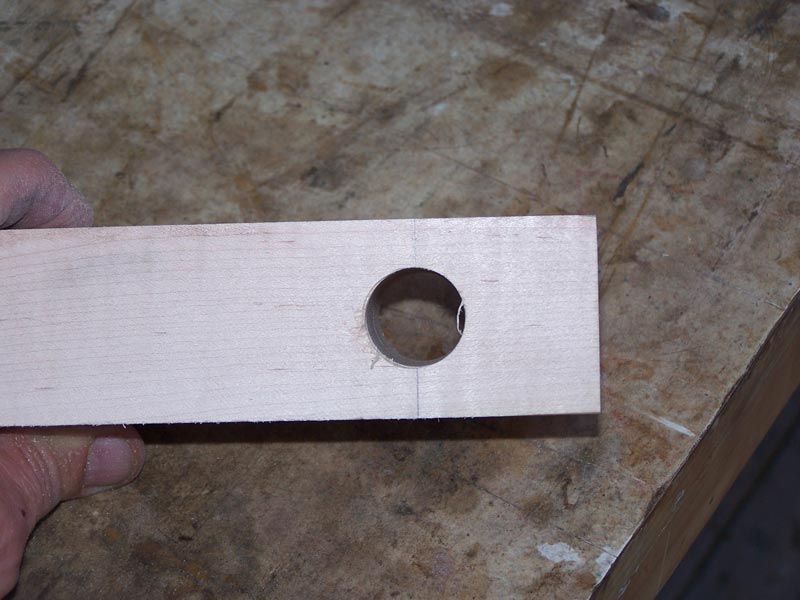
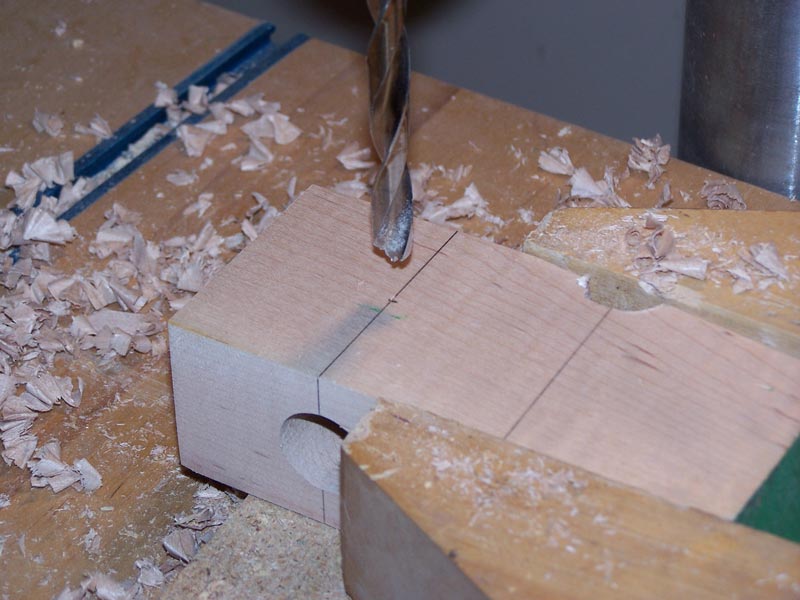
Next, I
use a 3/8” bit and drill downward to create the locating hole for the handle
hole. You could use a 1/2” hole but
the 3/8” seems to work well and leaves more of the brass in the head for weight.
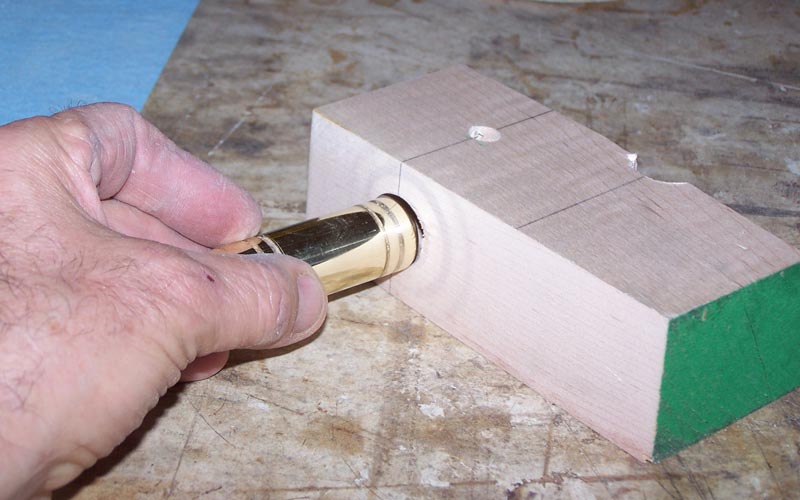
Next,
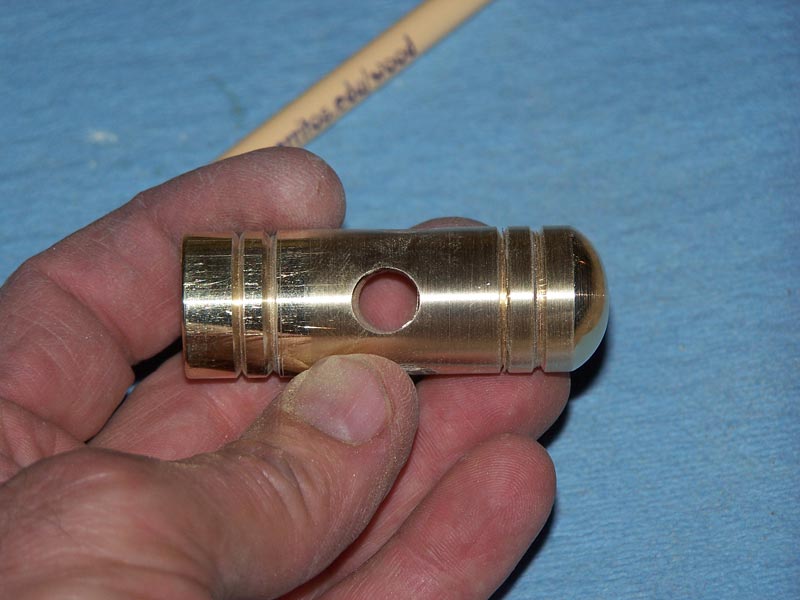
put the hammer head into the jig and drill the hole for the handle.
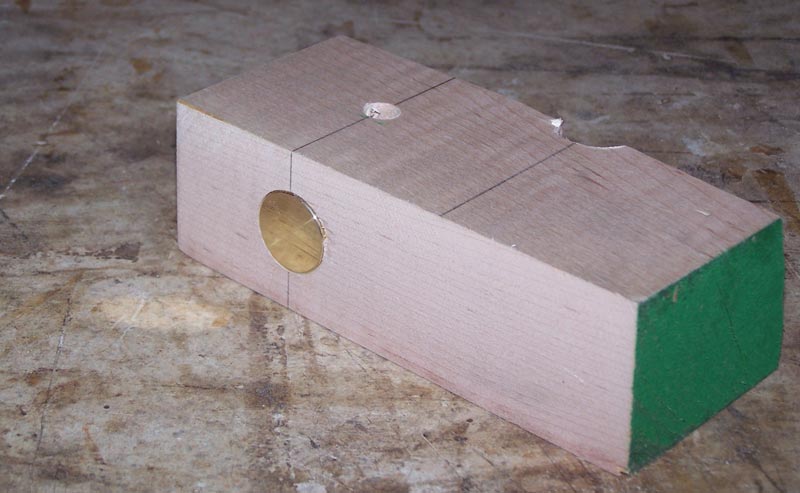
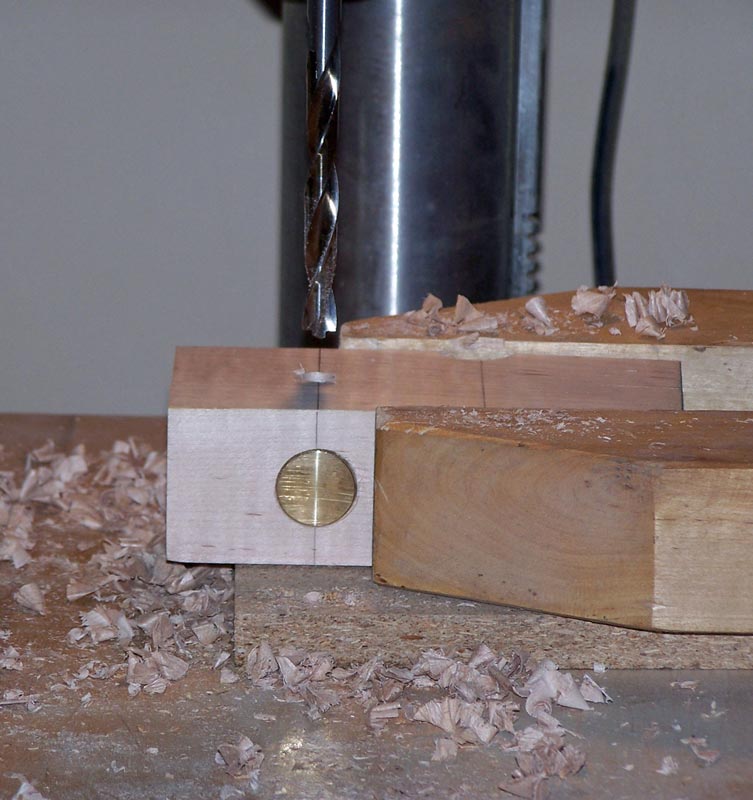
I wasn’t paying attention here and I put the head in backwards – so I
drilled the hole closer to the domed side.
I plugged the hole with a 3/8” dowel and re-drilled the correct way.
These things always seem to happen when you’re taking pictures.
The next
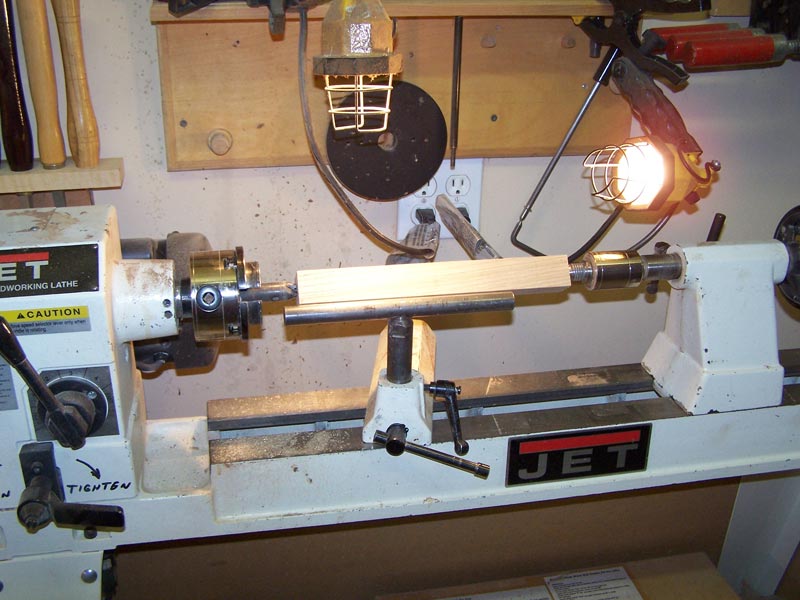
step is to make the handle. I cut
the ash blank to 11” in length before mounting it in the lathe.
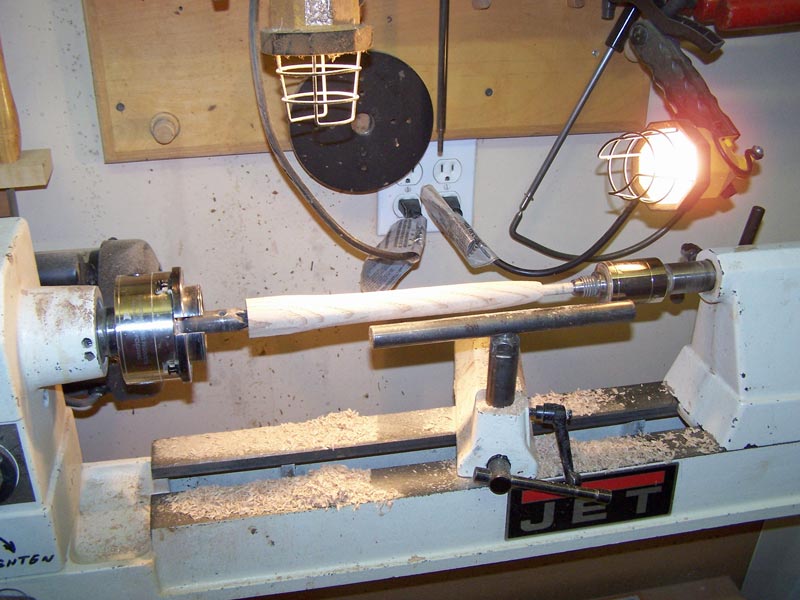
I do most of this on the lathe but you can do it with a spokeshave, or
sand it to shape if you have a stationary belt sander.
The top, which fits into the 3/8” hole in the head can be turned to size,
or if you have a round tenon cutter (as are used for some chairs, such as
Windsor chairs) you can use that.
While the head is 7/8” in diameter, the part of the handle that goes into the
head should be made longer, perhaps an inch to an inch and a quarter.
I took
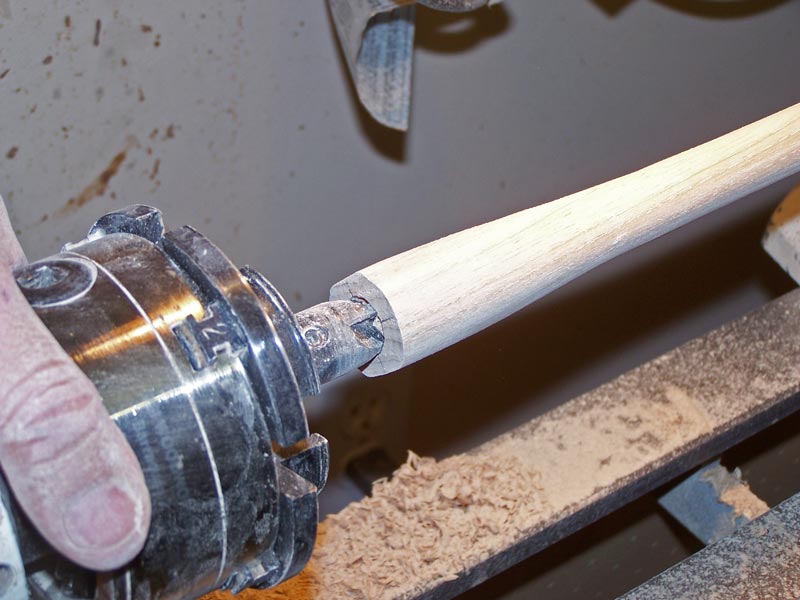
the handle off the lathe and flattened the two sides because if the handle is
not round, you can align the head by feel on the handle.
If you make the handle round, you have to look at the hammer head to
orient it.
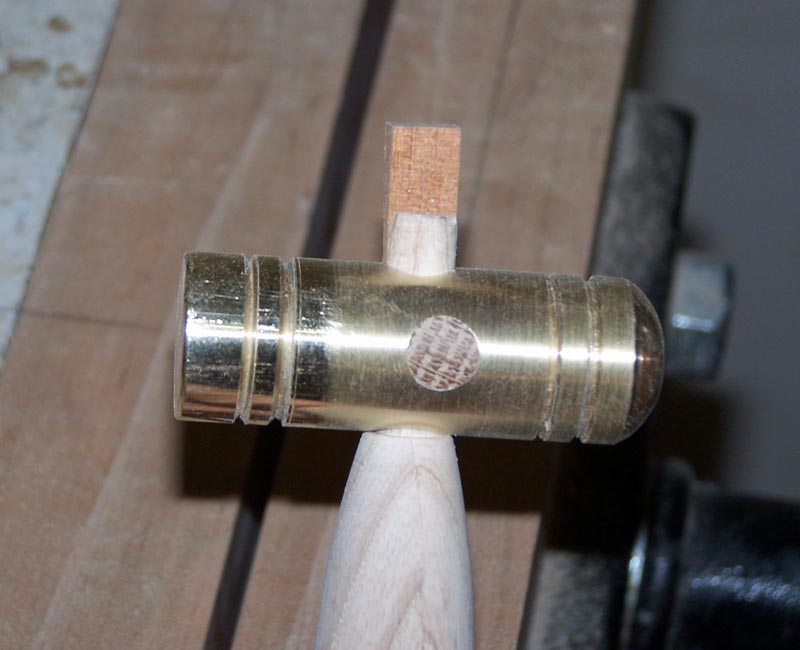
Here’s
the handle inserted into the head.
You can
see the filler plug I put into the head from my drilling mistake.
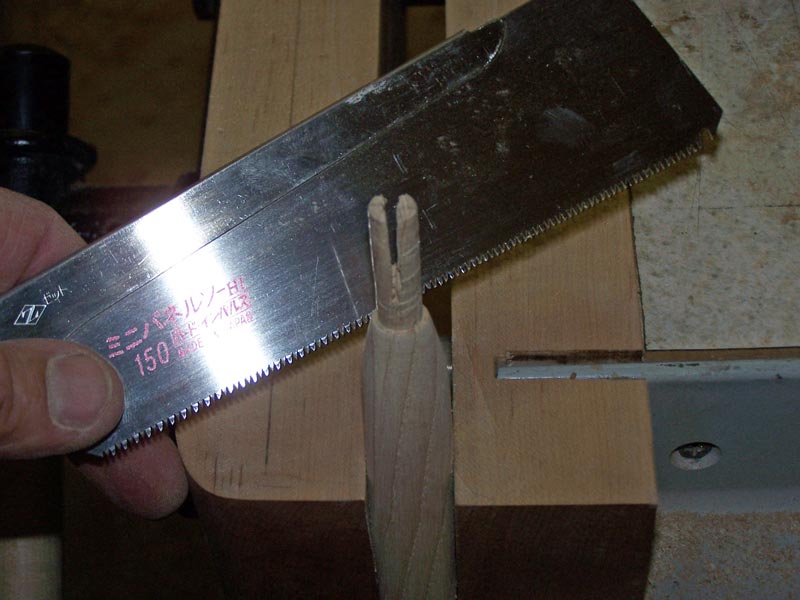
Next, I
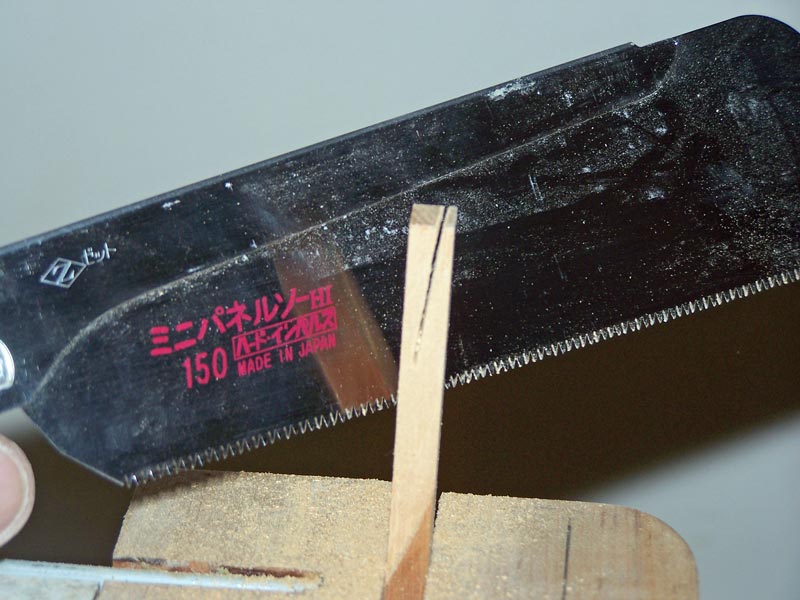
need to cut the wedge. I took a
piece of scrap and cut it to 3/8” wide.
Then I mount it in my vise and use my saw to cut a wedge shaped piece off
of it. While not shown, I cut the
end of the wedge off so that it will go down into the slot.
I apply
some 5 minute epoxy to the handle, the slot, and the wedge and drive the wedge
into the slot.
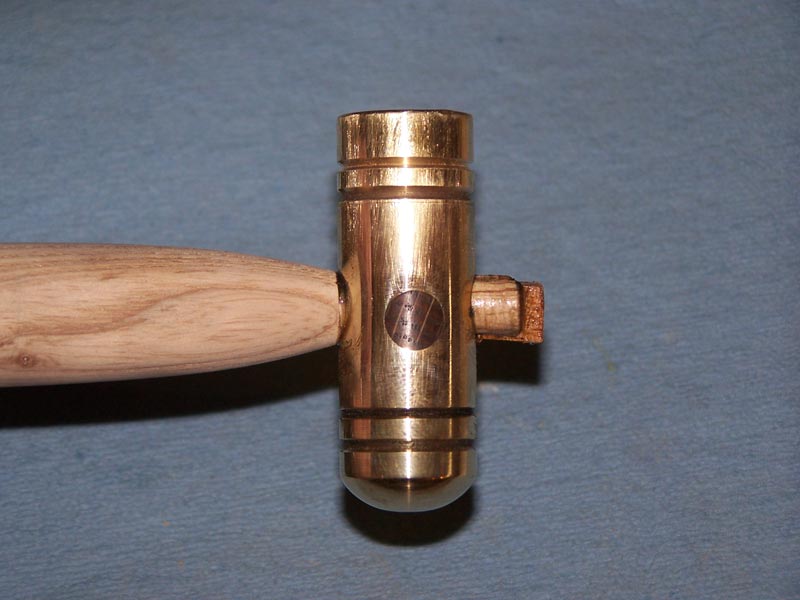
When the
epoxy is well set, I cut off the excess on the band saw, then trim the handle
flush with the head with a chisel.
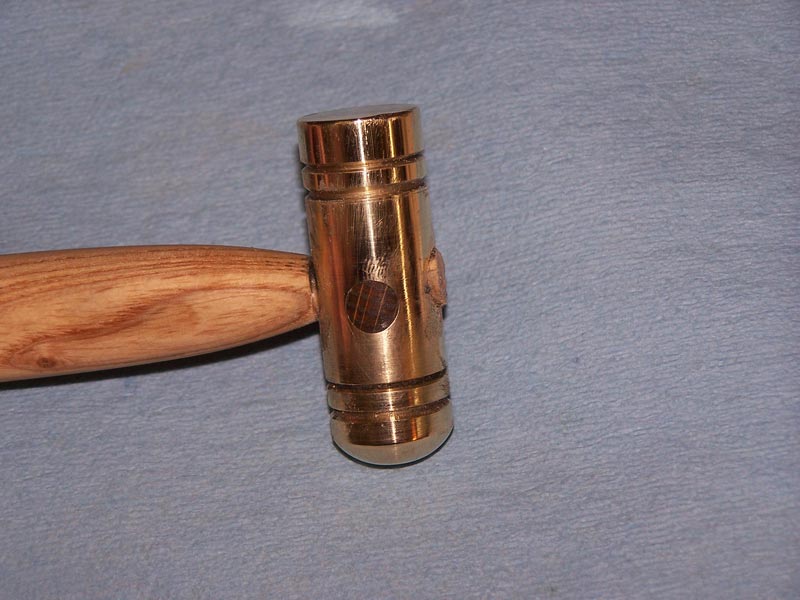
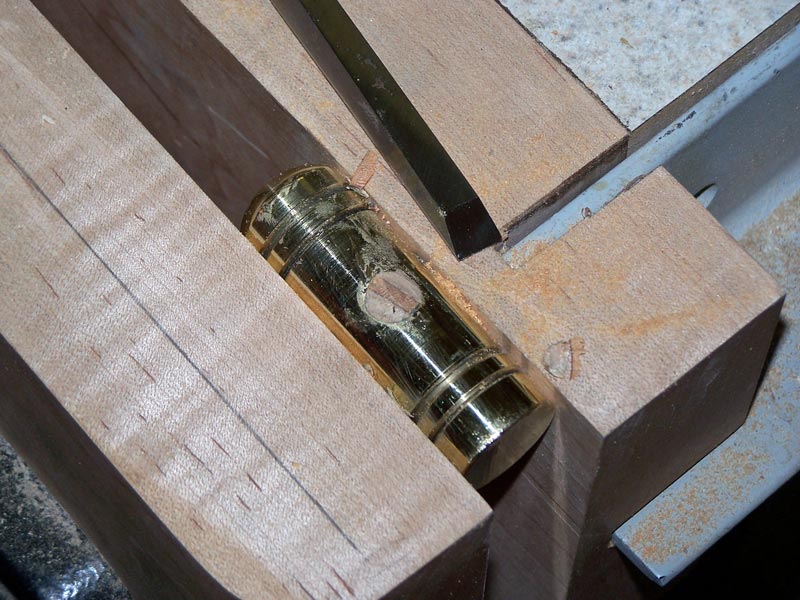
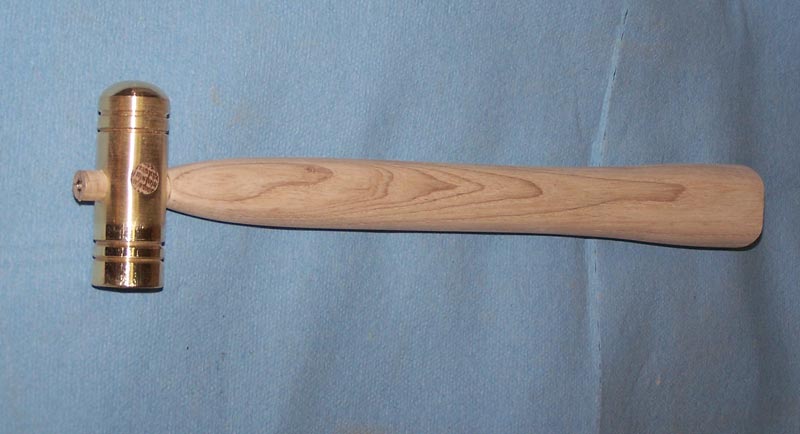
And this is what it looks like, even with my mistake.
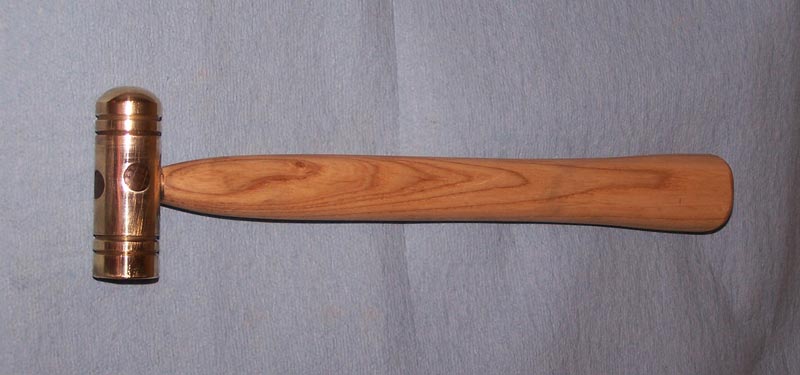
You now
have a hammer and the total cost was no more than $5 for the brass plus some
scrap wood for the handle.
+++++++++++++++++++++
If you
want to make a hammer with one wooden face, as I showed in the first picture,
use a piece of brass that’s about 2” in length and make your wooden face about
1/2”.
Take a
piece of wood of your choice – ipe, bocote, and many other woods can be used for
the face – and turn it a bit larger than 7/8”, maybe 1” or a tiny bit more.
You want the piece of wood to be large enough so that you will fill the
face, even if the wood slips when being glued.
Then cut
a piece 1/2" long off the turned piece.
Drill a
3/8” hole into the piece of wood, about 1/4” deep.
Also drill a 3/8” hole in one face of the brass.
Use a dowel and glue the wood to the brass with epoxy.
If one of both of your holes were not exactly centered to the point that
you can’t align the wood to the brass, trim the dowel so that you can slide the
wood over enough to align it.
There’s no tension on the piece of wood so the glue only has to keep it from
falling off.
You can return to my woodwork here.