Replacing the Handles on Japanese Chisels
P. Michael Henderson
I find the handles on Japanese chisels to be uncomfortable. I much prefer the handles on western style chisels but I wanted to take advantage of the hard, long lasting edge that Japanese chisels provide.
Note: I replaced these handles in 2009 and it's 2015 today. I discovered the pictures while browsing my computer and decided to post them as a tutorial. So I may have forgotten some of the details.
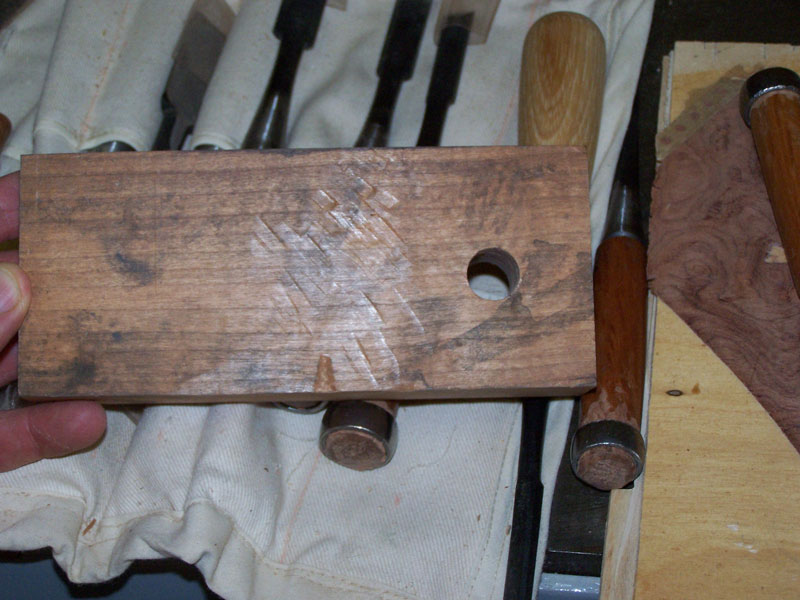
The first problem is to get the old handles off. Japanese chisels attach to the handle with a tang so the handle has to be driven off the tang. To drive off the old handles, I drilled a hole in a stout board, large enough for the metal part to go through but not big enough for the handle to go through.
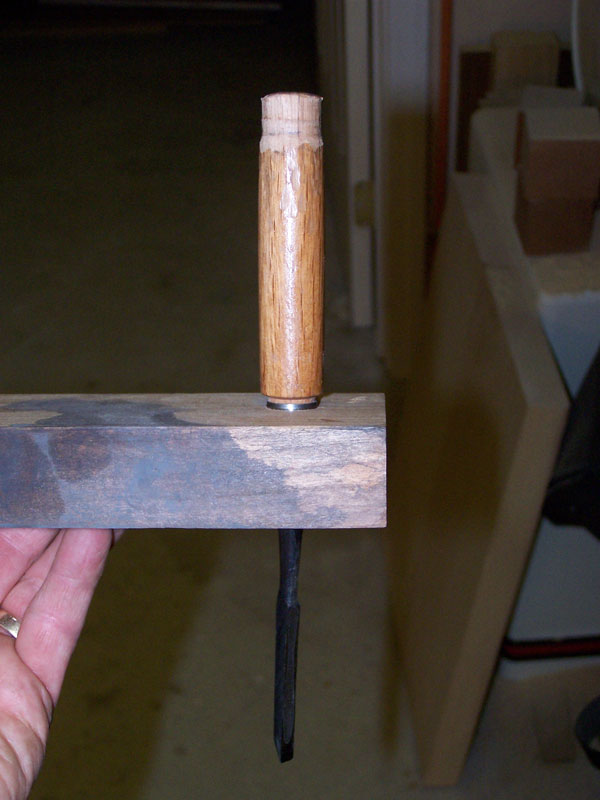
You can see how the chisel fits into the hole in the next picture.
Then, I clamped the metal part in my vise and wacked the board with a mallet.
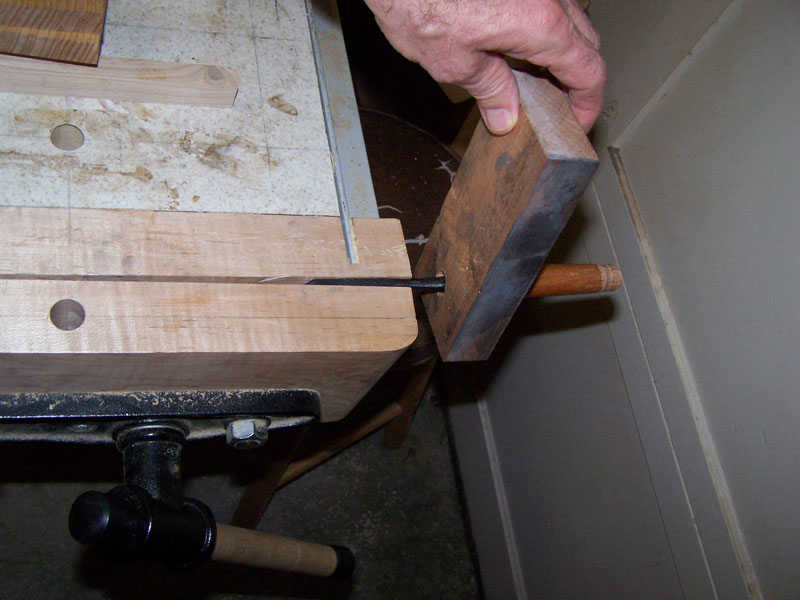
The handle will come right off the tang.

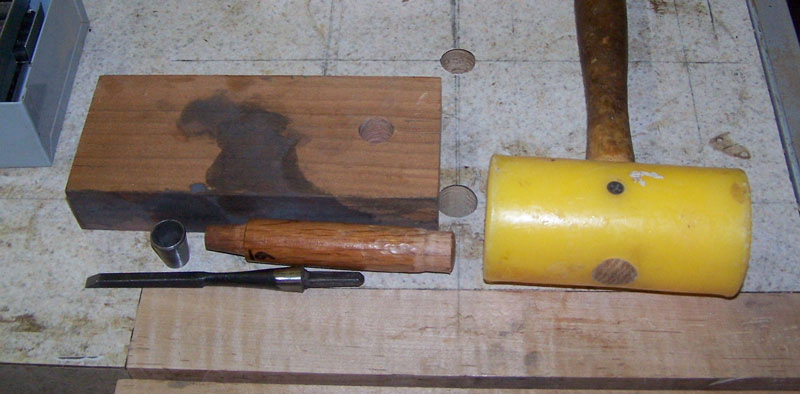
Then remove the ferrule from the handle.
Select some stock to make the handle. I'm using pecan here. Check the length of the tang and drill a hole of the appropriate size in one end of the blank.
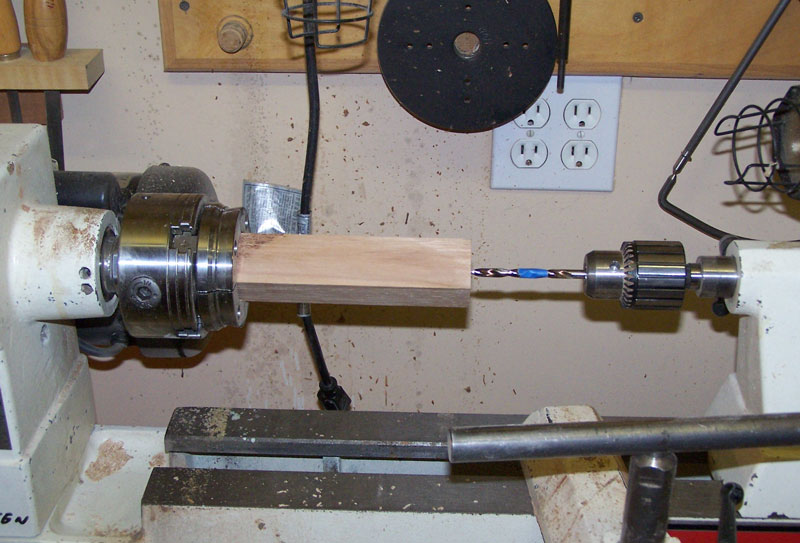
Then use a cone on the tailstock and begin turning.

Check the length of the old handle that fit into the ferrule.
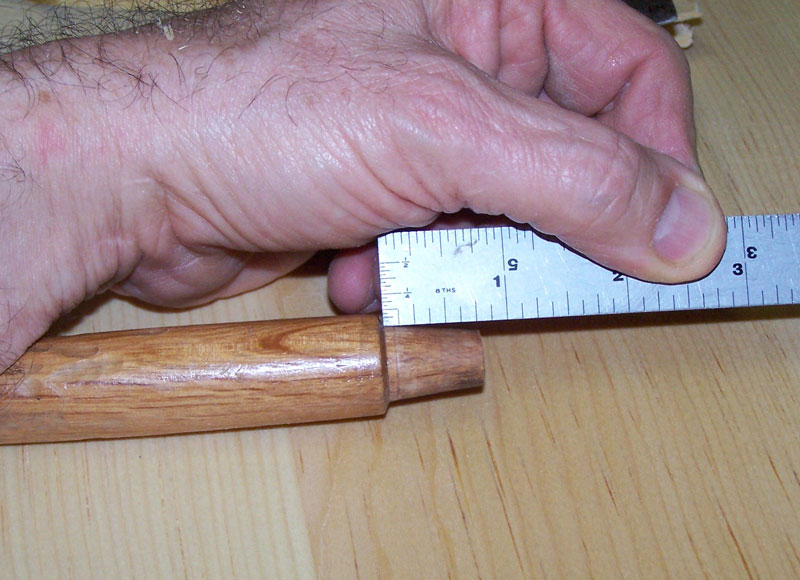
Use that length to begin your cut on the blank. Decide on the overall length of the handle and make a cut on the other end.
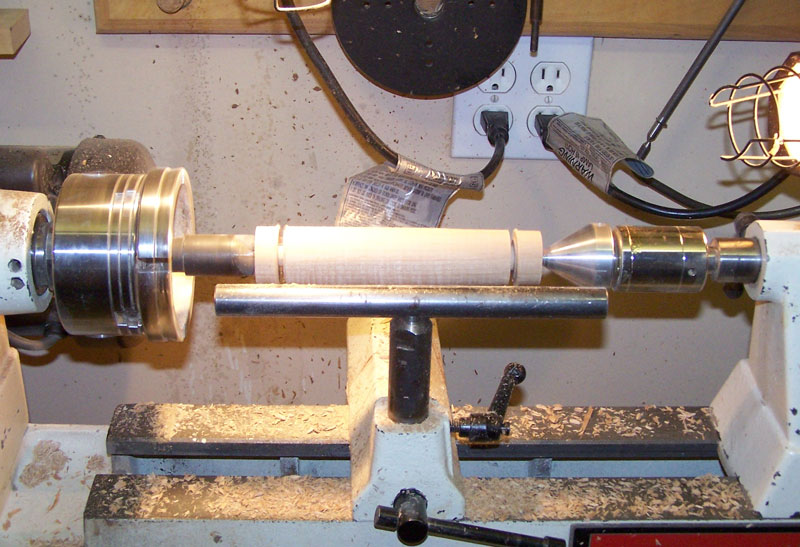
Rough out the handle.
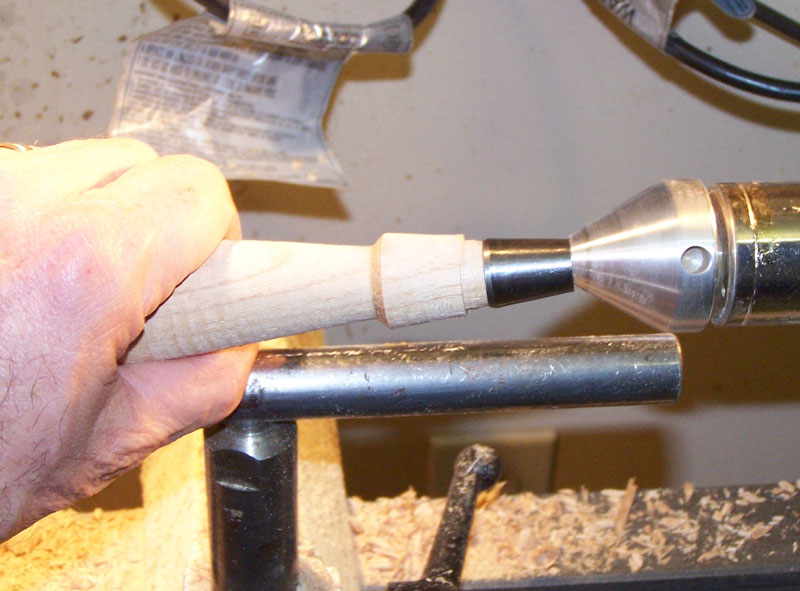
Now begin making the area for the ferrule.

You'll need to do a number of trial fits as you sneak up on the exact size.
Eventually, you'll get a good tight fit on the ferrule.

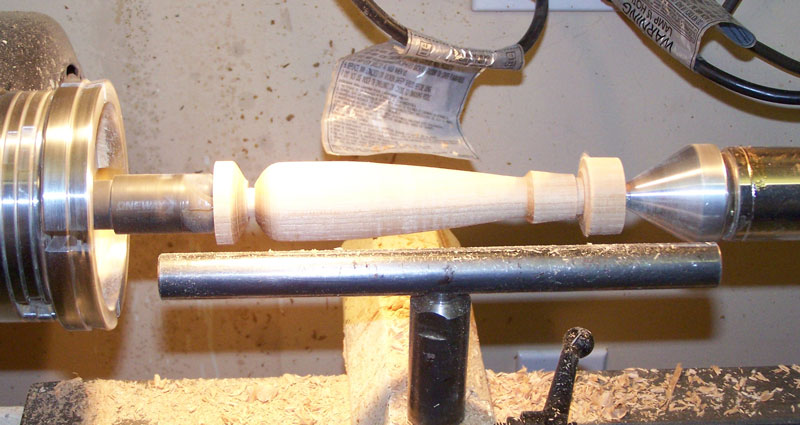
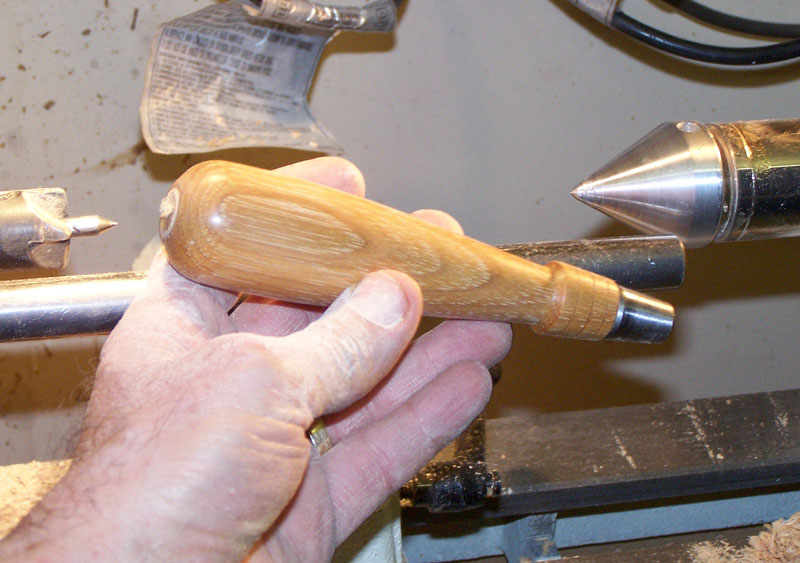
Then finish turning the handle, sand it and put a finish on it.
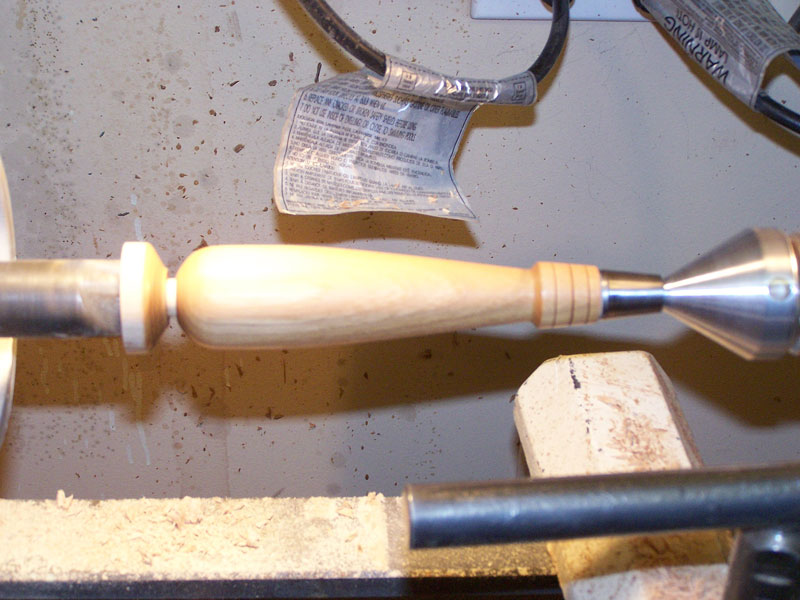
Cut the handle off.
Sand the end.

And drive the tang into the hole. You may have to ream out the end of the hole because the tang is tapered. And this is what a Japanese chisel looks like with a western handle.

You can return to my woodworking here.