
Making an Eight Sided Serving Tray
P. Michael Henderson
Now that the front is finished, I need to start laying the veneer for the back. Since the tray is octagonal, just running veneer across the back would not look very good. I'm going to do a sunburst on the back. My problem, however, is that I don't have any walnut veneer that's wide enough. No problem, I'll do a 16 segment sunburst. So I start with at least 16 pieces of consecutive veneer. This pack is maybe 22 pieces.
I put tape around the bundle where I want to cut it, and cut it with my bandsaw.

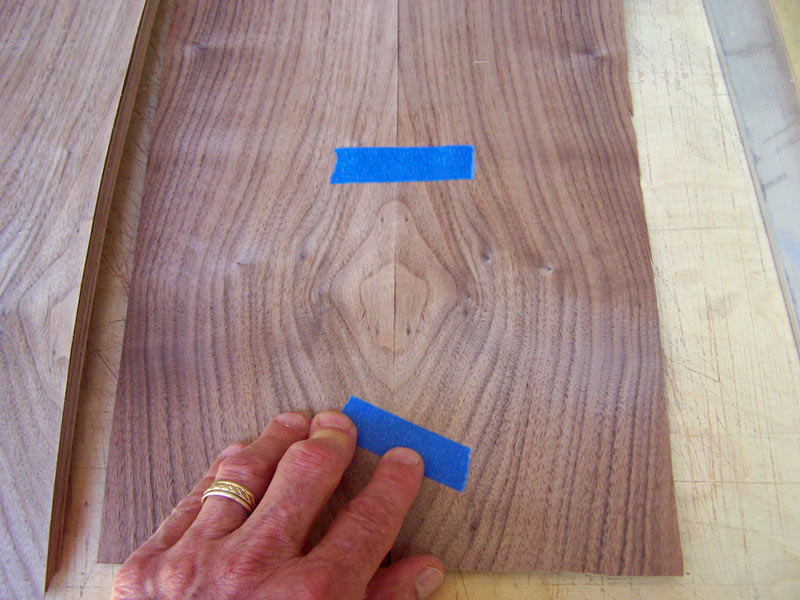
I take pieces off the top and bottom leaving me with 16 pieces. Note how the grain runs in the veneer. I want to use the "eye" that's at the bottom right of the veneer. To get that pattern, I'm going to book match the veneer, taking two pieces at a time.

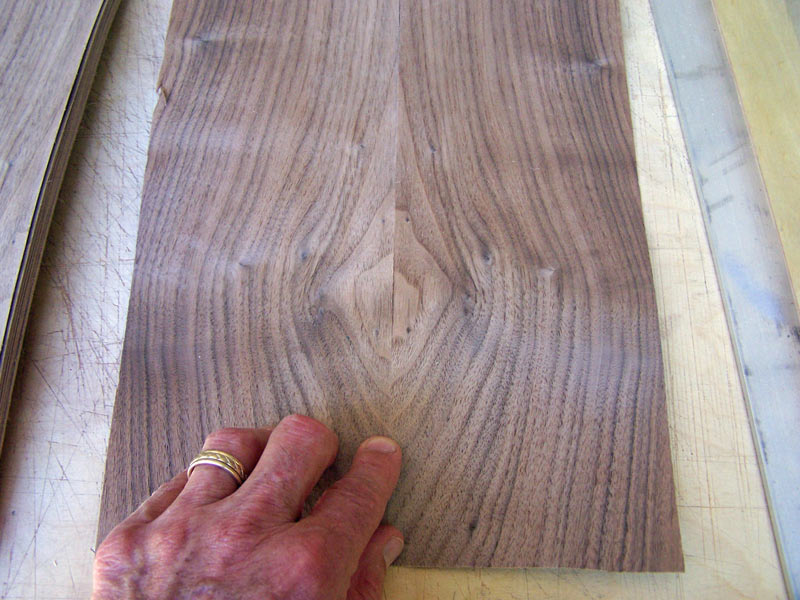
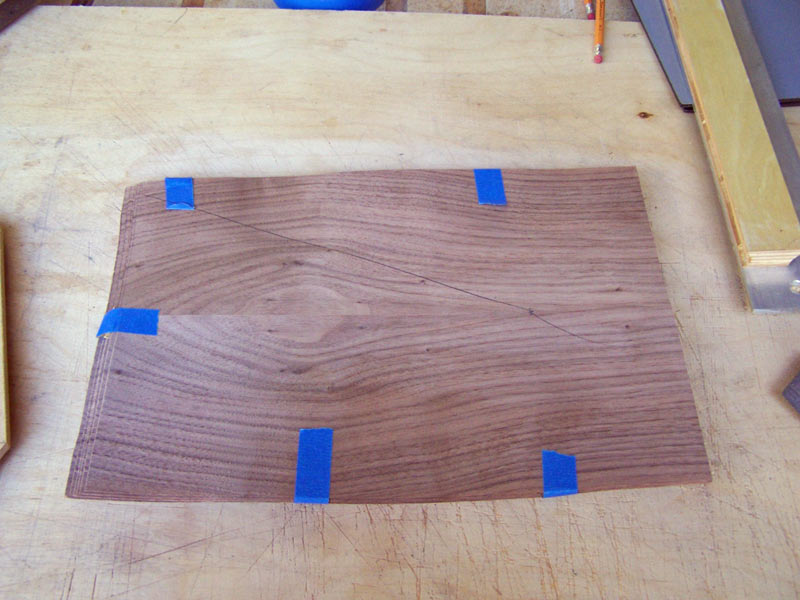
I start with the first two pieces, opening them like a book.
This gives me a nice pattern, but when I turn the veneer over, the figure has changed enough in the veneer that the pattern doesn't really match.
So I need to make sure that the side with the good pattern match is on the show face and the side with the poor pattern match is on the glue face. This will require some manipulating of the veneer.
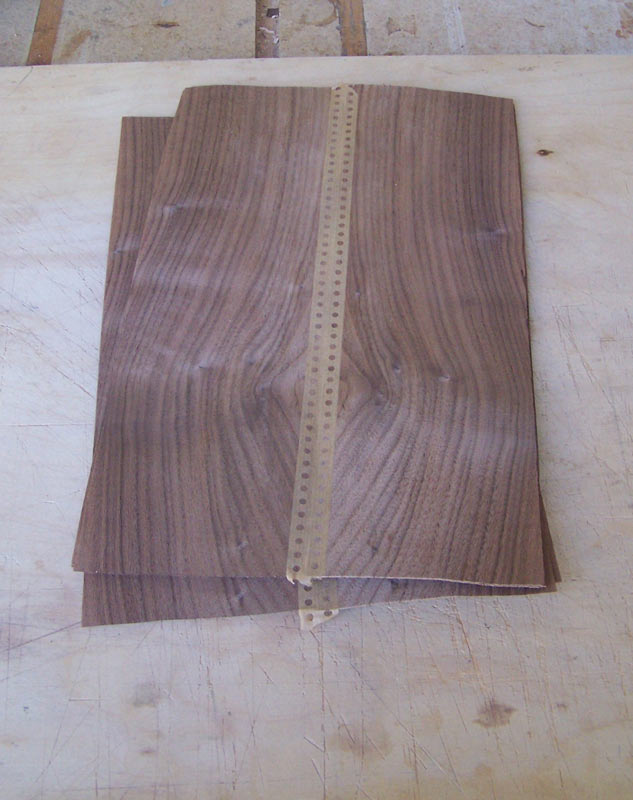
Although I started with blue tape on the matching side, I flip the veneer over and use the non-match side as the glue face (the face with blue tape), and I put veneer tape on the side that matches well. I take the next two pieces and do the same thing, for a total of eight resulting pieces. I put them in press while the veneer tape dries.
When the veneer tape is dry, turn the pieces over and remove the blue tape.

Just like on the front side, I need to make a packet with the veneer carefully aligned top-to-bottom. But before I do that, I go through the packet and turn every other piece over.
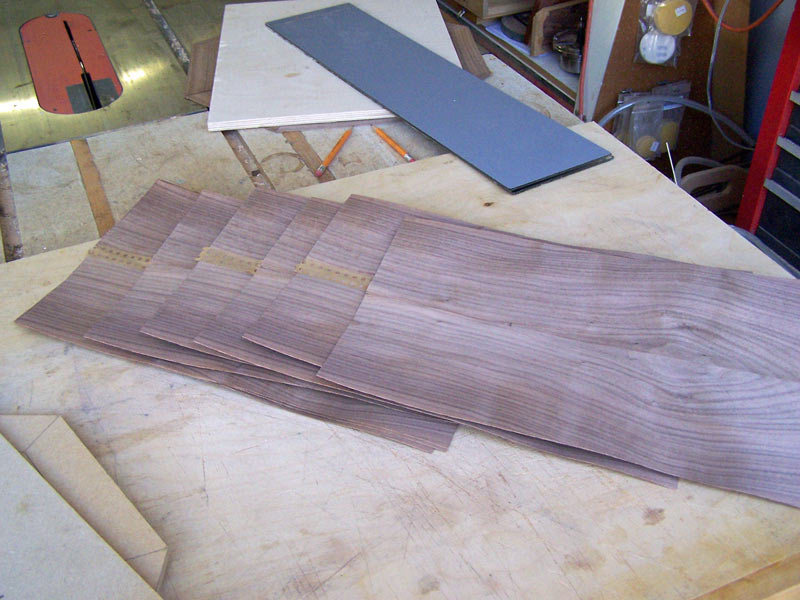
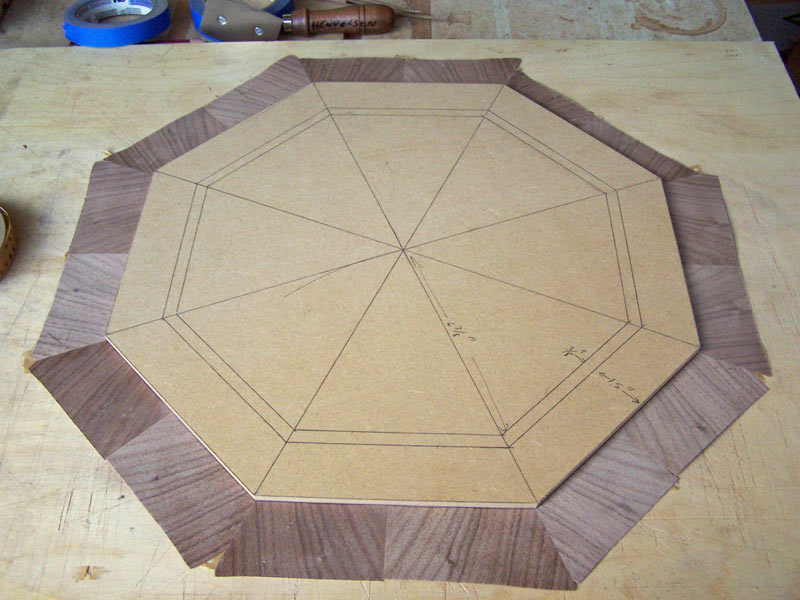
Then I align the pieces into a packet. Next, use your mirror set to find where to make your cuts. Note that the radius of the tray is 9" so make adjustments based on that distance. You don't want to make a cut in the middle of the eye pattern. Mark the apex of the triangle.
Put your template on the packet with the point on your mark. Adjust your template so that there's about equal distance from the sides of the packet at the back of the packet. That is, center your template as well as you can.
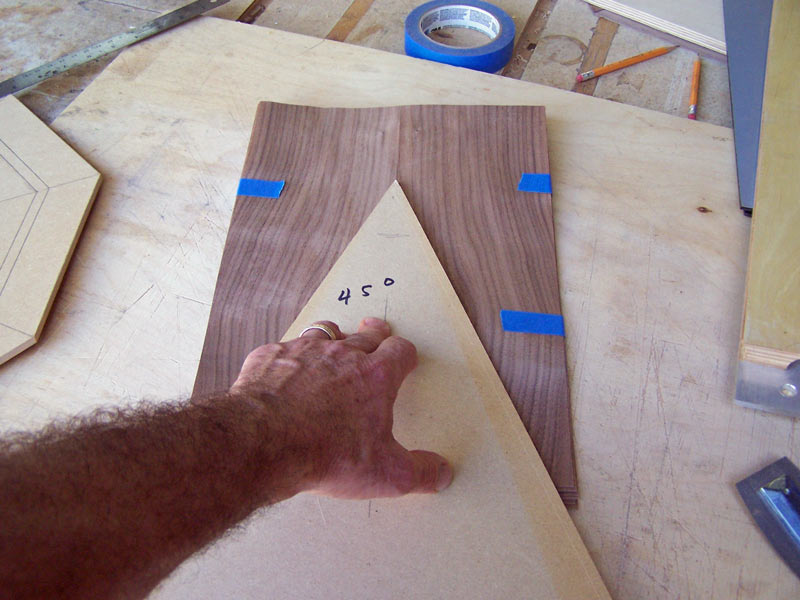
Draw a line along one side of the triangle.
Cut along that line.

Very carefully lay your template on the veneer, with one edge aligned with the cut you just made and the point at the intersection of the cut and the seam. Cut the veneer using your template as a guide.

If you were very accurate, you'll wind up with a triangle with the seam running up to the point. I was a little bit off here but I was able to sand the side to get the seam aligned.

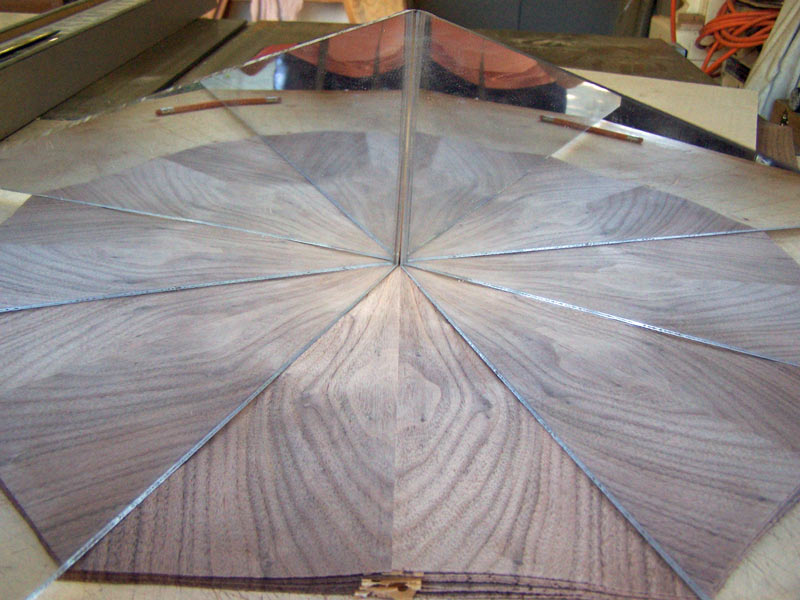
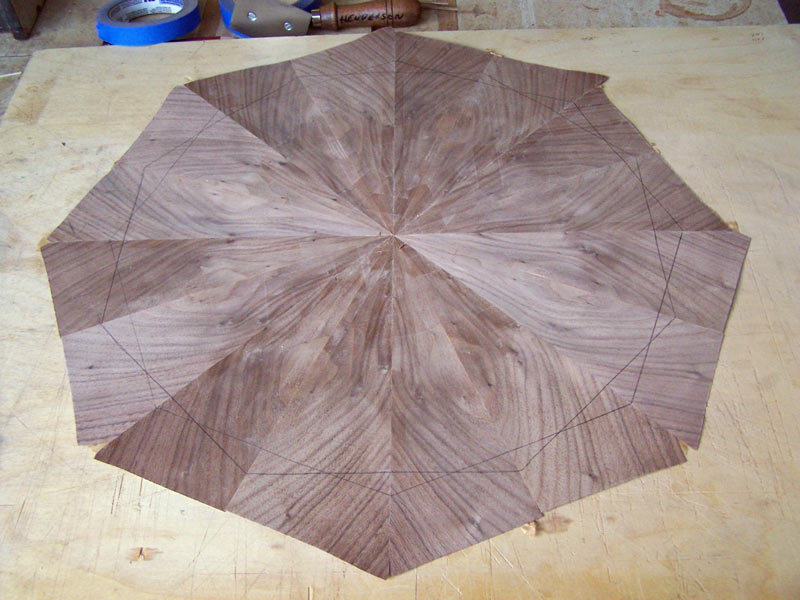
Put your veneer together, just like you did on the front, and check to make sure it's exactly a half circle. This is why I flipped every other piece of veneer. When I join them, I flip every other piece over to get the book match between pieces and the "good" side is always on the show face.
Join the two halves together.
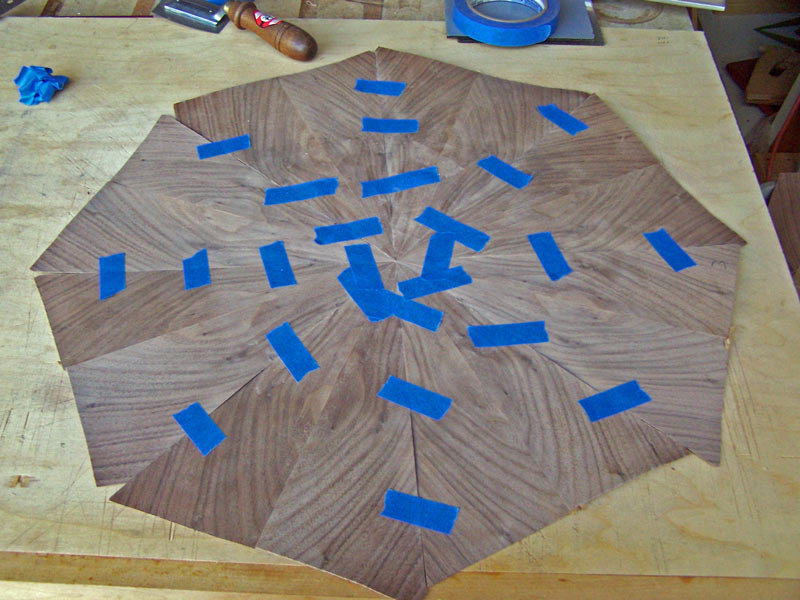
Tape the glue face well.

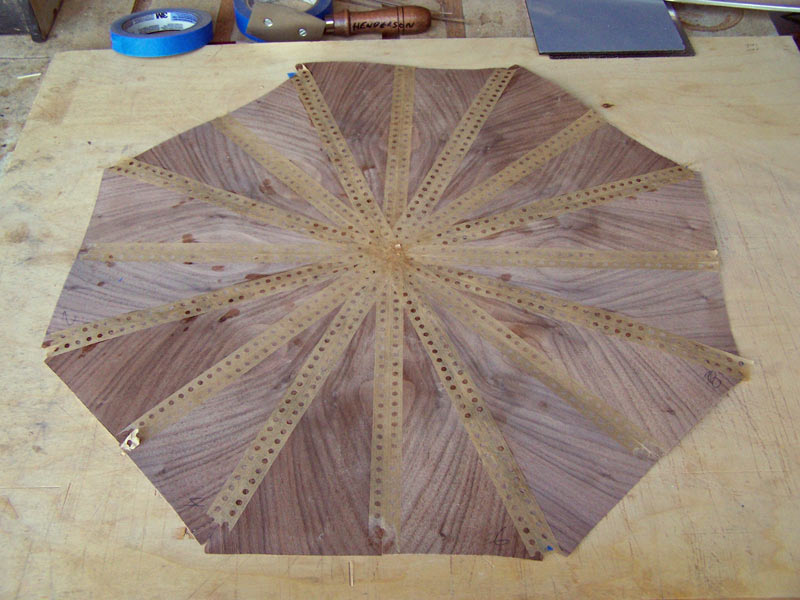
Turn the veneer over. You'll see the existing veneer tape.

Tape the rest of the seams and put the veneer in press while the veneer tape dries.
When the veneer tape is dry, take the veneer out of press and remove the blue tape from the glue face.
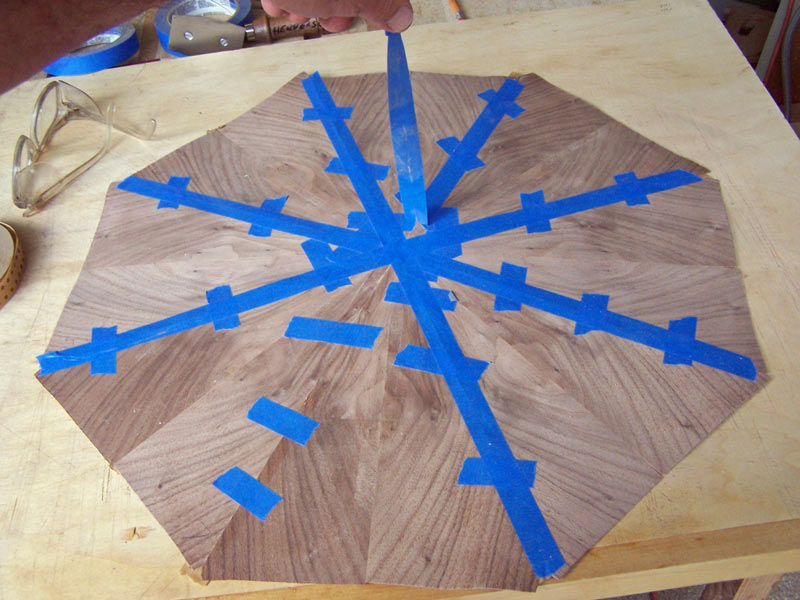
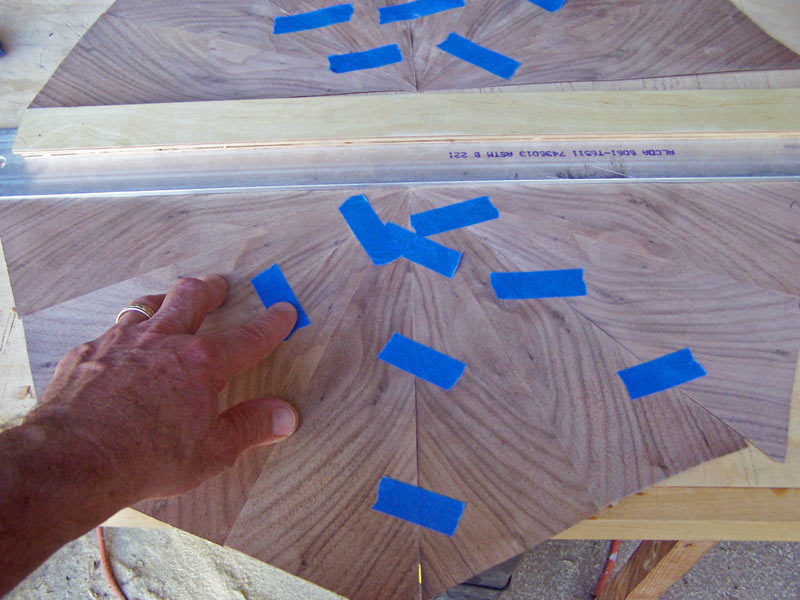
Now we need to trim the veneer to size. Lay the substrate on top of the veneer and align the corners with the seams.
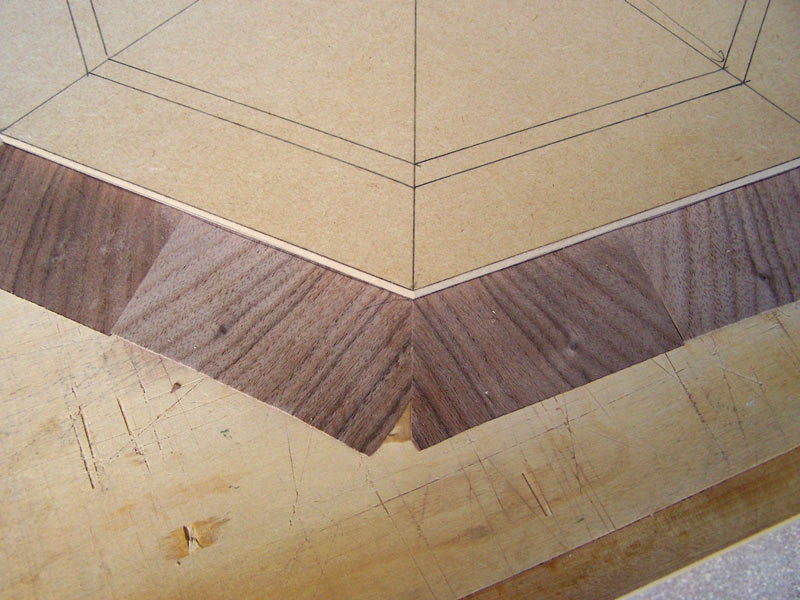
Draw a line around the substrate. Note that we have two options for cutting the veneer since we have sixteen seams. I show both options in the picture below.
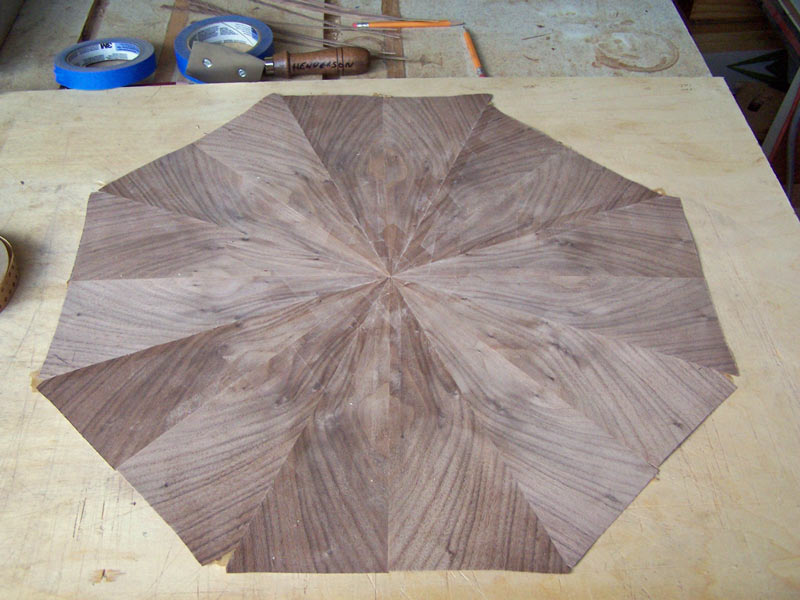
I picked one option and cut the veneer to size.

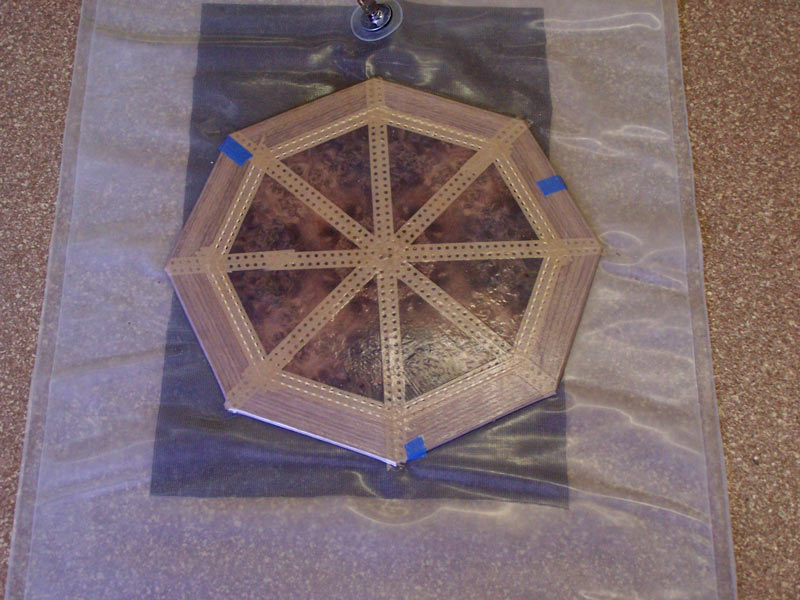
Both pieces of veneer are now ready for gluing. I applied glue to the substrate and put the package in my vacuum press.
After sufficient time for the glue to set, I take the tray out of the press and spray the veneer tape with water. I remove the veneer tape from both sides.

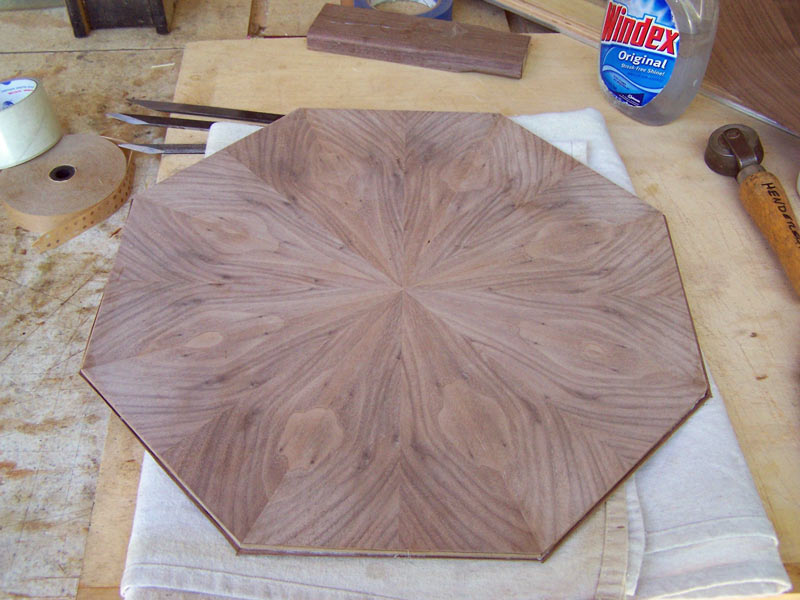
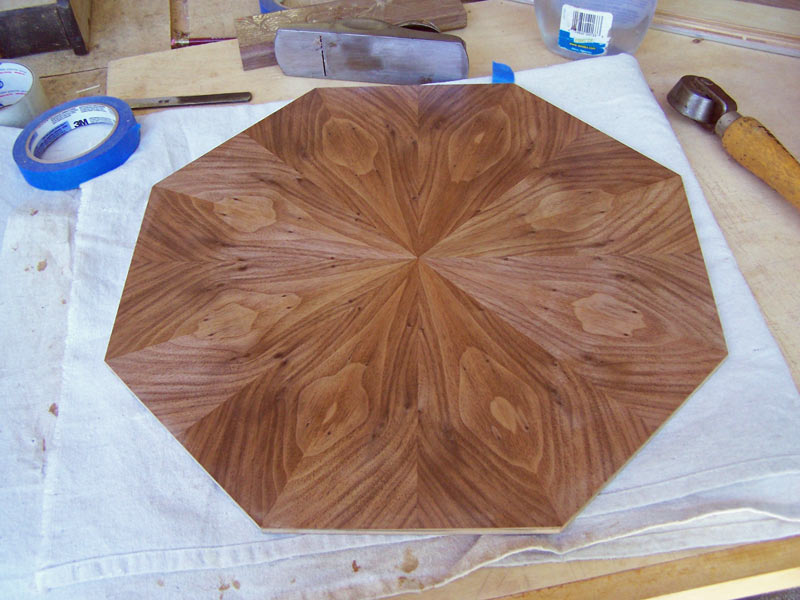
I sand both sides with P220 sandpaper in my ROS and run the sander at the lowest speed. Then I apply a coat of dewaxed shellac to both sides.
I use dewaxed shellac as a base coat and water based lacquer as a finish coat. Water based lacquer is very clear and gives a "white" look to the finished surface. The older oil based finishes gave a somewhat "orange" look to the finished surface, and that's the look people expect in their furniture and wood. To get that look, I use dewaxed orange shellac as a sanding sealer.
The other reason for using a sanding sealer - of any type - is that I use water based lacquer. If a sanding sealer is not used, the water in the water based lacquer will raise the grain. Then the surface has to be sanded again to smooth out the nibs raised by the water. Dewaxed shellac addresses both of these issues - it imparts an orange base and prevents the grain from being raised by the water based finish.

Next up - apply the lacquer and make the sides.
The tutorial continues here.